
Step-by-Step Installation Guide for Victorian Solar Post & Pillar Lights
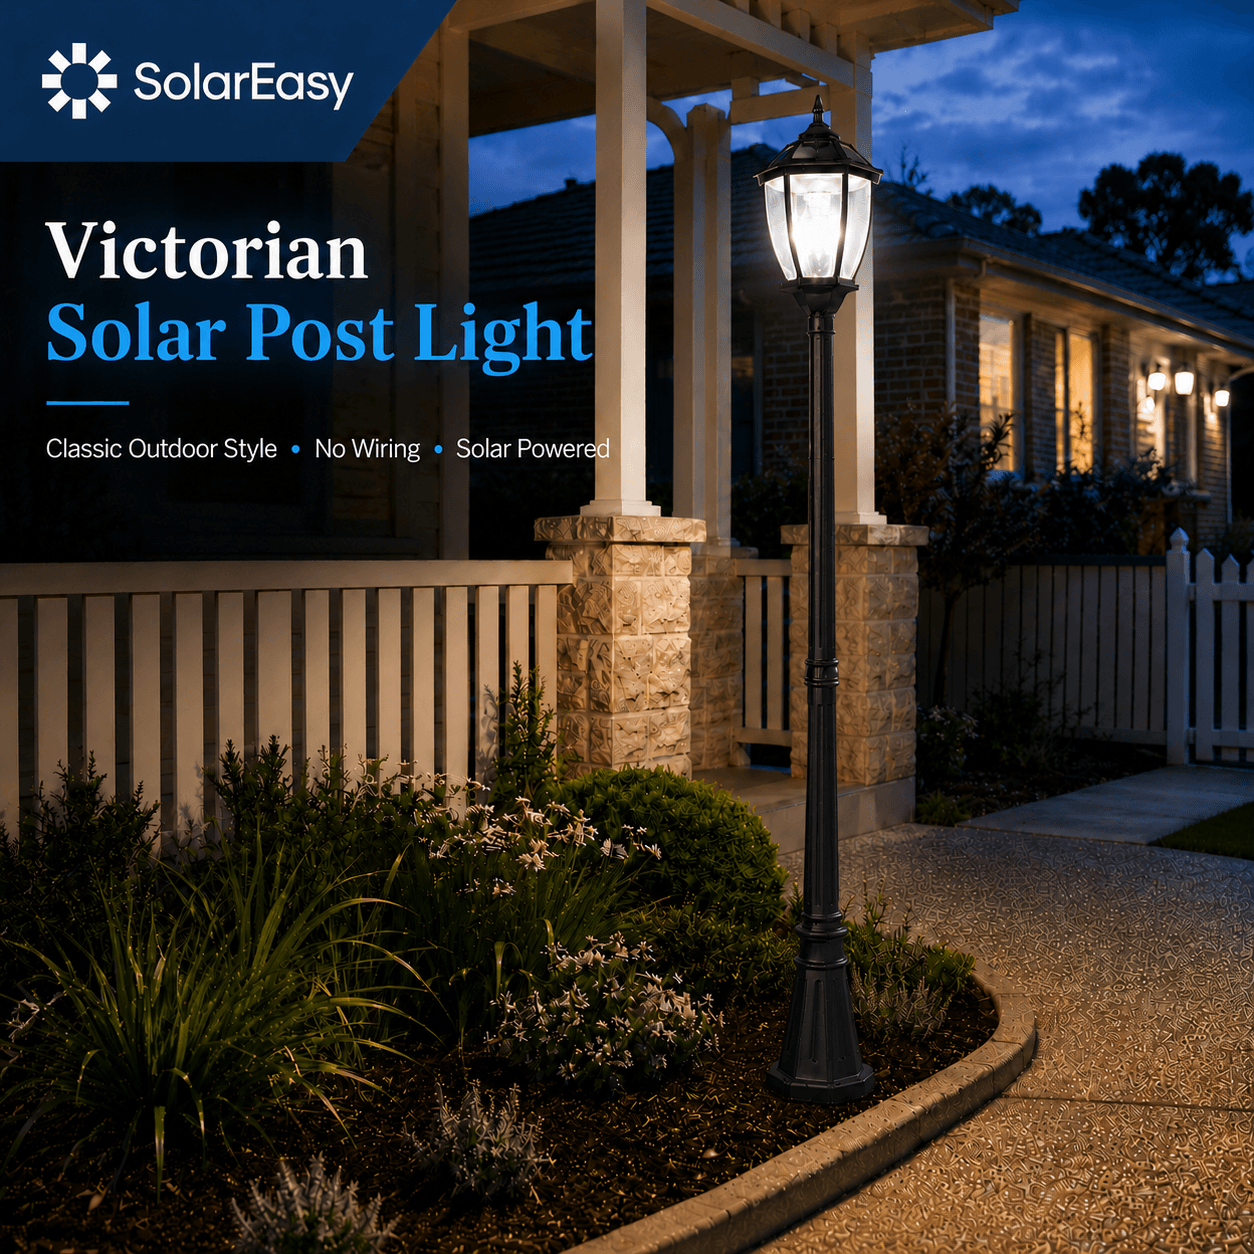
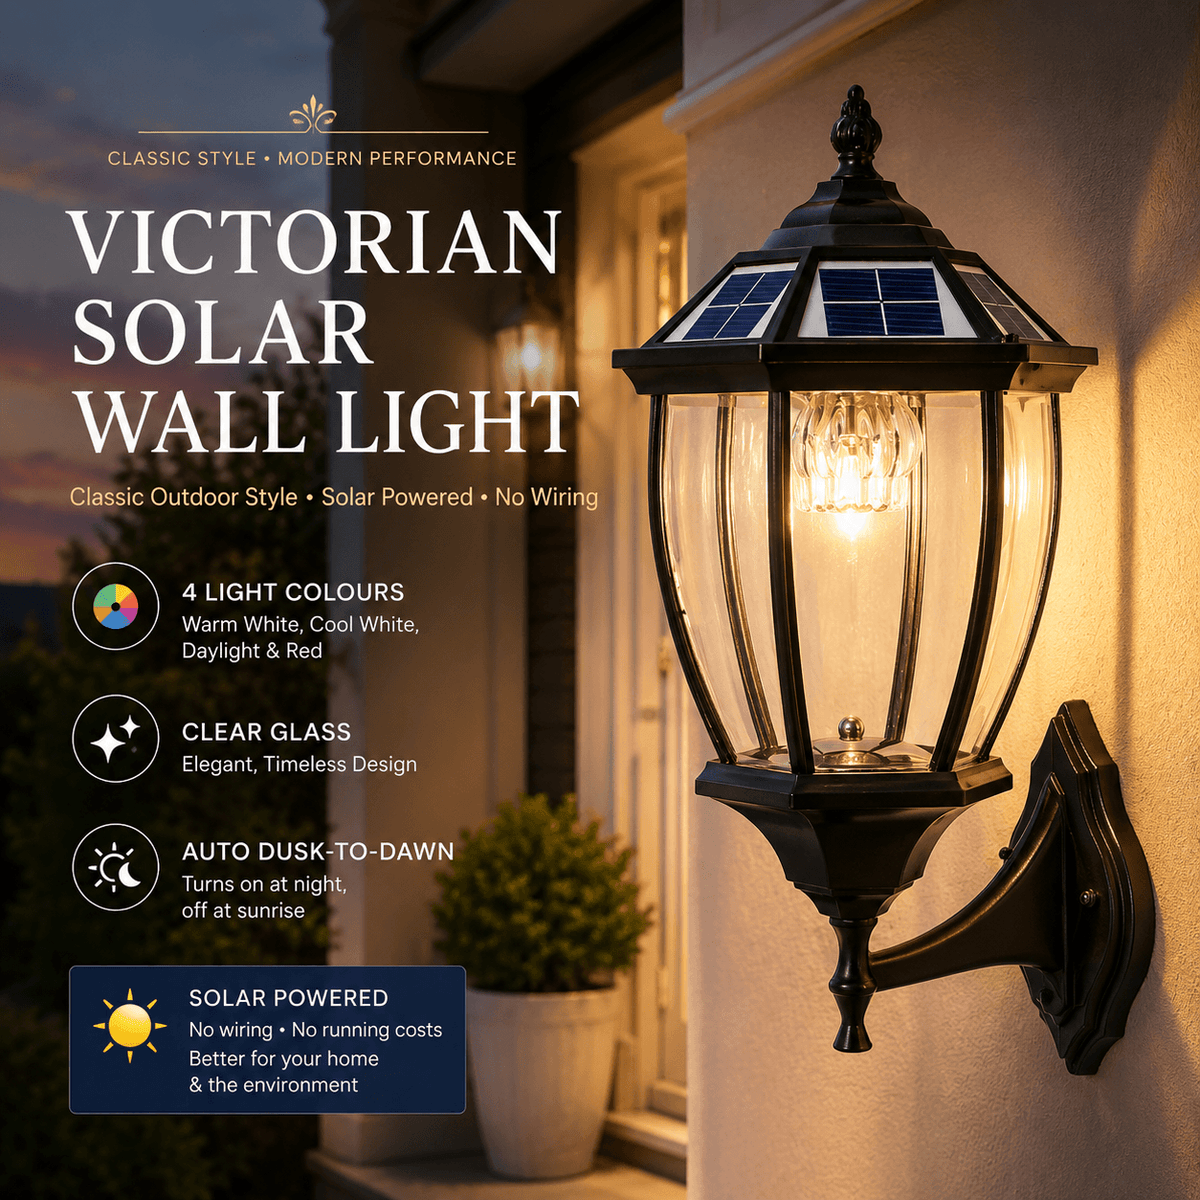
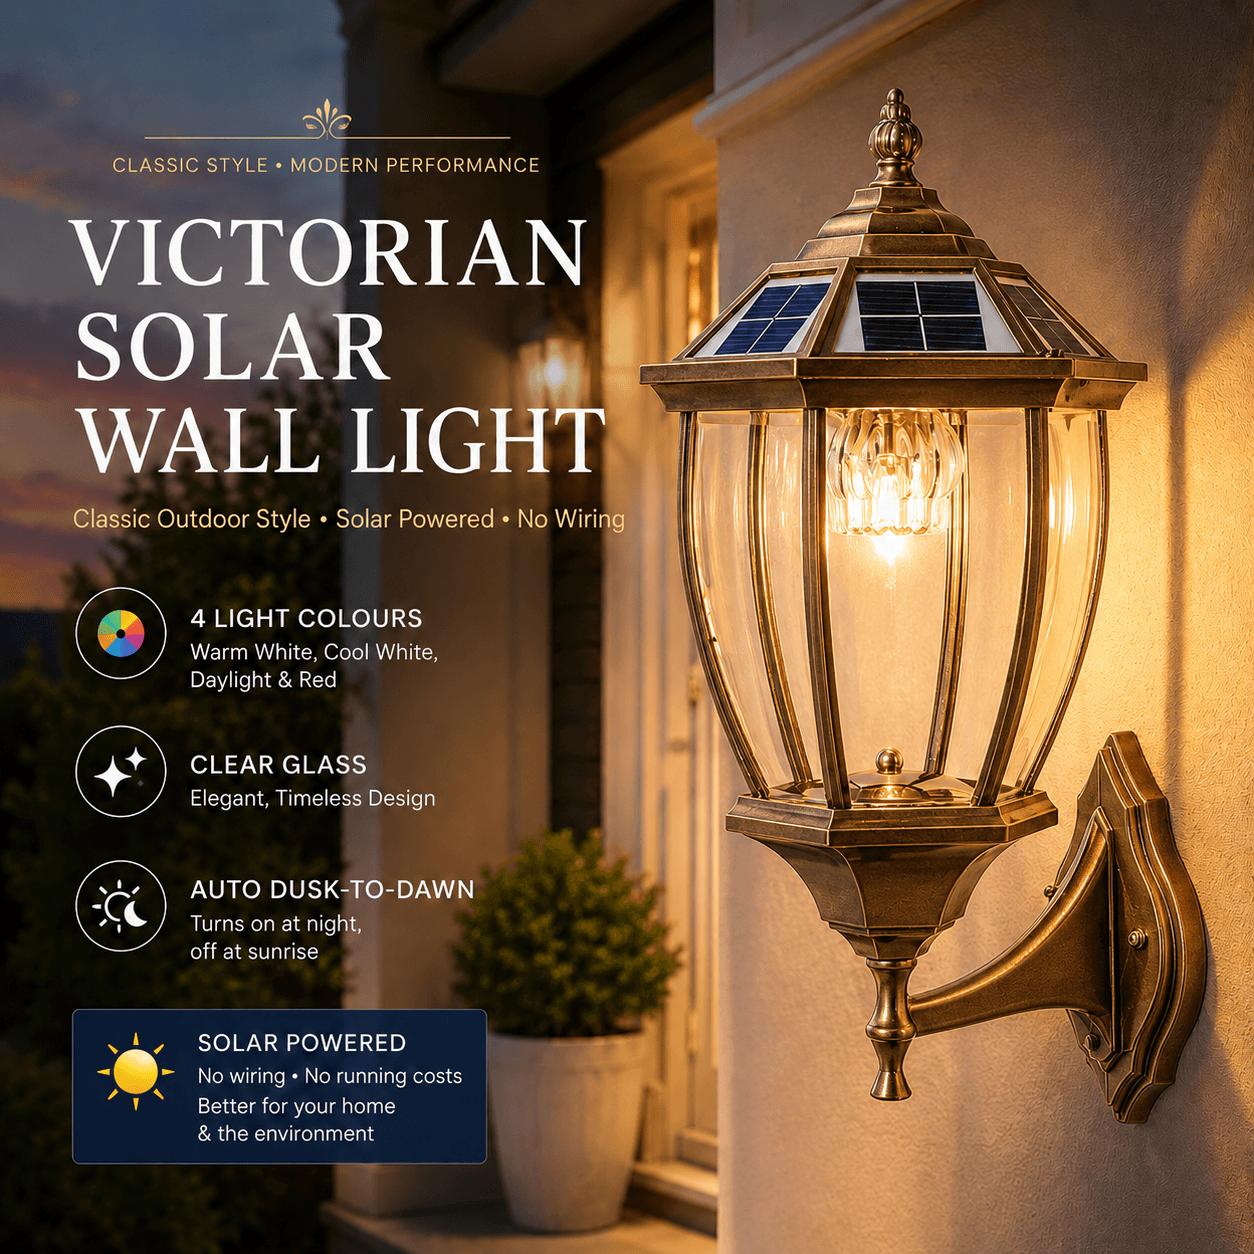
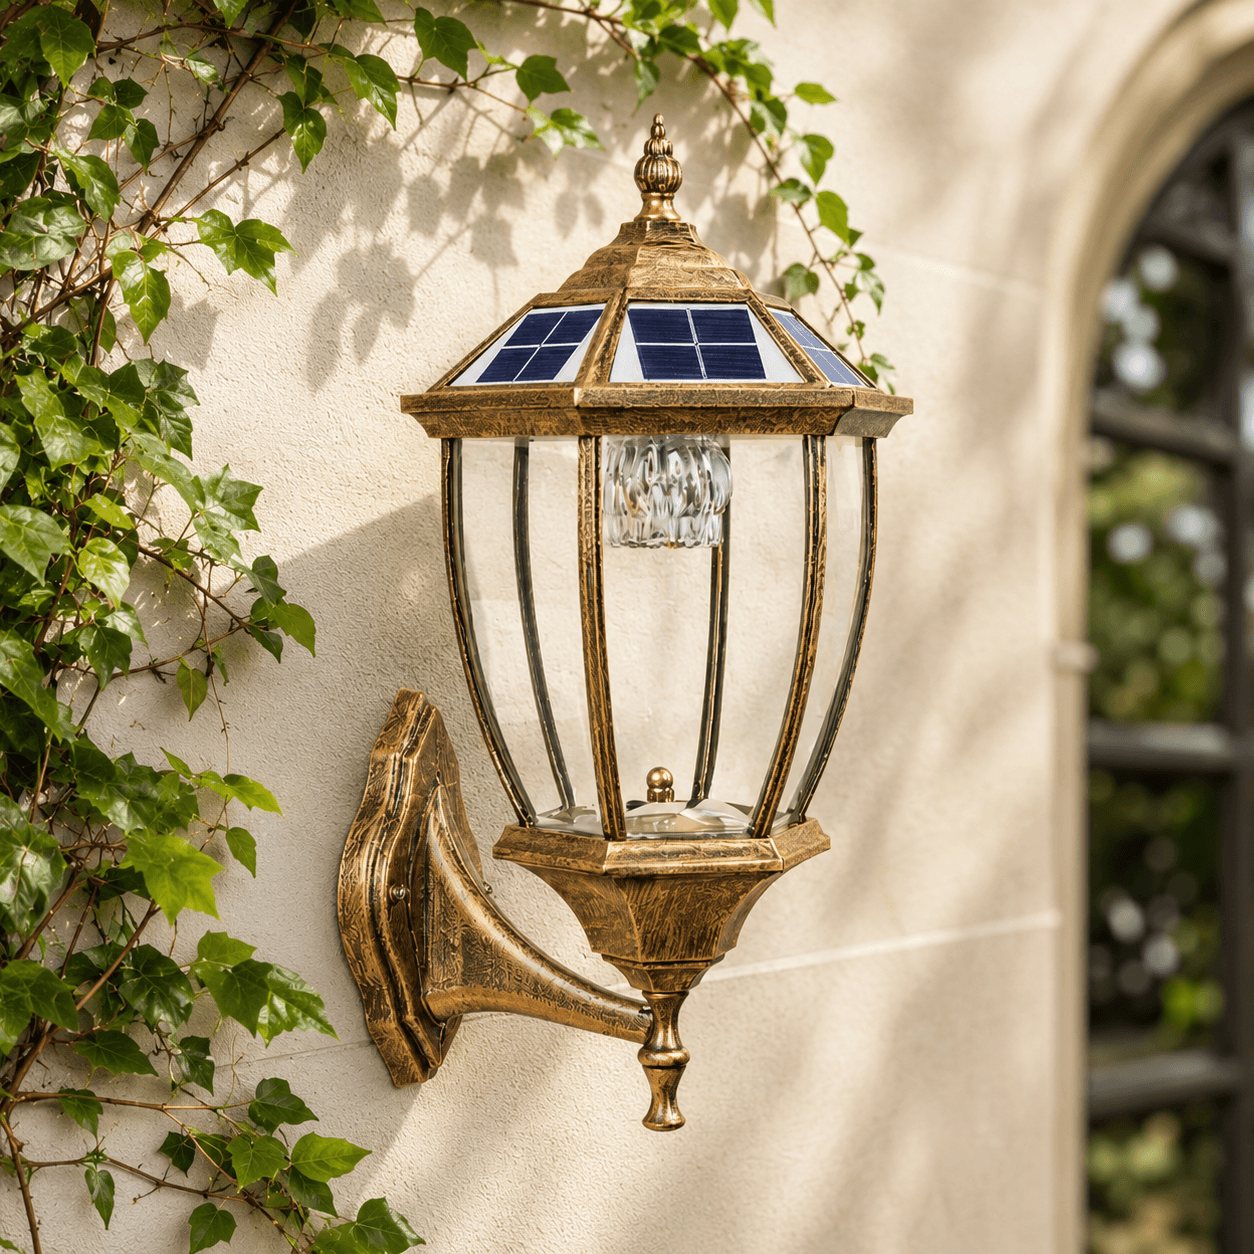
Victorian solar post lights and solar pillar lights can add a classic, heritage or antique-style appearance to an Australian home, but the two light types are installed differently.
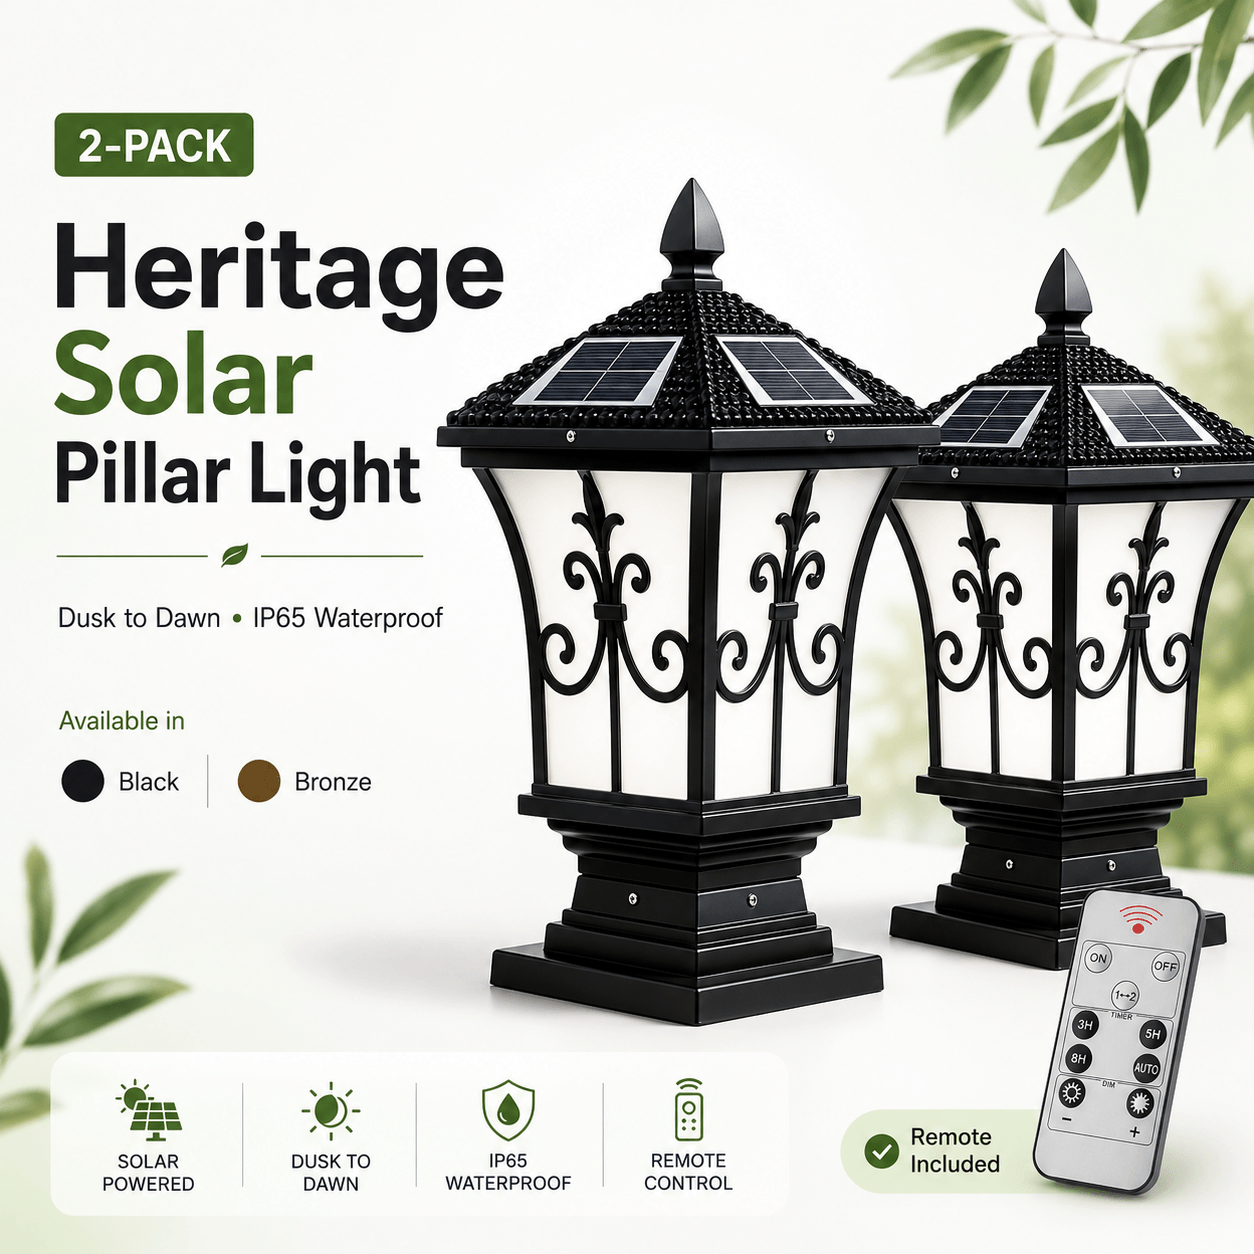
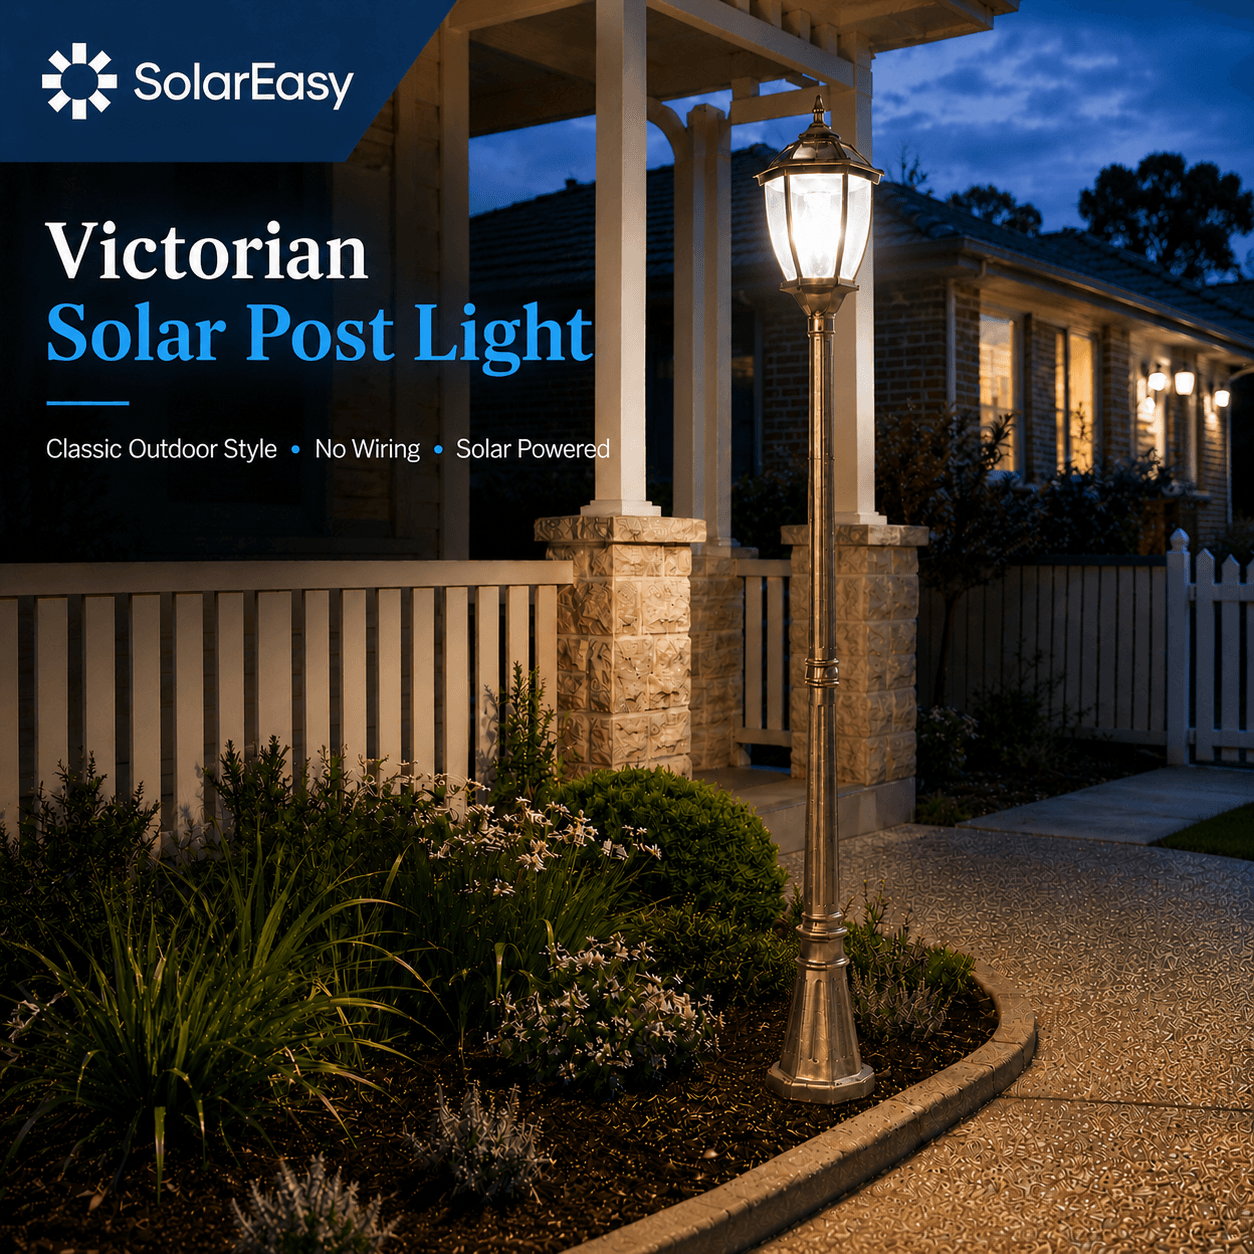
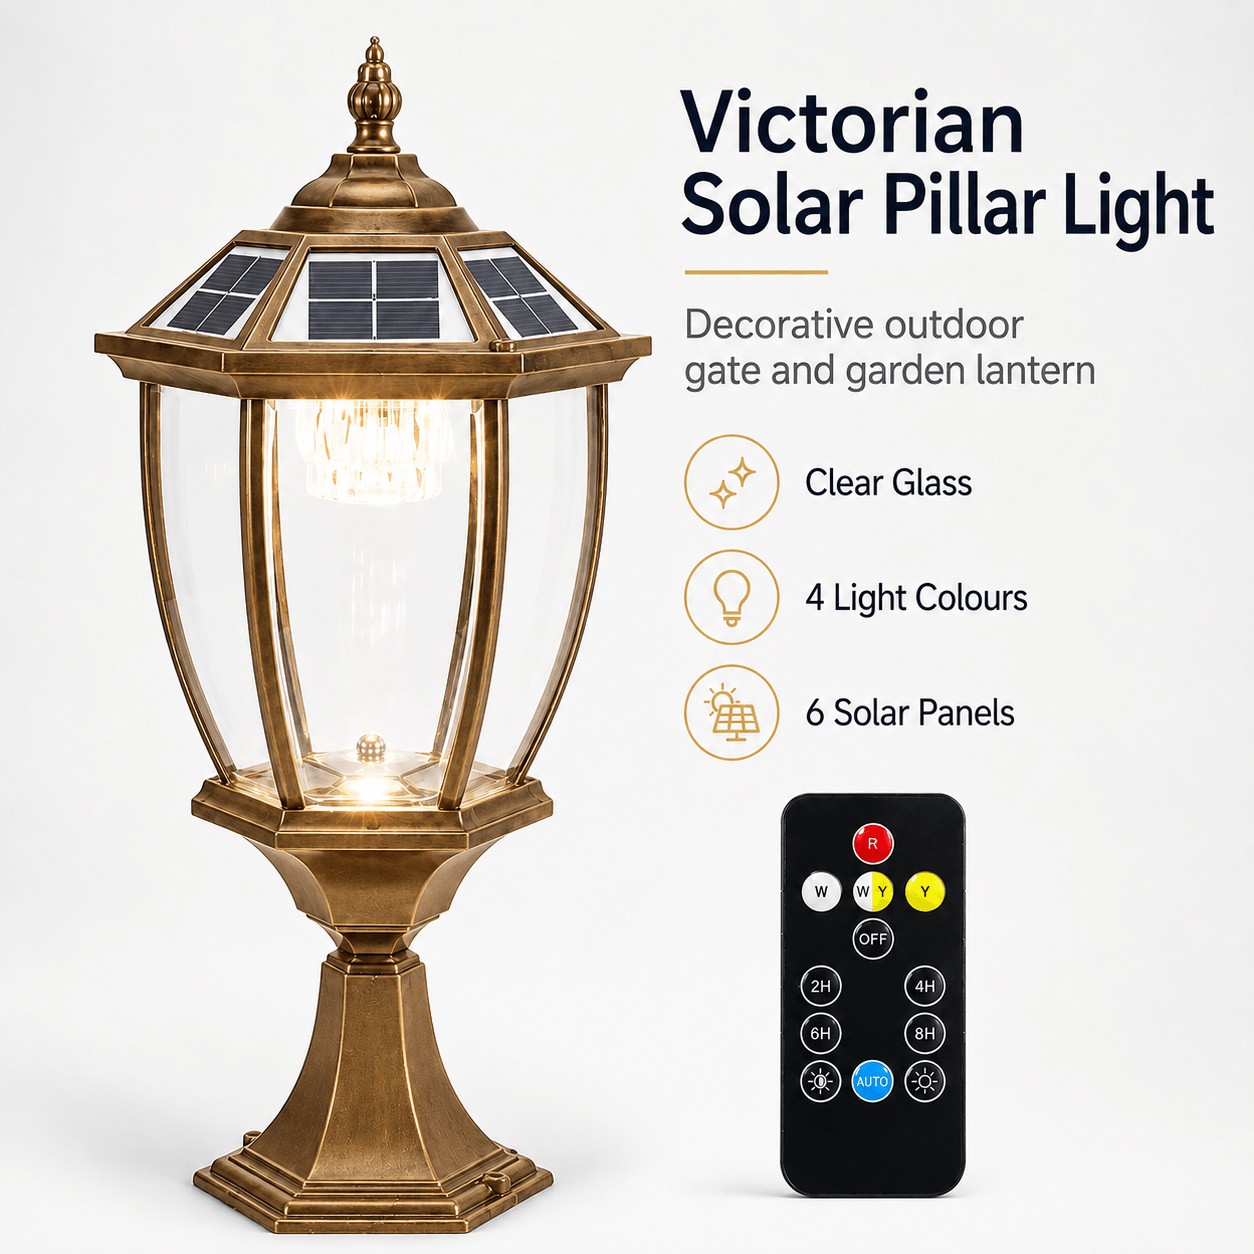
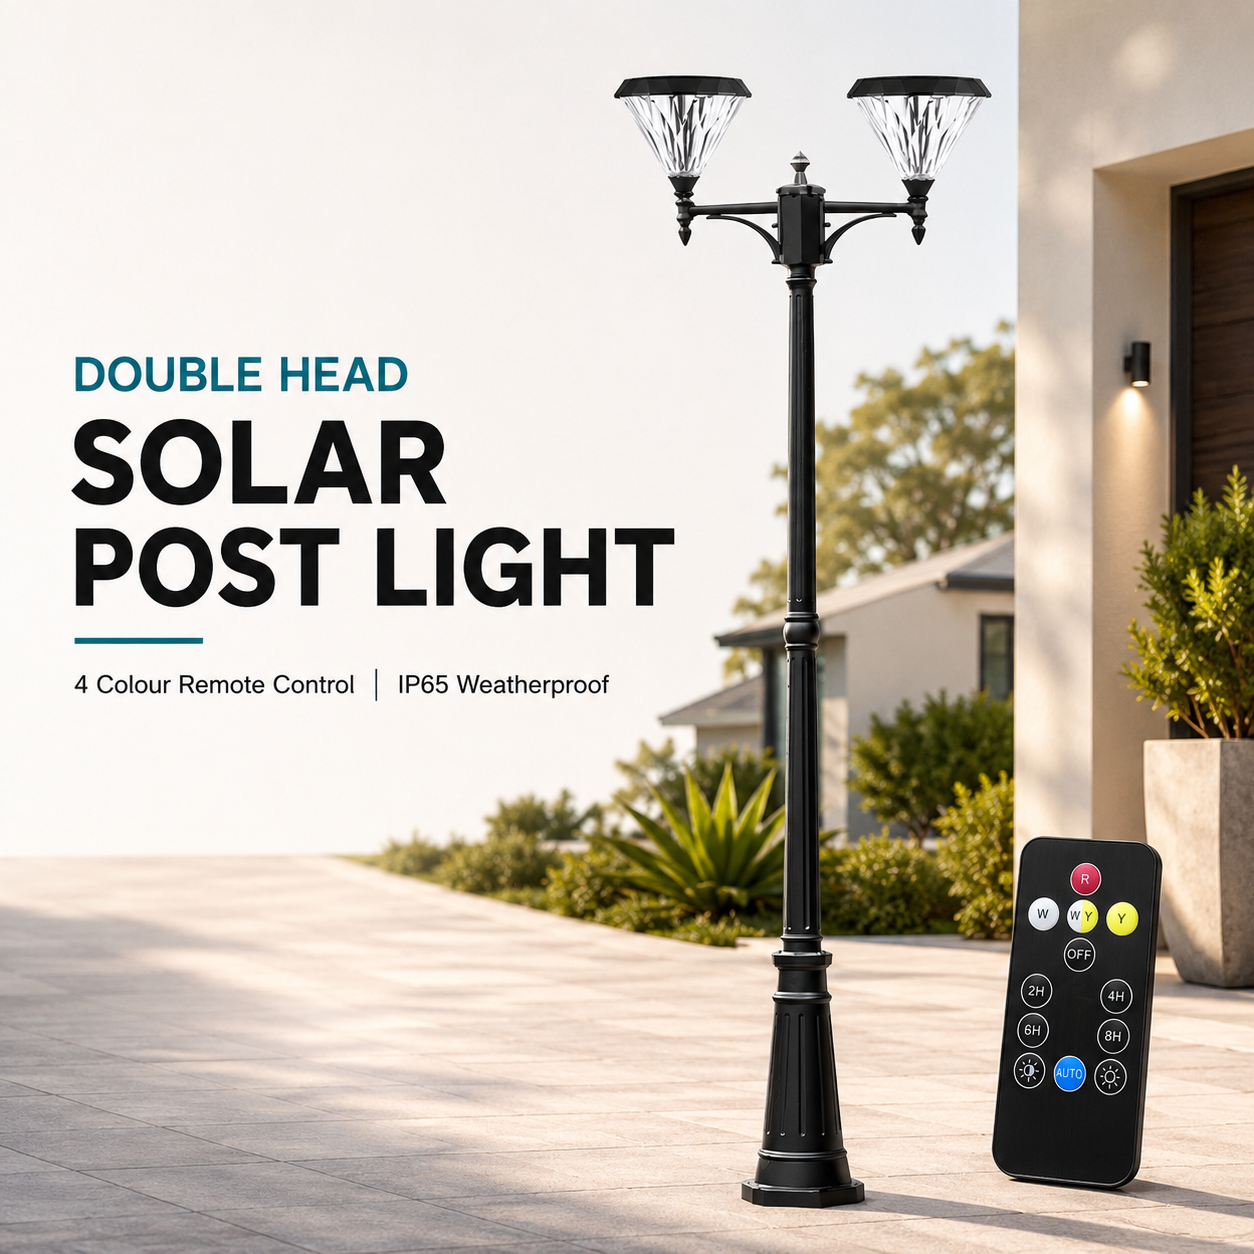
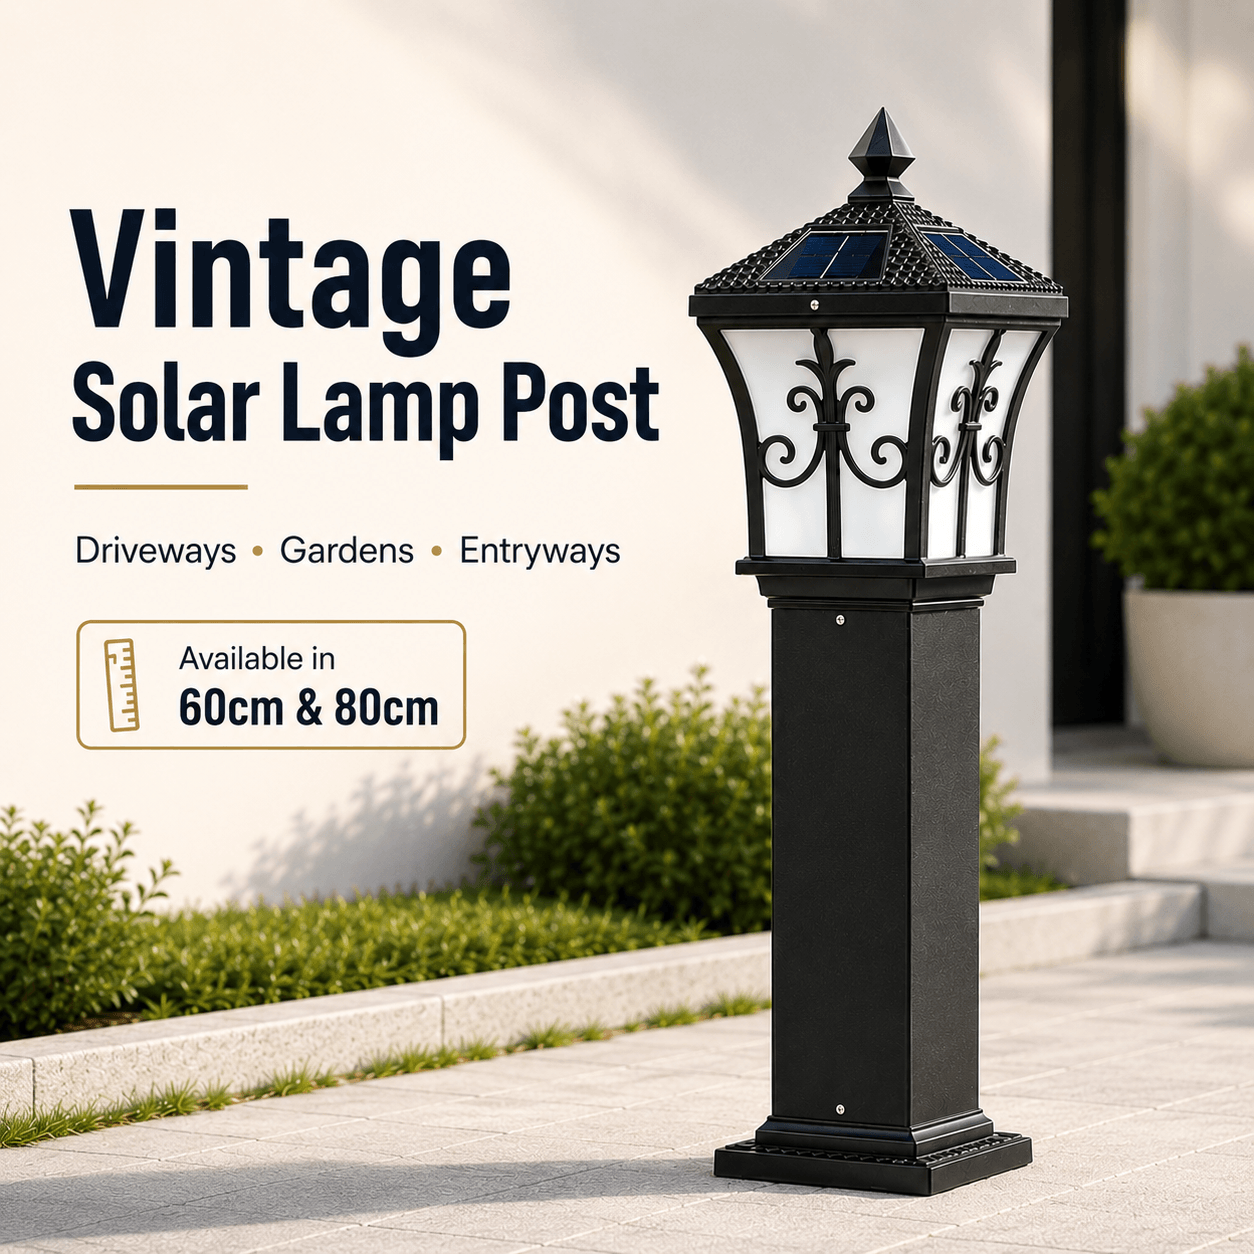
A solar post light is normally installed at ground level on a solid concrete base, while a solar pillar light is mounted directly on top of an existing brick, stone or concrete pillar.
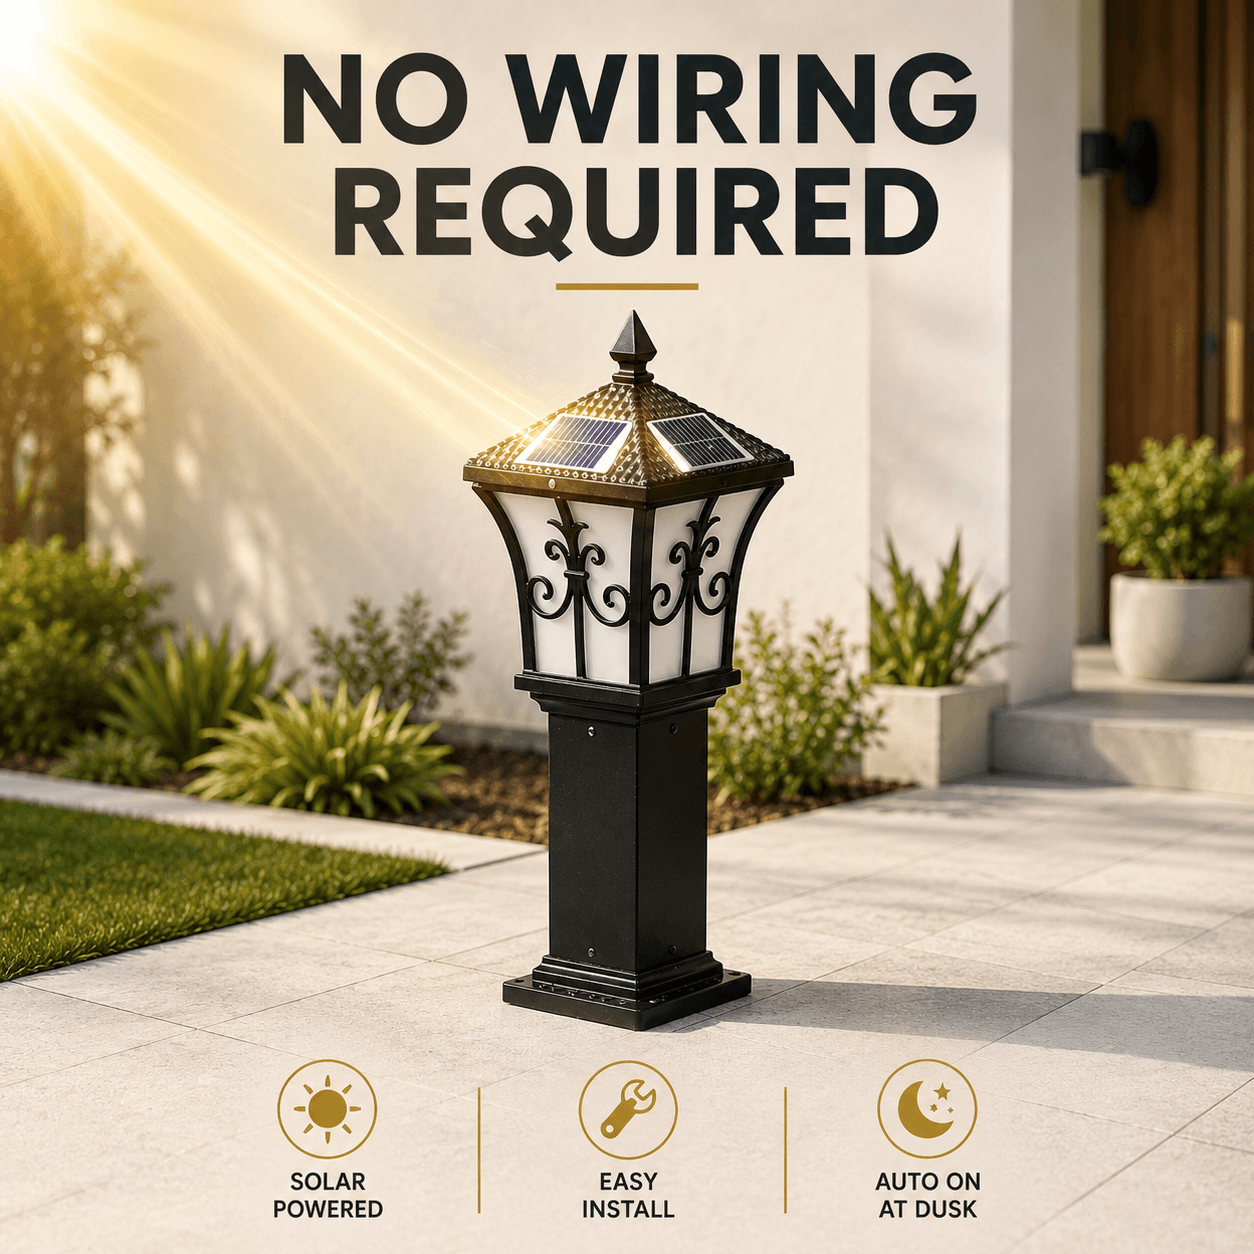
Because there is no mains electrical wiring required, installation is generally simpler than with traditional wired outdoor lighting.
Before Installation: Choose the Right Location
Before drilling or fixing the light permanently, check that the location receives good direct sunlight during the day.
Avoid positions that are heavily shaded by trees, verandahs, roof eaves, carports or nearby buildings. Good solar exposure is important for reliable battery charging and night-time operation.
Also make sure the mounting surface is solid, stable and reasonably level.
How to Install a Victorian Solar Post Light
Step 1: Prepare a Solid Concrete Base
A Victorian solar post light should be installed on a firm, level concrete surface or prepared concrete footing.
Because a post light is taller and more exposed to wind, a strong foundation is particularly important.
Step 2: Position the Post Base
Place the post base plate in the desired position and check that it sits flat and level.
Before drilling, make sure the location provides good solar exposure and enough clearance around the light.
Mark the mounting holes through the base plate.
Step 3: Secure the Base with the Provided Dyna Bolts
Drill the required holes into the concrete surface.
The post base can then be secured directly to the concrete using the Dyna bolts provided with the light.
Insert the Dyna bolts through the base plate and tighten them securely. This creates a firm mechanical connection between the post and the concrete foundation.
Step 4: Assemble the Post Sections
The individual sections of the post are designed to connect together at the joining points.
Simply twist each section together at the threaded connection section until it is firmly secured.
As you assemble the post, check that each connection is properly tightened and that the pole remains straight.
Step 5: Attach the Victorian Lamp Head
Once the post sections are assembled, attach the Victorian-style lamp head securely to the top.
Stand back and check that the post is vertical, the lamp head is straight and all connections are tight.
How to Install a Victorian Solar Pillar Light
Step 1: Check the Pillar Surface
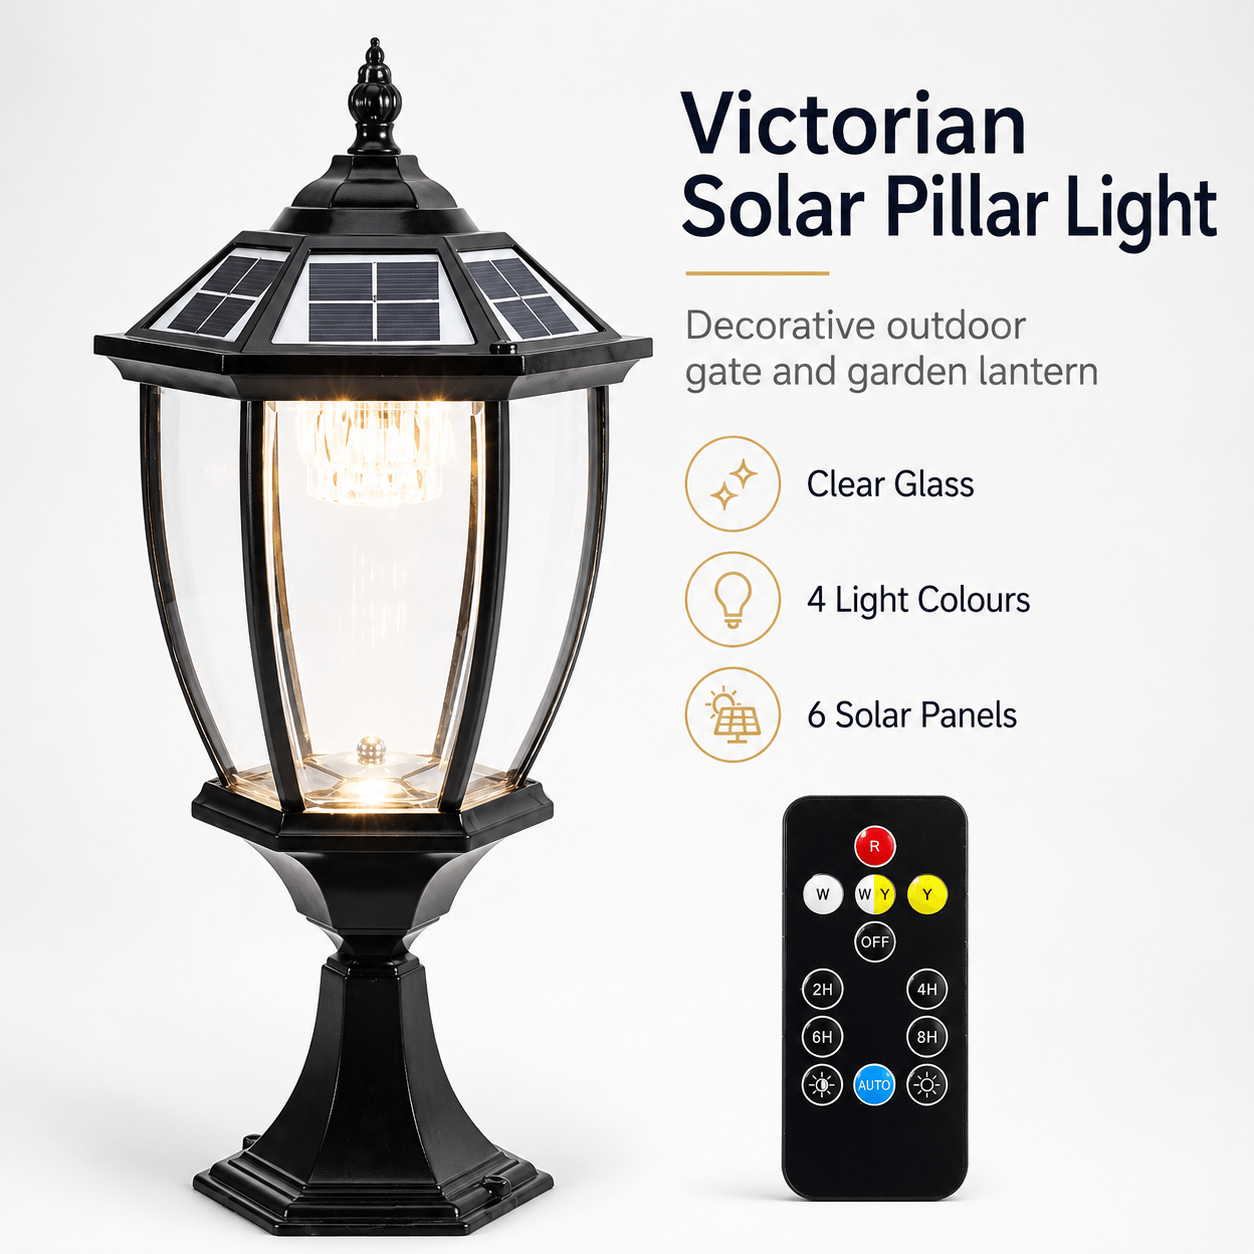
A solar pillar light is normally installed on top of an existing brick, stone or concrete pillar.
The top should be solid, reasonably flat and large enough to support the mounting base.
Step 2: Position and Centre the Light
Place the pillar light on top of the pillar before drilling.
Check it from several angles to make sure the lamp is centred and visually balanced. Correct positioning is particularly important with classic, heritage and antique-style Victorian lighting, where symmetry contributes to the overall appearance.
Step 3: Mark and Drill the Fixing Holes
Mark the mounting points through the base.
Drill the appropriate holes for the pillar material, taking care when working with brick, stone or masonry.
Step 4: Secure the Pillar Light
Fix the mounting base firmly to the pillar using suitable masonry fasteners.
Once installed, check that the light sits level and does not move.
Final Setup for Both Light Types
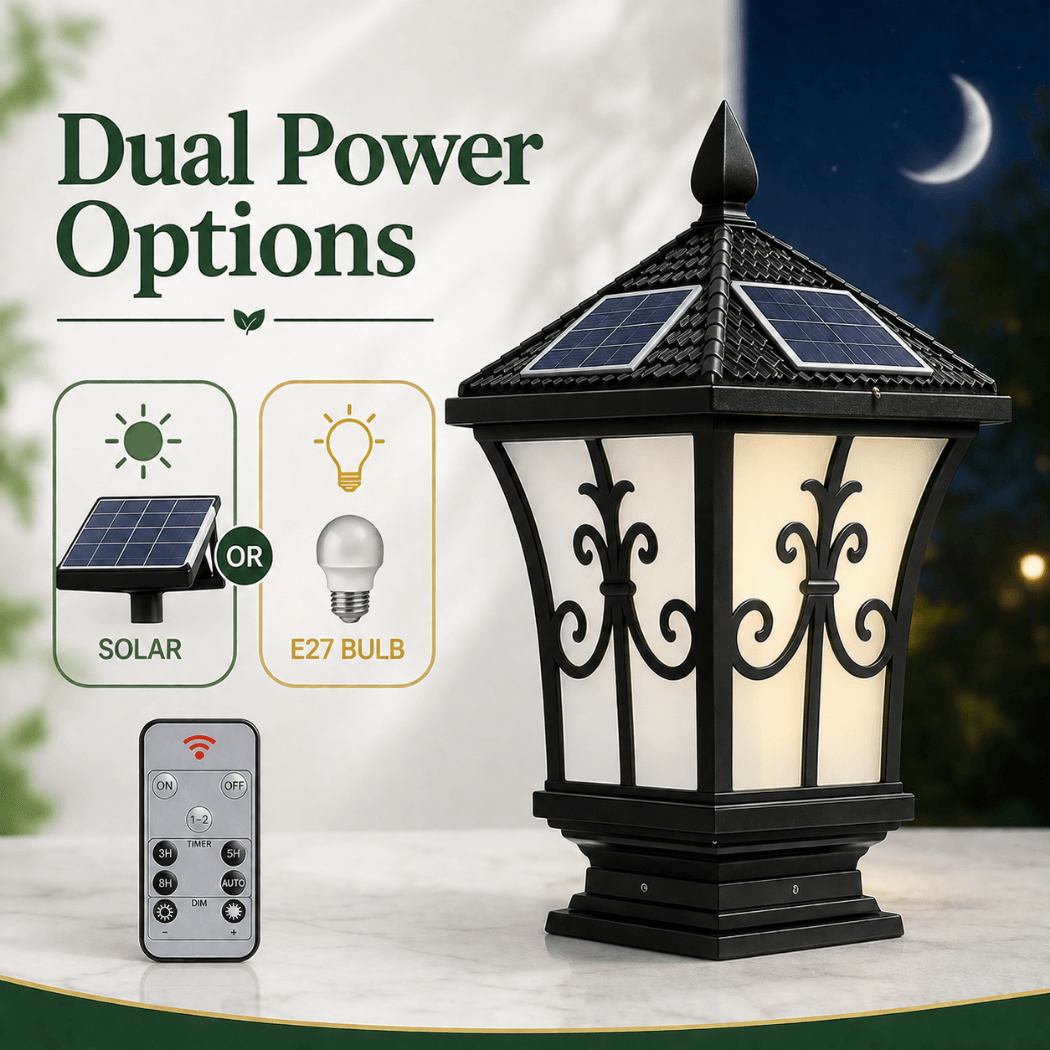
After installation, activate the solar light and allow it to receive a good daytime charge before expecting maximum night-time performance.
Check the automatic dusk-to-dawn operation and test the remote control.
The light allows you to select warm white or cool white depending on the desired appearance. Warm white can complement traditional Victorian, classic or heritage homes, while cool white can provide a cleaner and slightly more contemporary look.
Final Installation Check
Before finishing, confirm that the post or pillar light is firmly secured, properly aligned and receiving good sunlight.
For a post light, make sure the Dyna bolts are tight and each threaded post section is firmly connected. For a pillar light, check that the base is securely mounted and centred on the pillar.
With careful positioning and a solid installation, Victorian solar post and pillar lights can provide Australian homeowners with traditional outdoor character together with the convenience of modern solar lighting.