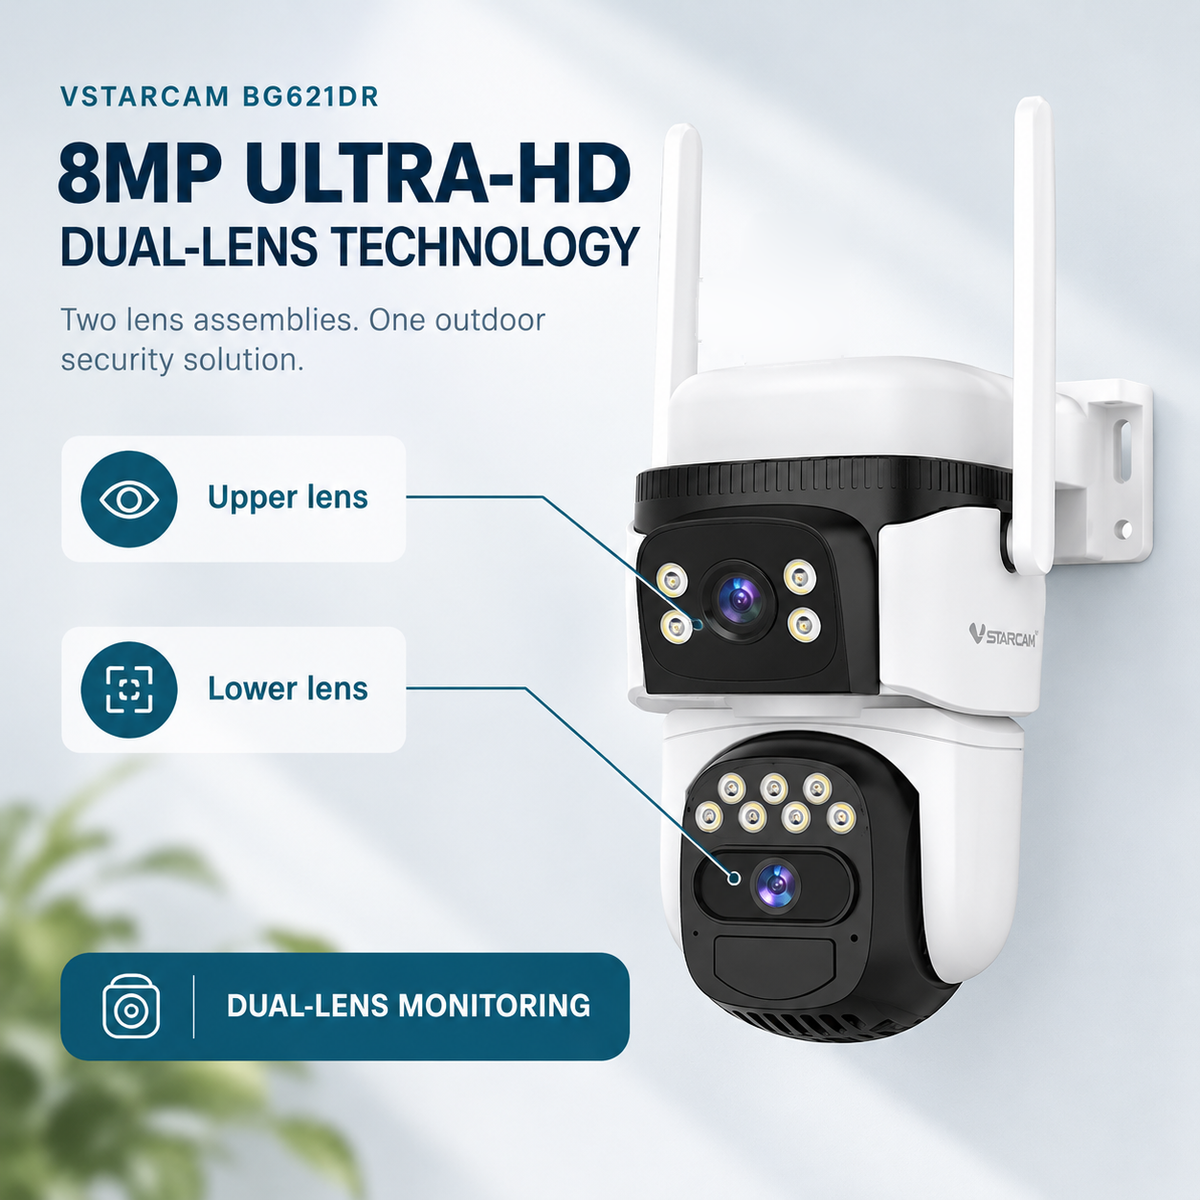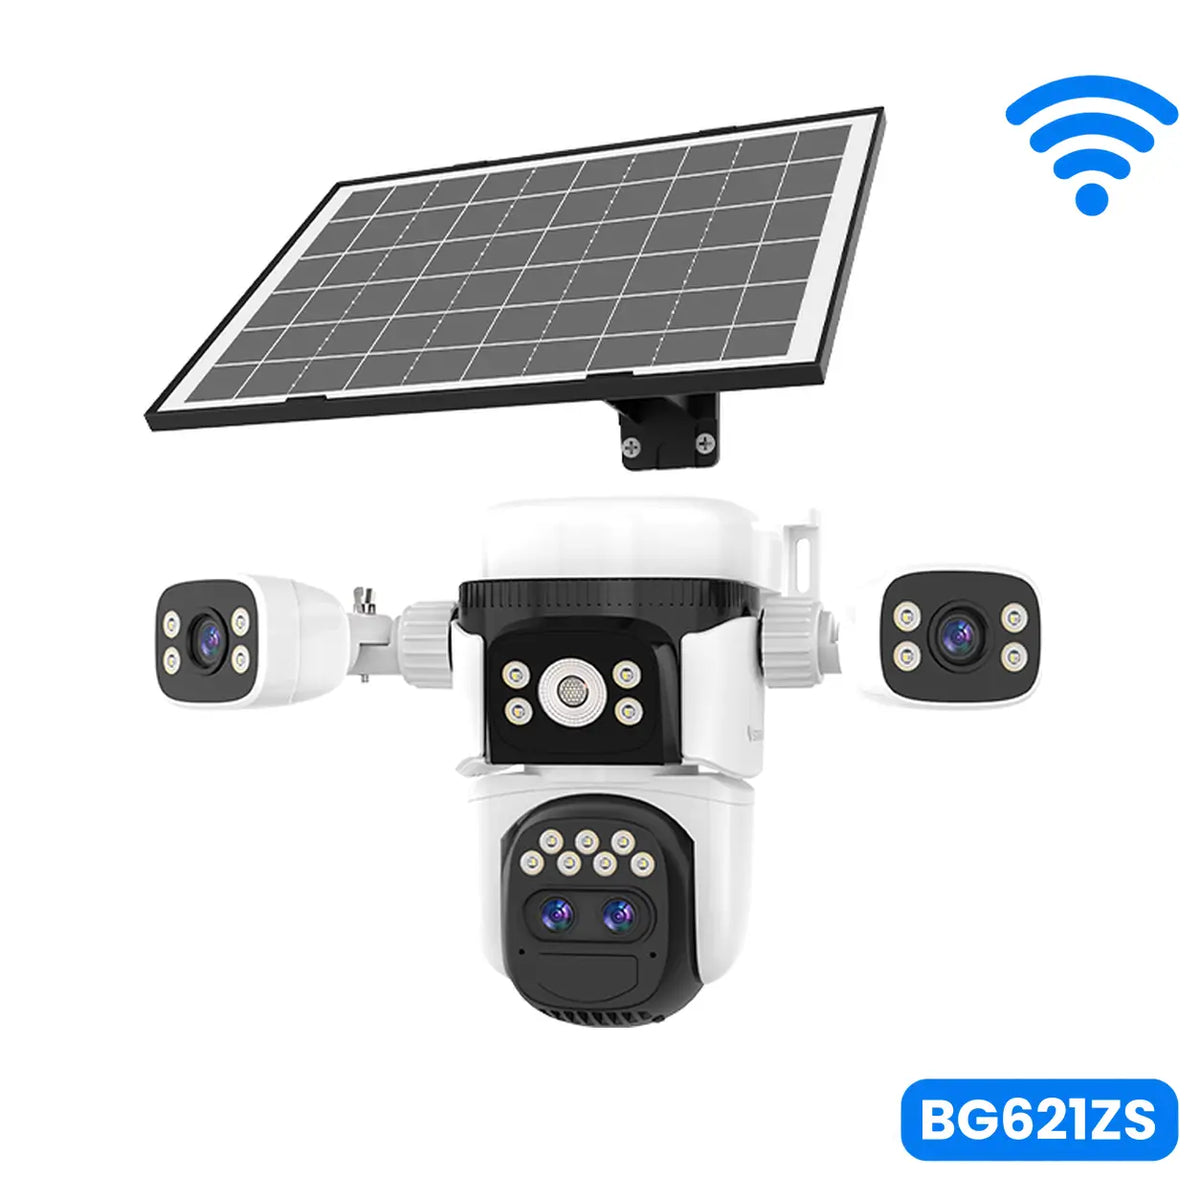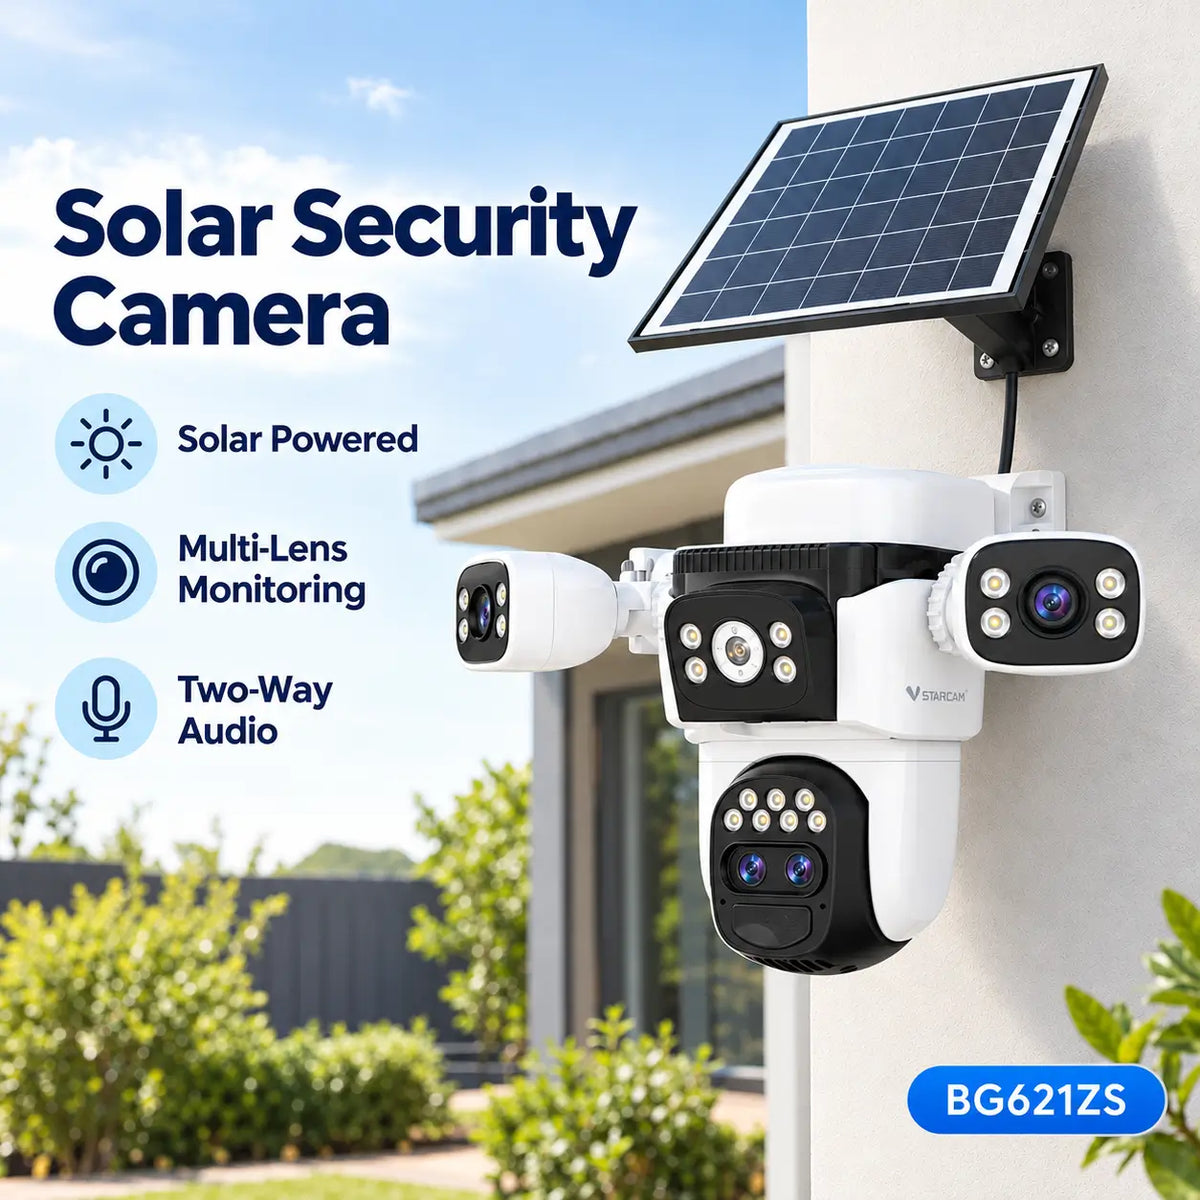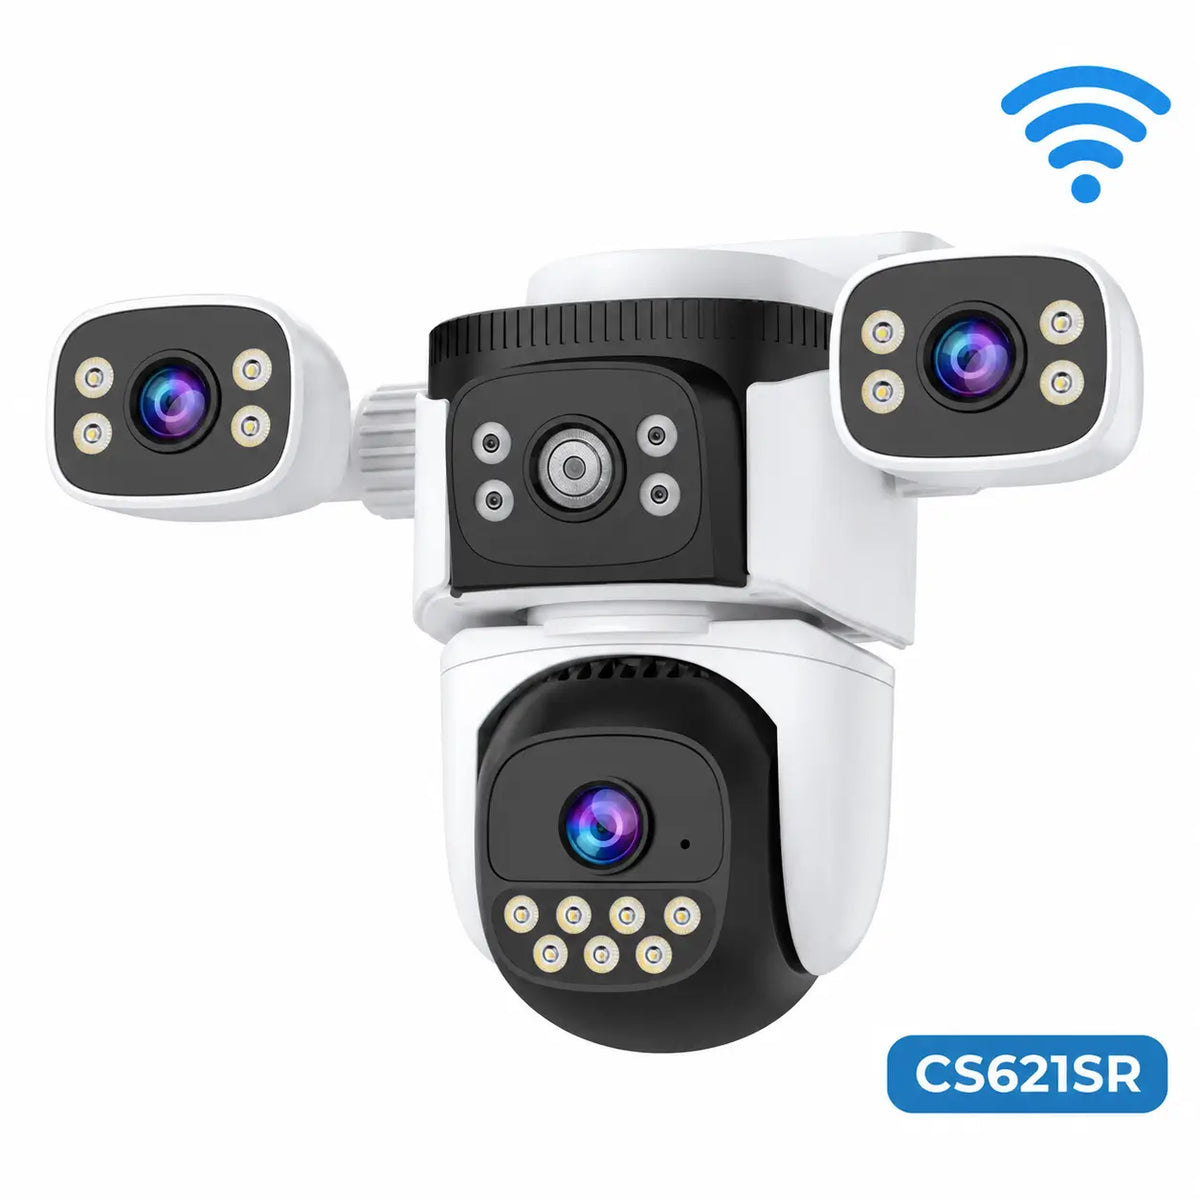

Solar Powered Security Camera Information Hub | Section 5: Installation & Setup Guides
A 4G solar security camera connects to a mobile network rather than relying on household Wi-Fi. It can be useful at a distant gate, rural shed or temporary building site, provided the camera and service are compatible and reception is adequate.
Setup normally involves preparing the camera, activating a suitable SIM, allowing the device to register on the network and adding it to the official app. The exact order can vary, especially when a camera includes a manufacturer-managed SIM.
Complete these checks before permanent mounting. This guide covers initial setup; M04 provides the detailed cellular fault-diagnosis workflow.
1. Confirm the Camera Is the Correct Cellular Model
Check the exact product version and its Australian mobile-network compatibility. A Wi-Fi model cannot normally become a 4G camera simply by adding a SIM card.
Likewise, 5GHz Wi-Fi is not 5G mobile connectivity. These descriptions refer to different technologies.
Confirm supported providers, frequency bands and SIM arrangements with the manufacturer or supplier. An imported version may not support the services required at the intended Australian location.
Do not rely on an old 3G/4G description as proof of current compatibility. Australia's network changes have affected equipment including security cameras; Australian Government guidance explains why device compatibility needs to be checked with the provider or manufacturer.
2. Choose a Supported SIM and Data Service
Use the manufacturer's compatibility guidance and the mobile provider's current conditions. A SIM that works in a phone is not automatically suitable for every camera or permitted under every plan.
Check the required physical SIM size, whether the device accepts third-party cards and whether a supplied SIM is tied to a particular service. Do not assume all bundled cards operate like a normal retail mobile account.
Consider the data allowance and expiry period as well as the price. Live viewing, remote playback and cloud uploads can consume data. Local recording behaviour and remote access are separate functions.
For a rural property, check the coverage of the actual service being purchased, including any relevant difference between a network operator and its partner services.
3. Prepare and Activate the SIM
Activate the service using the provider's documented process and complete any required identity or account verification. Confirm that the plan is active and has available data.
A preinstalled manufacturer SIM may instead be activated through the camera app. Follow that product's procedure; do not remove or replace the supplied card unnecessarily.
Check the manufacturer's SIM PIN requirements. Some cameras cannot accept a card that requires a PIN at startup. If a setting needs to be changed, follow the provider's instructions using an authorised device and the correct PIN. Do not guess repeatedly, as failed attempts can lock the SIM.
Keep the provider account details securely. The camera-app login, SIM PIN and mobile-service account are different credentials.
4. Charge the Camera and Install the SIM Correctly
Prepare the battery with its approved charging equipment. Work at ground level with clean, dry hands and follow the device instructions for accessing the card slot.
Power off the camera before inserting or removing a SIM unless the manufacturer explicitly specifies another procedure. Check the diagram for card orientation and distinguish the SIM slot from the memory-card slot.
Insert the correct card without forcing it. Avoid improvised adapters that could become trapped or damage the slot. Refit the required covers and seals after access.
If an external antenna is supplied, attach it as instructed. Do not modify the antenna or substitute accessories without confirming compatibility.
Manufacturer setup guidance illustrates the sequence for specific camera families; your model's diagrams and instructions take priority.
5. Allow the Camera to Register on the Network
Power on the prepared device in a location with suitable reception. Allow the documented startup period for it to detect the SIM and establish a connection.
Indicators and voice messages vary. Use the manual to identify the meaning of the actual status rather than assuming that a particular light colour means online across all brands.
SIM detection, network registration and access to the camera service are separate stages. A recognised card does not prove that its plan, reception and data connection are working.
If the normal connection process fails, first check activation, available data, product compatibility and reception. Avoid repeated resets before understanding the reported error.
6. Install the Official App and Add the Camera
Use the app identified in the product instructions. Create an account where required, complete verification and log in before adding the device.
Follow the supported method, which may involve scanning the camera's label, entering its identifier or using nearby discovery. Some models support Bluetooth-assisted onboarding, but it is not universal.
Unlike a Wi-Fi-only setup, a standalone cellular camera normally does not need your household Wi-Fi password for its mobile-network connection. Your phone still needs internet access to communicate with the service and complete supported remote functions.
Use a strong device or account password where prompted. Give the camera a clear location name and configure authorised sharing rather than distributing a shared login unnecessarily.
7. Check APN Settings Only Where Required
APN stands for Access Point Name. It is part of the mobile data configuration, and many supported camera-and-SIM combinations configure it automatically.
If the manufacturer identifies an APN issue, obtain the settings for the actual provider and plan. Follow the documented method for entering or importing them. Do not copy another country's values or an unrelated network configuration.
Only enter an APN username or password if the provider specifies one. These are not necessarily your camera-app credentials.
For example, manufacturer guidance on data-connection failures distinguishes service availability from APN configuration. Use M04 for a structured diagnosis if normal setup cannot be completed.
8. Test Recording, Notifications and Remote Access
Once online, open live view and check that it loads consistently. Configure supported storage and recording, verify the date and time, then create a test event.
Open playback and download a sample clip where supported. Test notifications independently; an alert and a saved recording are different results.
Remember that cloud recording may require a separate subscription. Confirm the selected service rather than assuming that a working mobile data plan includes video storage.
Review data use after representative activity. A few short setup checks do not establish the allowance needed for frequent remote viewing or uploads.
9. Repeat Tests at the Final Location
Take the configured camera to the proposed position before mounting permanently. Check the actual device's performance near buildings, closed shutters or terrain that may affect reception.
Coverage maps and phone tests are useful starting points, not guarantees of identical camera performance. A successful setup near the house may not translate to a distant gate.
Confirm sunlight and charging separately. Moving a camera to improve signal can create shade or obstruct the view, so assess the whole arrangement before fixing the brackets.
| Setup check | What to confirm |
|---|---|
| Camera version | Supports the intended Australian service |
| SIM and plan | Correct type, activated and carrying available data |
| Registration | Device confirms its documented connected status |
| App access | Intended account can open live view |
| Recording | Test footage can be found and played back |
| Notifications | Selected alerts arrive as expected |
| Final position | Reception, coverage and charging are practical |
Final Thoughts
Start with a compatible Australian camera and service, activate the SIM correctly and complete setup while the equipment is accessible. Follow the product's own sequence for bundled cards, app discovery and network indicators.
Verify recordings and remote access at the final installation point, then monitor data use and charging over normal operation. Solar power and mobile connectivity solve different needs; both must work for dependable remote monitoring.
About SolarEasy
SolarEasy provides practical information about solar powered products for Australian homes, gardens and outdoor properties.
This Information Hub helps readers understand camera installation and operation while following the relevant manufacturer's model-specific instructions.