
Solar Powered Security Camera Information Hub | Section 5: Installation & Setup Guides
A solar camera panel can point in the right direction and still receive too little useful sunlight. Eaves, trees, fences and neighbouring structures may shade it during the hours that matter for charging.
The practical task is to identify an exposed, secure and serviceable position within the equipment's approved mounting and cable arrangement. Then check whether the camera's battery trend improves under normal use.
This guide focuses on shade and site exposure for small camera panels in Australia. I02 explains direction and tilt; F05 explains panel specifications. Those factors remain relevant, but they do not replace an assessment of what actually blocks the sun.
1. Distinguish Shade from General Cloudy Weather
Cloud cover affects sunlight across a wider area. Local shade is caused by an obstruction between the sun and the panel, such as a roof edge or branch.
A panel can be in shade on an otherwise sunny day. A bright-looking verandah is not proof that useful direct sunlight reaches the panel surface.
Solar panels can produce some energy from diffuse daylight, but output in shade may be insufficient for a particular camera's workload. Manufacturer guidance identifies trees and buildings as important obstructions to effective charging.
Do not judge exposure solely by how bright the scene looks on a phone screen.
2. Observe the Proposed Position at Different Times
Inspect the exact panel position in the morning, around the middle of the day and in the afternoon. Record when direct sunlight reaches the working surface and what interrupts it.
Pay attention to the panel itself, not just the wall beside it. A roof edge may shade the upper part while the surrounding area looks exposed.
Use a few observations to compare candidate positions, not as a precise daily energy calculation. Sunlight intensity varies, so several hours of weak early light are not equivalent to the same duration under stronger conditions.
Photographs and brief notes can help you recognise moving shadows. Make observations from safe access points; do not repeatedly climb to an unsuitable position just to check the sun.
3. Look for Small and Intermittent Shadows
Obvious shade beneath a roof is easy to notice. Narrow shadows from posts, branches, cables or the camera's own mounting arrangement can be less apparent.
Partial shading can affect output by more than the visibly shaded fraction, depending on the panel's internal cell arrangement. There is no universal percentage loss that applies to every camera panel.
Check whether a branch moves across the surface in wind, whether a gate shades it when open and whether parked vehicles change exposure.
Do not assume that a larger panel will automatically solve a poorly chosen position. Compatibility and useful sunlight still matter.
4. Assess Winter and Seasonal Changes
In much of southern Australia, the lower winter sun can extend shadows from fences, buildings and vegetation. A position that is clear at summer midday may be shaded for a substantial part of a winter day.
Trees also change. New growth can obstruct a previously useful position, while seasonal foliage affects exposure differently across species and locations.
YourHome's rooftop solar guidance recommends keeping track of shading as the sun moves through the year and vegetation changes. The same assessment principle is useful for a small standalone panel.
If assessing the site outside winter, use reliable local sun-path information to understand possible seasonal obstruction. Tropical northern locations have different seasonal paths, so do not apply one southern-city sketch to the whole country.
Revisit I02 for Australian orientation and tilt rather than copying Northern Hemisphere advice.
5. Separate the Camera Position from the Panel Where Supported
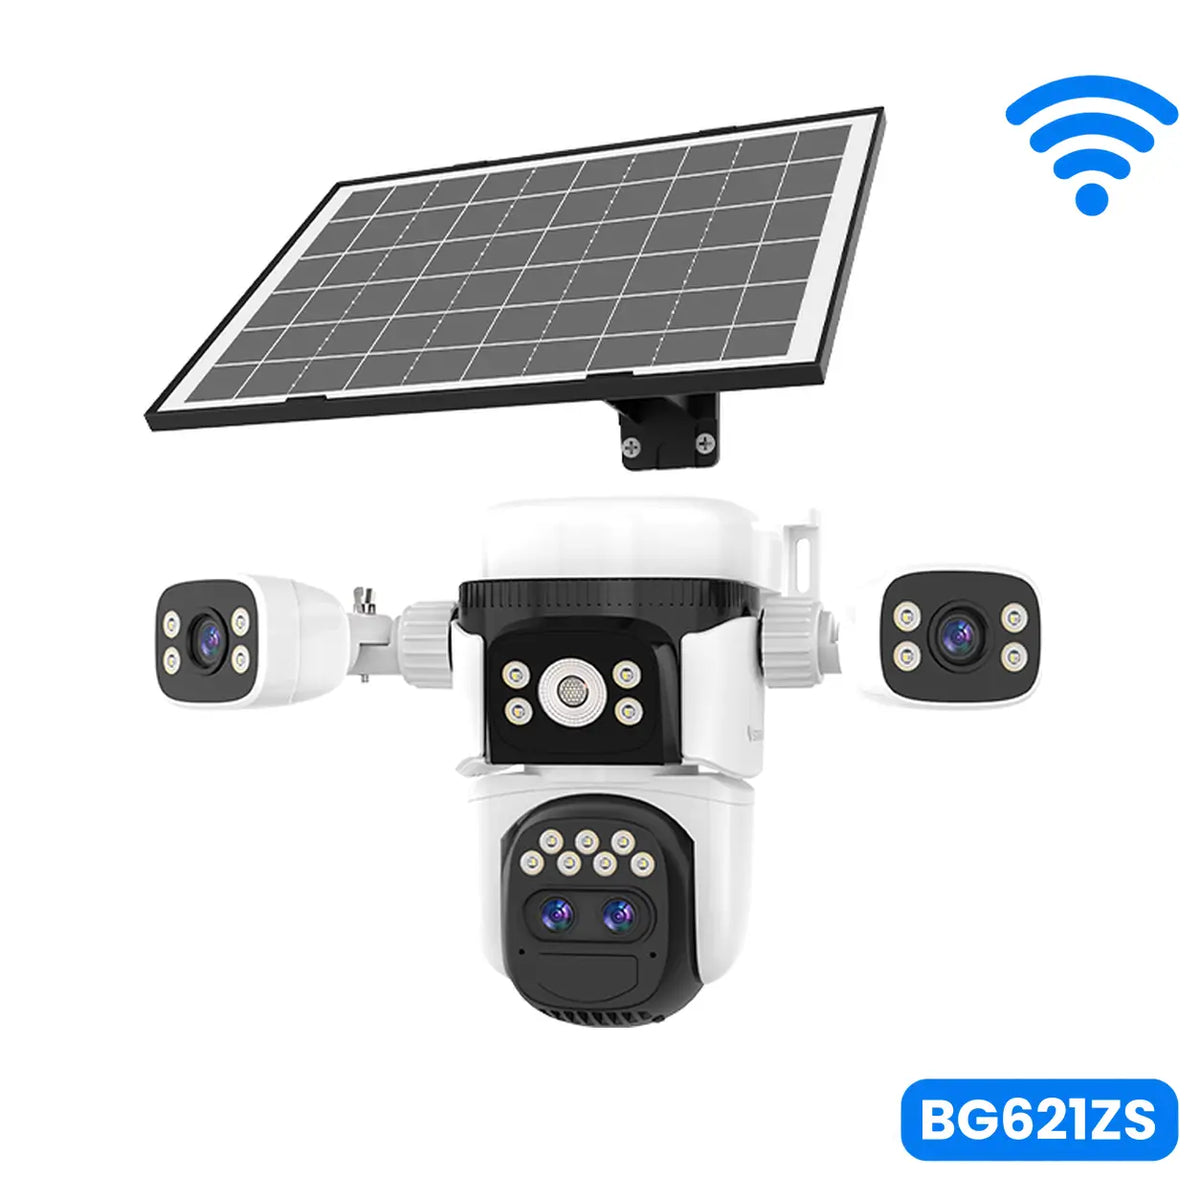
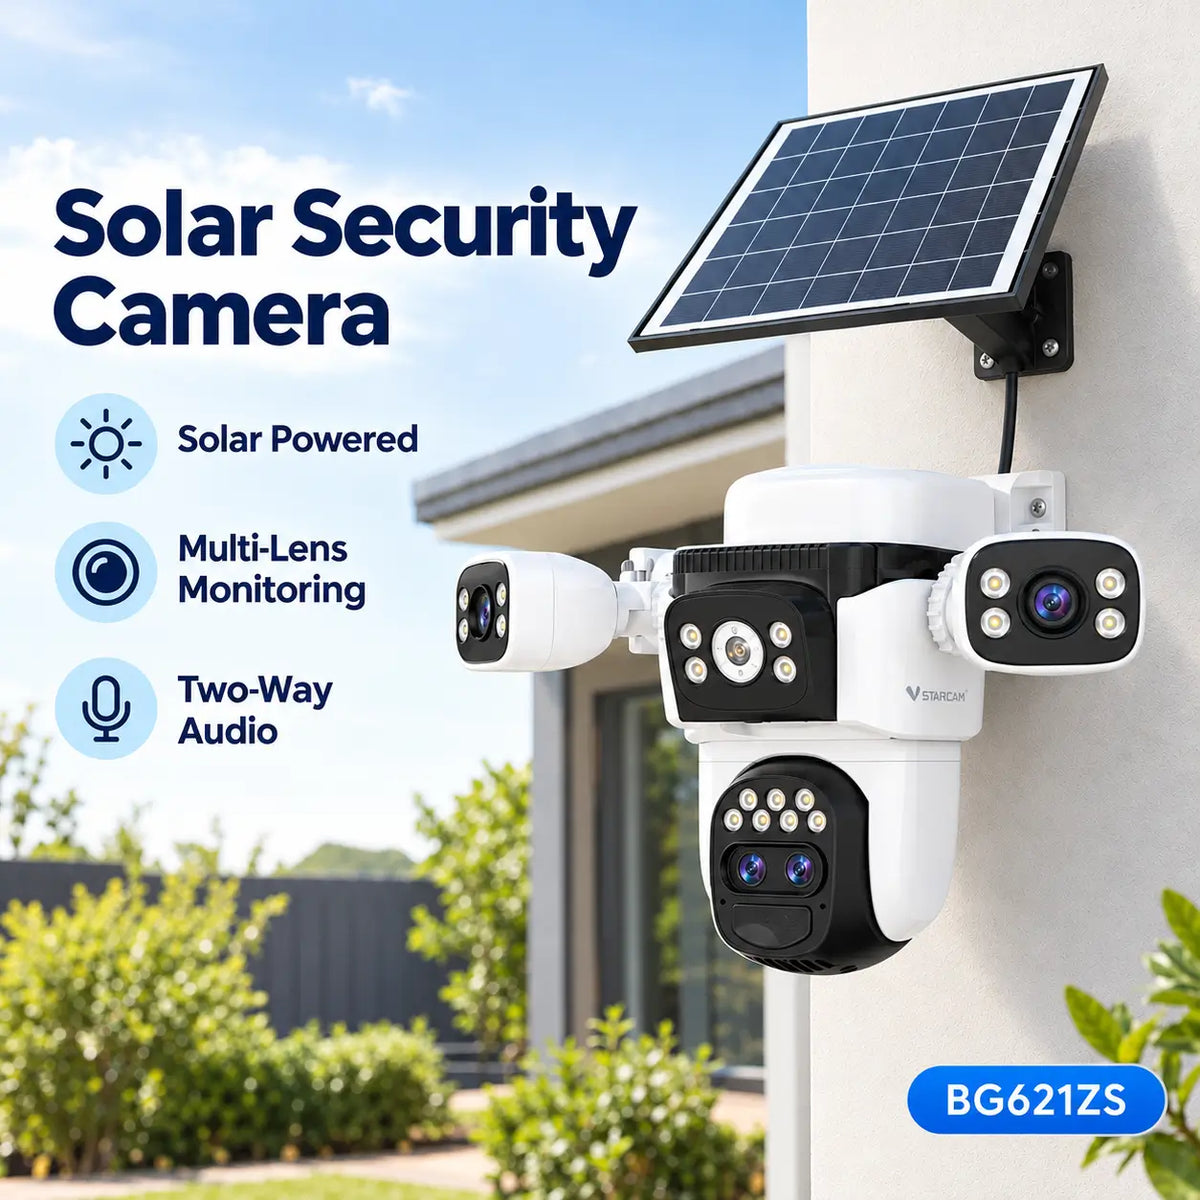
A sheltered camera may provide a useful doorway view while its immediate surroundings are poor for solar generation. A compatible external panel can sometimes be placed beyond the eave or on another suitable surface.
Compare available positions within the approved cable length. Check the whole route before moving brackets: a sunny position is not useful if the connection would be stretched, exposed to damage or incompatible.
With an integrated panel, you have less independence. Changing the camera's position may improve charging but lose the required monitoring angle.
Assess the view, detection, reception and charging together. If those needs cannot be met at one location, reconsider the equipment arrangement rather than accepting an unusable view for the sake of sunlight.
6. Compare Candidate Positions Systematically
| Candidate position | Potential benefit | What to check |
|---|---|---|
| Camera beneath an eave, panel nearby | Convenient short cable route | Roof-edge shade across the actual panel |
| External panel beyond the eave | Greater exposure may be available | Secure bracket, cable protection and weather sealing |
| Separate wall or post | Can avoid the camera's immediate shade | Seasonal shadows and approved cable reach |
| Beside vegetation | May offer a convenient mounting surface | Branch movement, growth and falling debris |
| Higher mounting point | May clear some obstructions | Safe servicing and secure attachment |
Choose the position with the most useful practical exposure, not simply the highest mount or the most exact compass bearing.
If vegetation work is being considered, obtain any required permission and use appropriate assistance. Relocating a small panel may be more practical than altering an established tree.
7. Keep the Surface and Connections Suitable for Charging
Shade is not the only obstruction to light. Dust, bird droppings and accumulated debris can cover the working surface.
Follow the manufacturer's cleaning instructions and inspect from a safe position. Avoid abrasive materials, pressure washing or cleaning methods that can damage the panel or connections.
Check that the cable is supported, connectors are secure and supplied seals are correctly fitted. Use only approved extensions and compatible accessories.
Do not raise or relocate a panel using improvised mounting hardware simply to reach a sunnier spot. Secure attachment and service access remain part of a workable installation.
M09 covers detailed maintenance; this step establishes that the chosen position can remain usable over time.
8. Verify the Change Through Battery Trends
Before adjusting the installation, note the existing battery level, typical event volume and recent weather. After the change, observe several representative days under similar use.
Check the documented charging indicator, but do not treat its appearance as proof that daily charging exceeds consumption. Battery percentages are estimates and may not move smoothly, especially near full charge.
Avoid changing recording schedules, lighting and panel position at the same time if you want to understand the effect of exposure. A much quieter camera can show a better battery trend even without improved generation.
Keep a simple record of conditions and results. The objective is a sustainable energy balance under expected use, not maintaining a displayed 100% at every moment.
9. Recognise When Positioning Is Not Enough
If the battery continues declining despite useful exposure, investigate compatible charging equipment, connections, temperature limits and the camera's workload.
Frequent recording, remote viewing and night lighting can consume more energy than the panel replenishes. A persistent charging fault also needs diagnosis rather than repeated changes to the angle.
Use M01 for charging problems and M02 for excessive battery drain. Where the site cannot provide adequate solar energy, consider an approved alternative power arrangement or a more appropriate monitoring system.
Do not assume any solar installation can operate indefinitely without sufficient energy input.
Final Thoughts
Assess shade at the exact panel surface across the day and consider seasonal change before committing to a mounting point. A panel that is nominally north-facing can still perform poorly behind a roof edge or growing vegetation.
Choose a secure, serviceable position within the approved cable arrangement, then verify charging under representative operation. Useful exposure and realistic energy consumption matter more than a brief charging symbol on a sunny afternoon.
About SolarEasy
SolarEasy provides practical information about solar powered products for Australian homes, gardens and outdoor properties.
This Information Hub helps readers plan and maintain camera installations using appropriate equipment and manufacturer guidance.