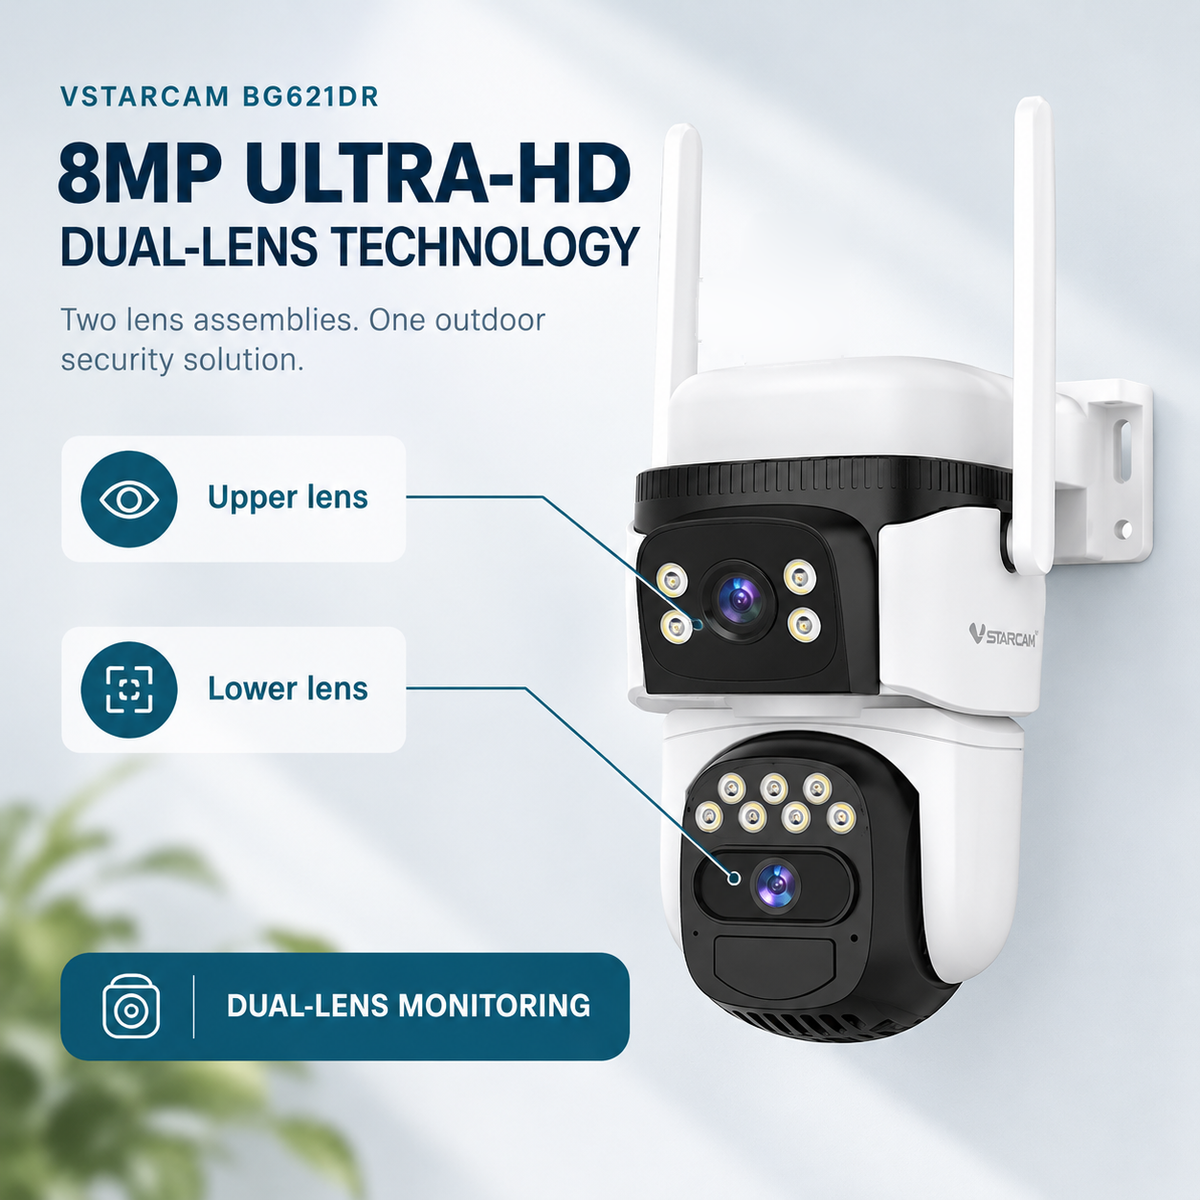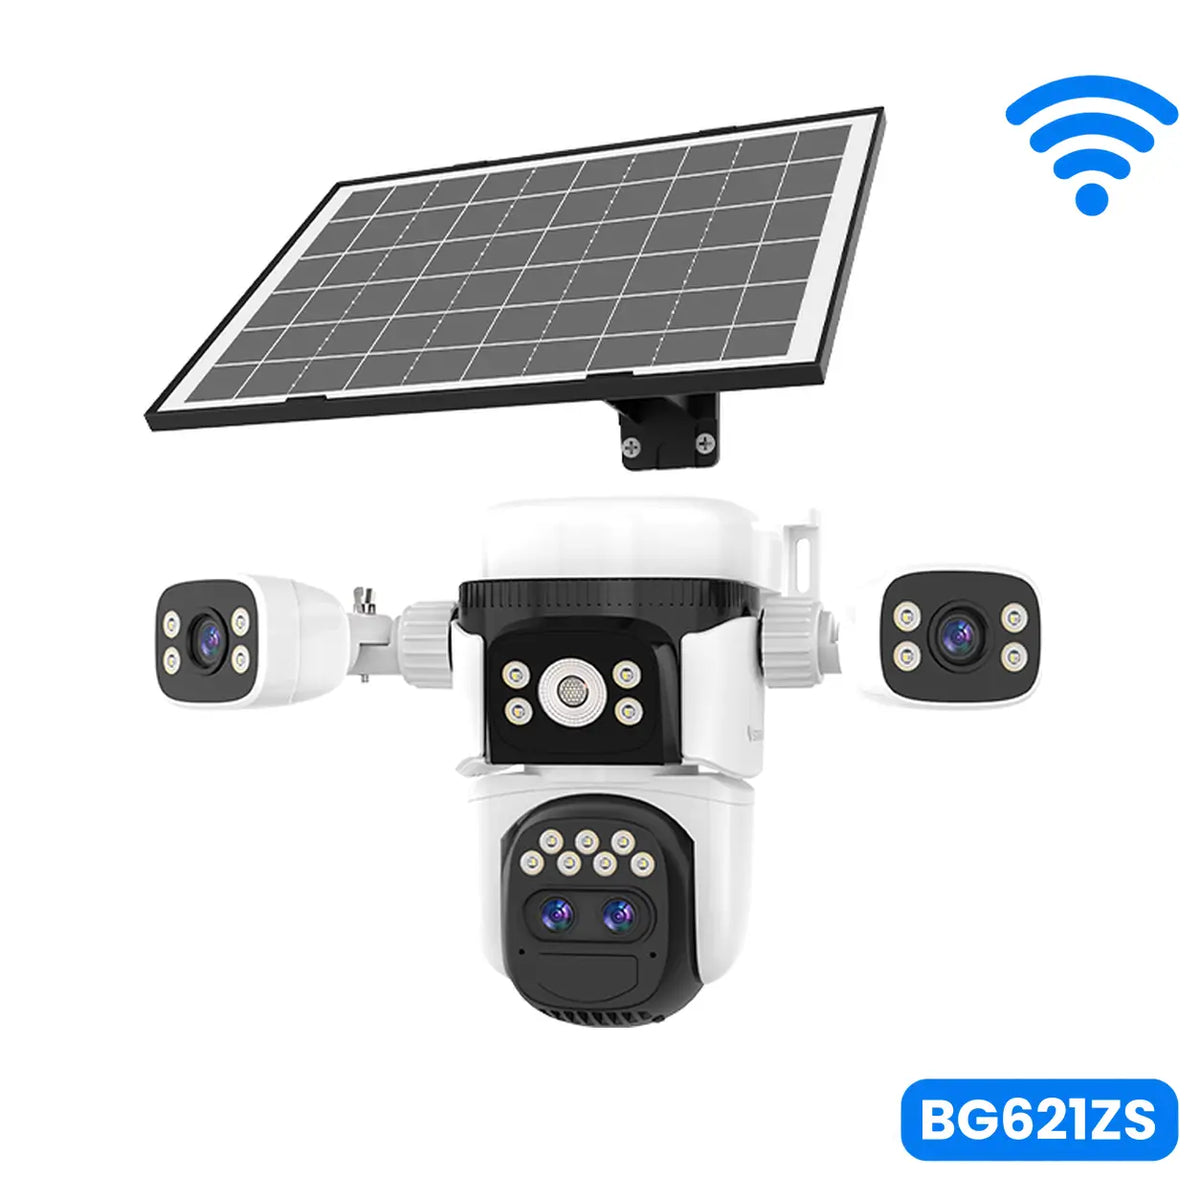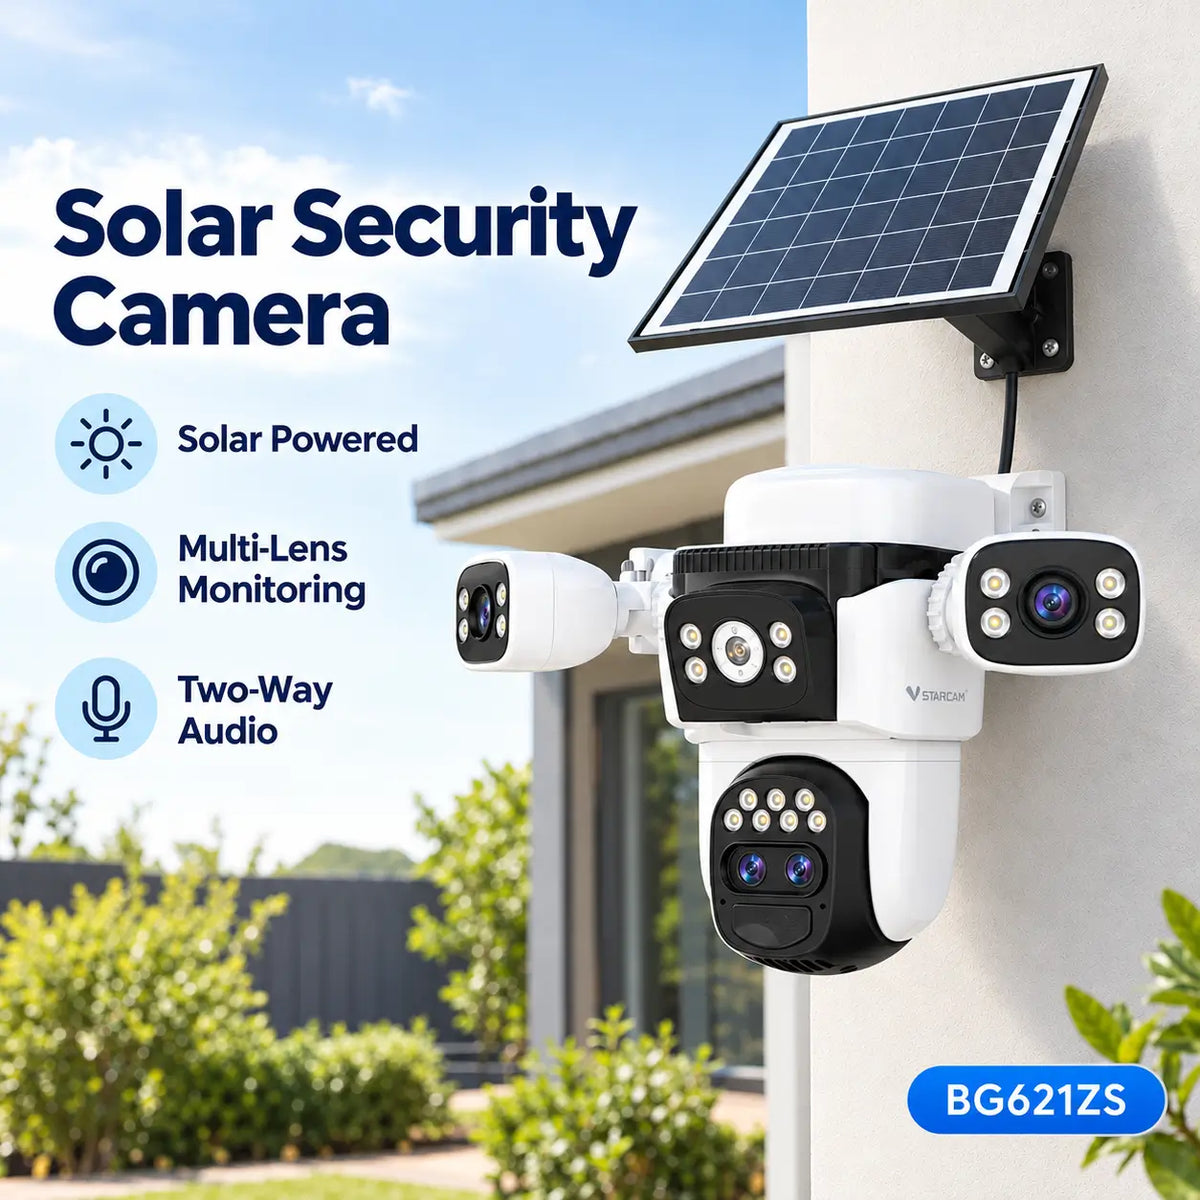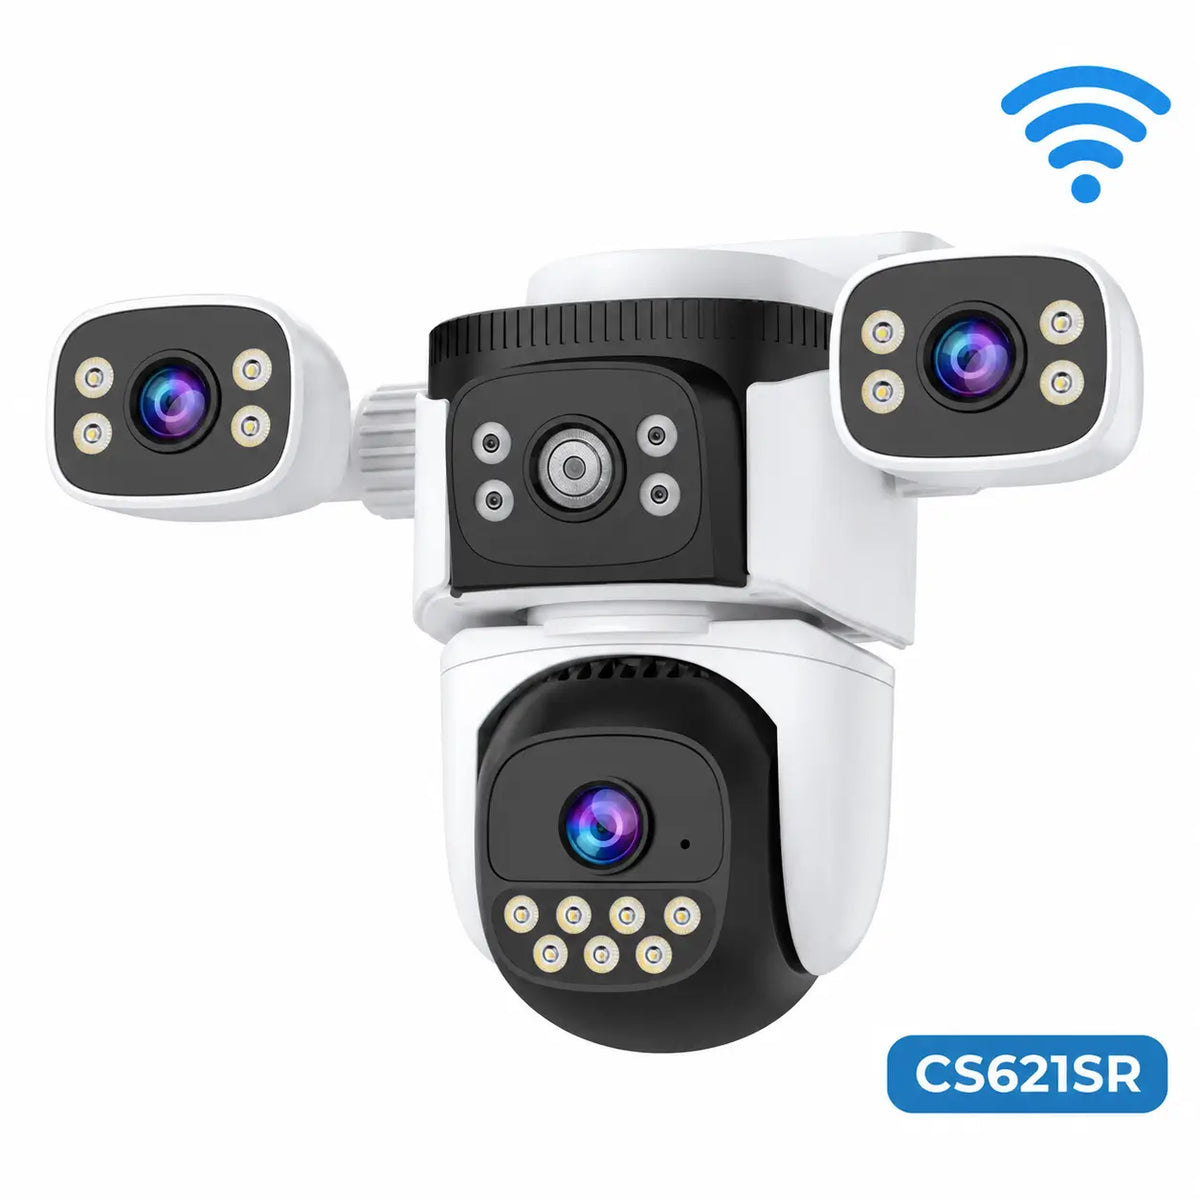

Solar Powered Security Camera Information Hub | Section 6: Troubleshooting & Maintenance
A solar security camera still needs maintenance. Dirt can affect images and charging, vegetation can obstruct coverage, and small changes to brackets or cables can alter an otherwise useful installation.
A practical routine checks both the physical equipment and the result: usable recordings, relevant alerts, reliable access and a sustainable battery trend.
This guide covers routine care for Australian outdoor installations. It is not an instruction to open sealed equipment or repair battery packs. Follow the exact camera and panel manuals for cleaning materials, access procedures and maintenance limits.
1. Start with a Baseline, Not a Universal Cleaning Calendar
Record the model, installation date, panel arrangement and important settings. Keep a sample of satisfactory day and night footage so later changes are easier to recognise.
Inspection frequency depends on exposure. A sheltered suburban entrance, dusty rural shed and coastal driveway may accumulate contamination differently.
Use an initial regular visual check to learn how quickly the site changes, then follow the manufacturer's schedule and adjust for actual conditions. Inspect after a meaningful event such as heavy dust, strong wind, building work or a known impact when it is safe to do so.
Do not climb to an inaccessible camera merely to follow an arbitrary weekly timetable. Plan a safe and practical service arrangement.
2. Prepare Safely Before Cleaning
Read the documented shutdown, disconnection and cleaning procedure. Choose suitable dry conditions and avoid servicing a panel that is uncomfortably hot.
Use a clean, soft cloth and only the materials approved for the relevant optical surface, housing and panel. A product suitable for one surface may damage another coating.
Plan safe access. Do not overreach from a ladder or improvise a platform. WorkSafe Victoria's ladder guidance emphasises suitable setup and maintaining appropriate contact. Arrange professional assistance when the task cannot be performed safely.
Let authorised users know if monitoring will be interrupted. Do not alter fixed electrical wiring or disconnect equipment outside the routine specified by the manufacturer.
3. Clean the External Lens Cover Carefully
Inspect the accessible surface for dust, fingerprints, water marks and bird contamination. Check for grit before wiping; rubbing particles across a coated surface can cause damage.
Follow the approved method for removing loose debris and cleaning remaining marks. Use gentle pressure and do not substitute abrasive pads, household polish or an unapproved solvent.
Manufacturer outdoor-camera guidance distinguishes care of the viewing surface and solar panel. Use your model's specific instructions rather than treating every camera cover as ordinary window glass.
Do not remove a sealed optical cover to clean its inside. Apparent internal moisture, damaged coatings or persistent cloudiness should be assessed by support.
4. Clear Webs and Check Illumination Areas
Inspect around the lens, accessible sensors and lights for webs or debris. Material close to the camera can reflect night illumination and reduce useful images even when the daytime view looks acceptable.
Remove contamination using the permitted method without pushing material into openings or moving components. Do not spray insect treatment directly onto the device unless the manufacturer explicitly approves it.
Check that a nearby branch or accessory has not begun obstructing the infrared or visible-light area. Recheck the view after cleaning so an accidental angle change is not overlooked.
Use M06 if glare or night haze remains after routine external care.
5. Maintain the Solar Panel Surface
Check the working face for dust, bird droppings, leaves and other contamination. Rain does not guarantee that the surface stays clean, particularly in sheltered or exposed dusty locations.
Use the manufacturer's approved cleaning method. Some panels permit a soft, lightly damp cloth; confirm that guidance for your model before applying water or a cleaning product.
Avoid pressure washing, scraping, sanding and improvised coatings. Do not assume a cloudy-looking surface can be repaired with polish or a protective spray.
If the surface is cracked, lifting or visibly deteriorated, seek support rather than continuing aggressive cleaning. F05 explains the charging system; M01 provides the charging-fault workflow.
6. Inspect Brackets, Cables and Seals
Look for changes in camera angle, loose fittings, damaged mounting surfaces or visible corrosion. Check that the panel remains securely attached within its approved adjustment range.
Inspect accessible cables for abrasion, pinching, stretching or contact with moving gates and camera parts. Look for connectors pulled out of alignment or covers that are no longer seated correctly.
Follow the documented procedure before reseating a connection. Do not apply unapproved sealants, tape, lubricants or replacement parts as a general repair.
An IP rating does not establish that damaged seals or incorrectly fitted covers remain weather-resistant. Obtain advice when structural or connector damage is apparent.
7. Review Vegetation and Seasonal Exposure
Check whether growing plants now obscure the view, trigger unnecessary events or shade the panel. Consider new structures, parked equipment and changed gate positions as well as vegetation.
For Australia, retain the Southern Hemisphere orientation principles in I02, but assess actual exposure across seasons rather than assuming a north-facing position remains clear.
If vegetation work is needed, obtain any necessary permission and suitable assistance. Moving an approved panel arrangement may be more practical than altering an established tree.
Use I07 to assess shade in detail. Do not move the camera for better sunlight without checking whether the required view and network reception are preserved.
8. Check Battery, Software and Account Access
Review battery trends under representative activity. A lower reading after a busy or cloudy period does not by itself prove battery failure.
Check the manufacturer's operating and charging limits. If endurance changes persistently under comparable conditions, use M02 and seek model-specific guidance.
Stop using or charging equipment showing swelling, leakage, scorching or other signs of damage. Do not open sealed packs or substitute unverified cells.
Install legitimate software updates according to the manufacturer's instructions and with adequate power. Review authorised account access when household members, staff or project arrangements change. Keep credentials secure and remove access that is no longer needed through the supported controls.
9. Test Recording, Playback and Notifications
Physical cleaning does not establish that the camera is recording. Create a controlled event and confirm that a usable clip is saved to the intended destination.
Check available storage, retention and overwrite settings. Export important recordings before they expire or are overwritten. Formatting is not a routine cleaning step and may erase evidence.
Verify the date, time zone and relevant schedules. For shared systems, confirm that authorised users still have the required access.
Test notifications separately, then repeat the image check after dark. Check lighting and siren responses only where intended, at an appropriate time that avoids unnecessary disturbance.
10. Adapt the Routine to Australian Conditions
| Environment or change | Useful maintenance focus |
|---|---|
| Coastal exposure | Visible corrosion and supplier guidance on environmental suitability |
| Rural roads or construction dust | Panel surface, external optics and protected connections |
| Trees and garden growth | View obstruction, webs, triggers and panel shade |
| Winter or extended poor weather | Exposure changes and battery trends |
| Strong wind or known impact | Brackets, angle changes and visible damage |
| Relocation between sites | Full view, reception, charging and recording tests |
These are inspection priorities, not a guarantee that every camera is suitable for every environment. Salt spray, impact and temperature exposure need the equipment's own suitability assessment.
11. Keep a Short Maintenance Record
Note the inspection date, visible condition, cleaning performed and any setting changes. Record the outcome of day/night footage, recording and notification tests.
Photographs of the external installation can help compare changes, but keep device-access labels and private footage out of public records.
If an issue persists, provide the model, purchase details and maintenance history through a verified support channel. Clear records help distinguish gradual deterioration from a configuration or environmental change.
Seek support for internal moisture, damaged connectors, unstable mounting, unsafe battery condition or faults that remain after permitted routine care. Maintenance should not become an improvised repair.
Final Thoughts
Maintain the lens cover, panel, mounting and accessible connections, then confirm what the camera actually delivers. A clean-looking installation still needs usable footage, working storage and appropriate alerts.
Base the routine on the model's instructions and the property's exposure. Safe access, gentle approved cleaning and clear service records help preserve useful monitoring without risking damage through unnecessary intervention.
About SolarEasy
SolarEasy provides practical information about solar powered products for Australian homes, gardens and outdoor properties.
This Information Hub helps readers maintain suitable camera installations using the relevant manufacturer's instructions.