
Solar Powered Security Camera Information Hub | Section 5: Installation & Setup Guides
Connecting a solar security camera to Wi-Fi is best completed before permanent mounting. Set up the account and camera nearby first, then test the final outdoor location before fixing brackets or routing the solar cable.
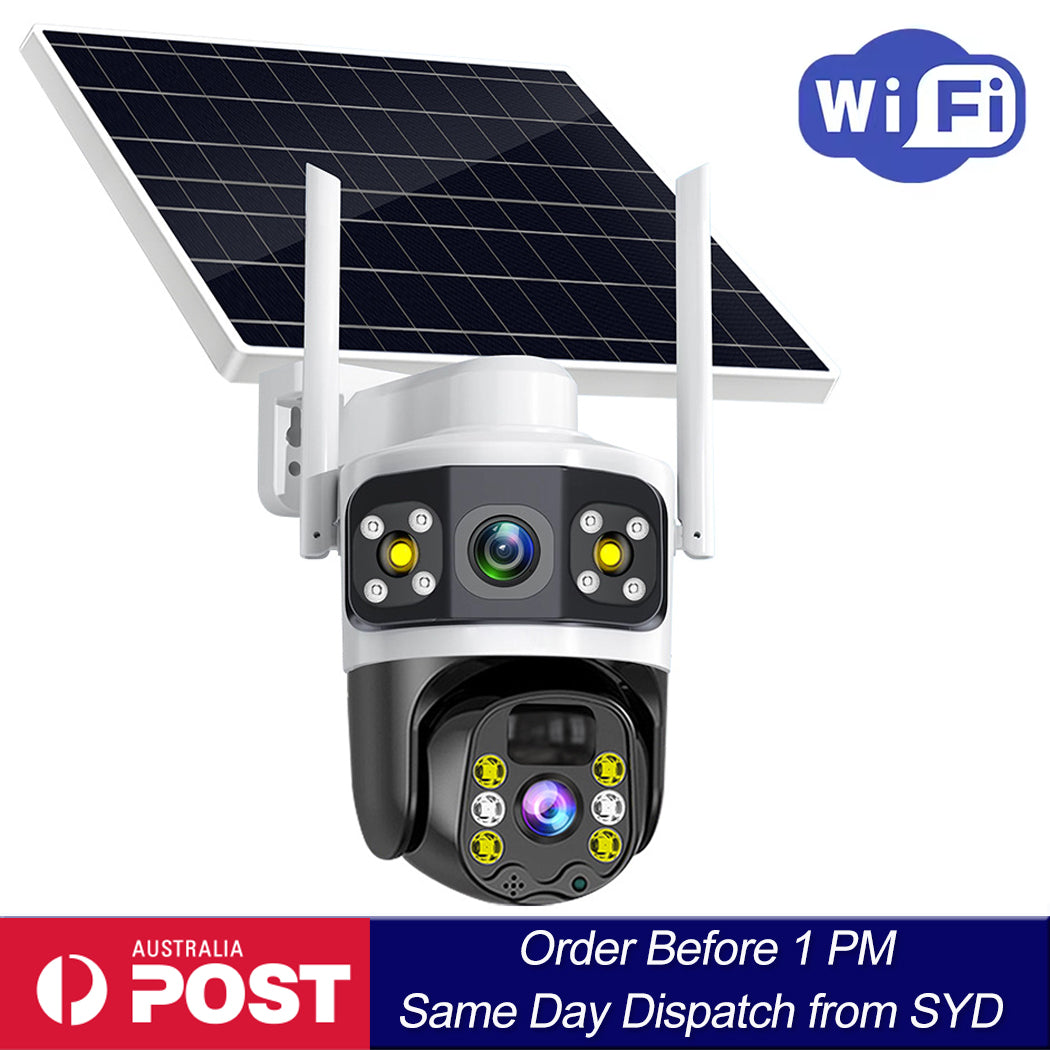
This guide explains a Bluetooth-assisted setup process used by some Wi-Fi cameras: log in to the official app, let it discover the nearby camera, select the home Wi-Fi network and complete the connection. Other models use a QR code, a temporary camera Wi-Fi network or a hub. Follow the method specified for your model rather than expecting every camera to pair identically.
The focus is first-time connection. Detailed Wi-Fi fault diagnosis is covered in M03.
1. Prepare the Camera and Network Details
Charge the camera using its approved method and keep it accessible during setup. Have the camera's instructions, your home Wi-Fi name and its password ready.
Check that the home internet connection is working and that your phone can use the intended wireless network. The Wi-Fi password is not necessarily the same as a router administration password or the password for your camera app account.
Place the camera within reliable range of the router for initial setup. Do not begin by permanently mounting it at the far end of the garden, where a weak signal can make every subsequent step harder to assess.
2. Confirm Whether the Camera Supports 2.4GHz or 5GHz
Some cameras support only 2.4GHz Wi-Fi; others support 5GHz as well. Check the exact model's specifications rather than making an assumption based on its age, solar panel or appearance.
If both bands are supported, choose a connection that works reliably at the intended installation point. Higher advertised Wi-Fi speed is not automatically more useful than stable coverage outdoors.
5GHz Wi-Fi is different from 5G mobile service. A Wi-Fi camera does not become a cellular camera because it supports the 5GHz band.
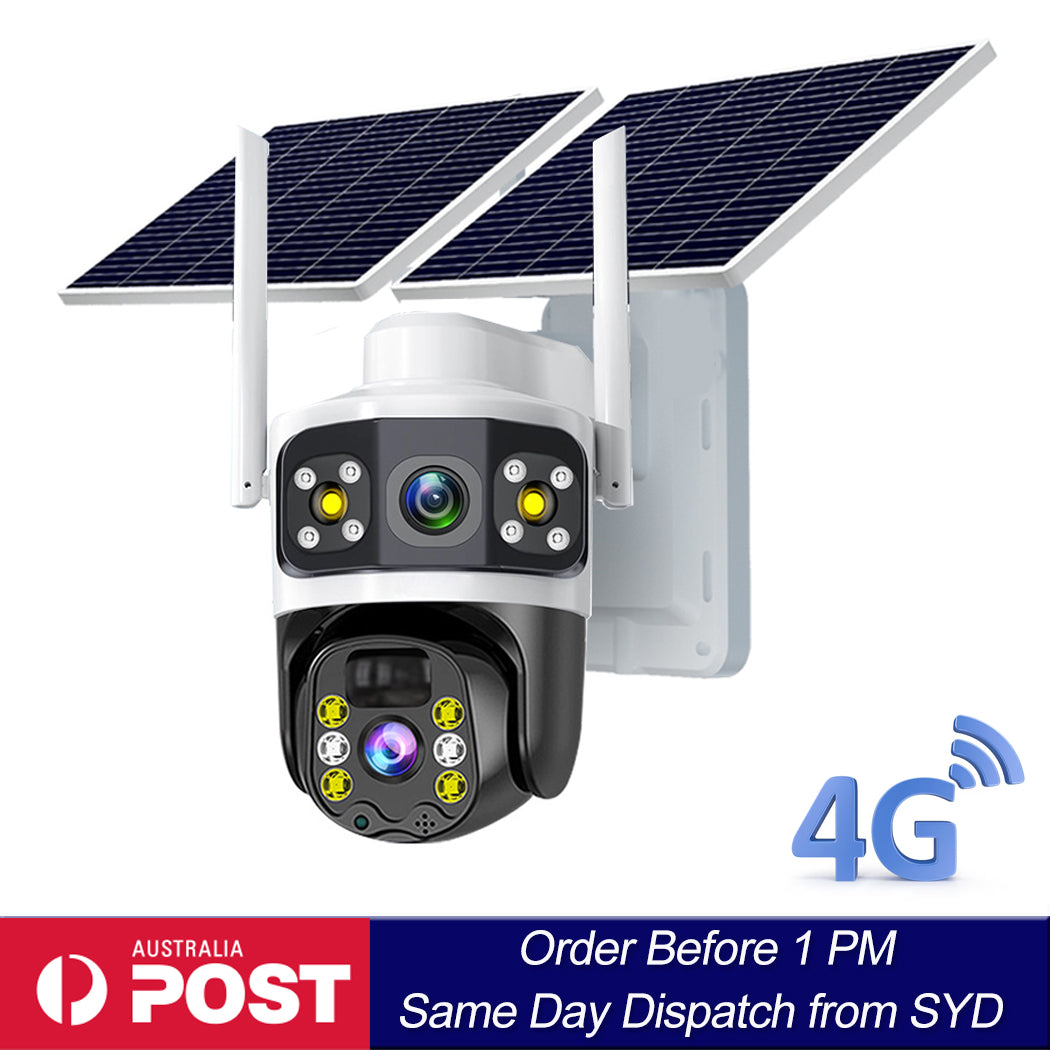
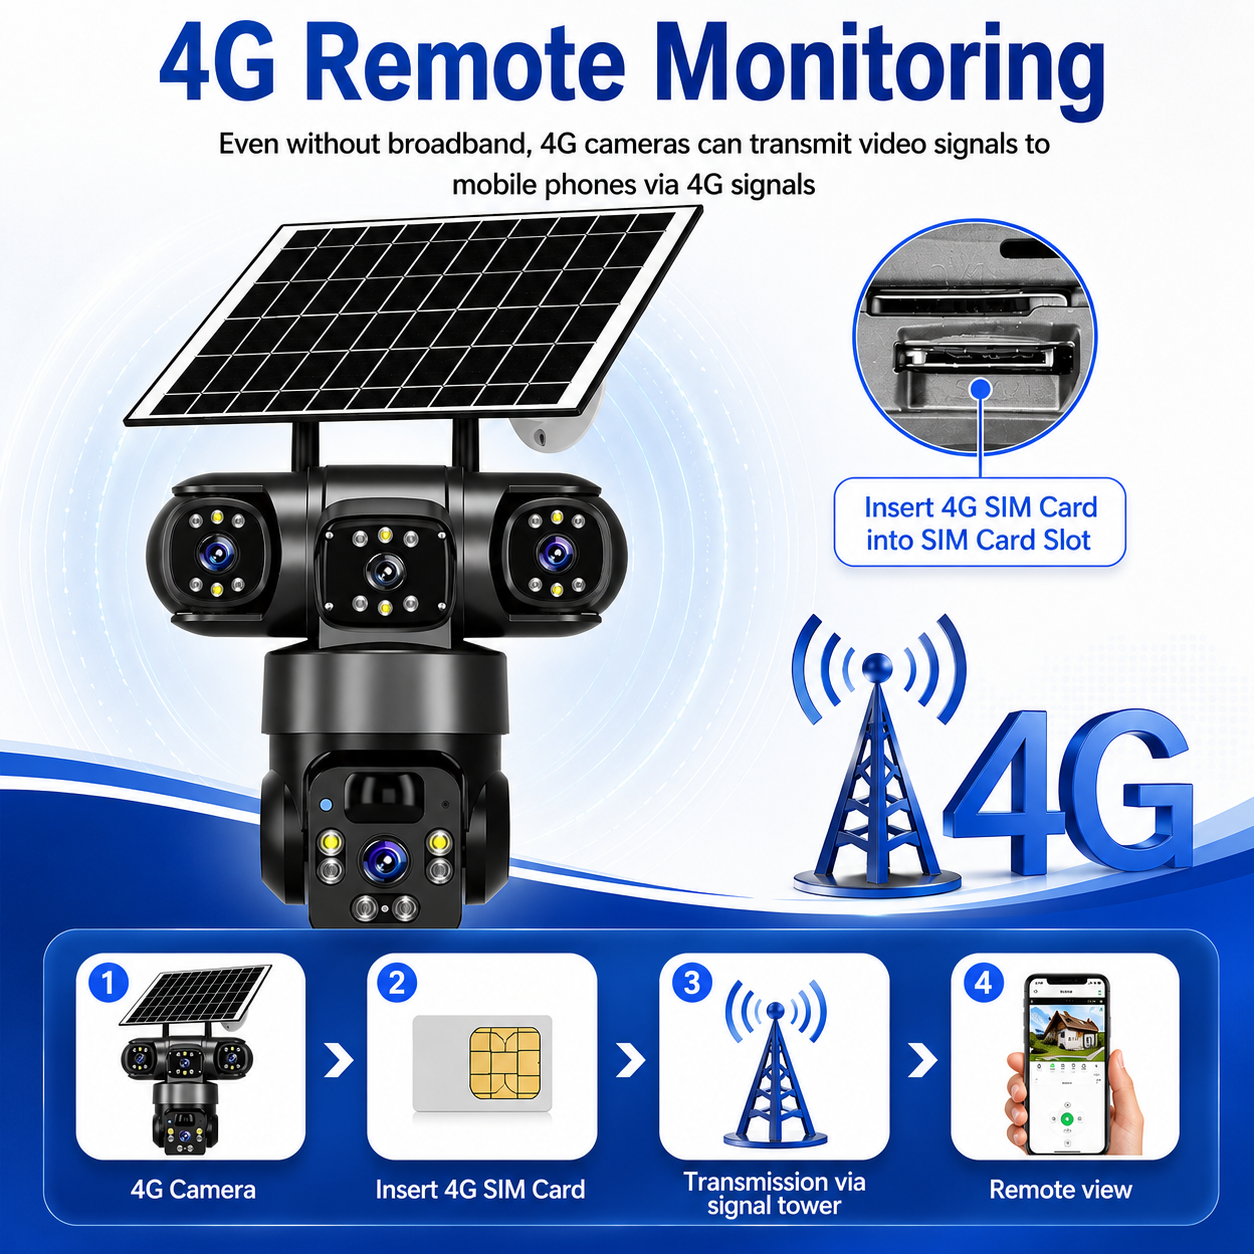
If your camera uses a SIM card for its normal connection, follow I05 instead. A cellular model should not be assumed to support household Wi-Fi unless its specifications say so.
3. Install the Official App and Log In
Use the app identified in the product instructions and obtain it from the legitimate app store or manufacturer source. Check the publisher where necessary.
Create an account if required, complete verification and log in before trying to add the camera. If you already have an account, use the intended account for that household or property.
Use a strong password and enable additional account protection where supported. Account setup is mentioned elsewhere in this hub; here, the important point is to finish login before starting device discovery.
Menu names vary. Instructions such as Add Device, Scan or Nearby Devices describe common functions rather than exact buttons in every app.
4. Enable Bluetooth and the Necessary Setup Permissions
For a camera that supports Bluetooth-assisted onboarding, switch on Bluetooth on your phone and keep the camera close enough for discovery.
Allow the official app the permissions needed for the documented setup method. Depending on the phone, operating system and app, prompts may refer to Bluetooth, nearby devices, the local network or location access. Permission to use the phone's camera may be needed for QR scanning.
Grant permissions relevant to the setup task and follow the app's explanation. Do not assume that every permission category is necessary for every camera.
Manufacturer setup guidance illustrates how camera onboarding can use Bluetooth or a temporary Wi-Fi connection depending on the device.
Normally, discovery is handled inside the camera app. Do not manually pair the camera in the phone's Bluetooth settings unless the manufacturer specifically instructs you to do so.
5. Put the Camera into Its Documented Pairing Mode
Power on the camera and follow its instructions for entering setup mode. The device may use an indicator light, voice prompt or app message to show readiness.
Select Add Device or the equivalent function. Where Bluetooth discovery is supported, wait for the nearby camera to appear and check that it is the device you intend to add.
Some apps require a label or QR code to identify the camera before discovering it. Other cameras present a QR code on the phone for the camera to read, or ask the phone to join a temporary network. These are different methods; use the one shown for your model.
Avoid repeated factory resets. Resetting a previously configured camera may remove settings or require account-related steps, so use that procedure only when appropriate under the instructions.
6. Select the Home Wi-Fi Network and Enter Its Password
The app may display available networks or ask you to select or enter the Wi-Fi name. Bluetooth discovery does not guarantee that every nearby network will appear.
Choose the intended home network and confirm that its band and security configuration are supported. Enter the Wi-Fi password carefully, observing capital letters and avoiding accidental spaces.
On supported Bluetooth-assisted systems, the app uses the setup connection to help configure the camera's Wi-Fi access. The camera then joins the router using its own Wi-Fi hardware.
Bluetooth is not a replacement for the camera's ongoing Wi-Fi connection. Finding the camera nearby does not prove that it will connect reliably to the router at its final location.
Keep the phone and camera nearby while the process completes. Wait for the app or camera to confirm the result rather than assuming that discovering the device means setup has finished.
7. Understand Combined Networks and Mesh Systems
Many Australian households use one network name for several Wi-Fi bands. A supported camera can often join a suitable band without separate names; a combined name is not automatically a problem.
Follow any documented requirement for the phone's connection during setup. Some onboarding methods require particular conditions even when the camera's normal operation is more flexible.
Do not disable household Wi-Fi security or change router settings simply because the network is dual-band. If pairing fails, use the manufacturer's guidance or contact your internet provider before making changes that could disconnect other household devices.
If a temporary change is recommended, record it, complete the test and check the effect of restoring normal settings. Detailed troubleshooting belongs in M03.
8. Confirm the Connection Before Moving Outdoors
Open live view and check whether the image loads consistently. Give the camera a clear location name so it is easy to identify when more devices are added.
Confirm the date and time, then enable the supported recording and storage functions you intend to use. Create a test event and check playback rather than relying solely on a successful live image.
Configure notifications separately and check the phone's notification permissions. If official updates are recommended, follow the manufacturer's power and connectivity requirements while installing them.
Once onboarding is complete, the camera's supported remote functions normally rely on Wi-Fi and internet access rather than keeping the setup phone beside it over Bluetooth.
9. Test Wi-Fi at the Final Camera Position
Move the camera to the proposed mounting point and repeat the live-view and event tests. Include normal conditions such as closed garage doors or shutters.
For Australian homes, an NBN connection can work well while outdoor Wi-Fi remains weak. nbn's home network guidance explains how walls, objects and router placement affect the signal distributed around a property.
If coverage is inadequate, consider a suitable network improvement or a different location before permanent mounting. A faster broadband plan alone does not necessarily extend the router's wireless reach.
10. Verify Remote Access and Keep a Setup Record
If available, temporarily disconnect the phone from home Wi-Fi and use mobile data to test supported remote viewing. Restore your normal phone connection afterwards.
Record the camera model, location, app and relevant setup notes. Keep account credentials securely rather than leaving passwords in a shared installation checklist.
| Check | Successful result |
|---|---|
| Account | Correct app account is logged in |
| Discovery | Intended camera is identified using its supported method |
| Wi-Fi | Camera confirms connection to the intended network |
| Live view | Image loads reliably at the final position |
| Recording | A test event can be played back |
| Alerts | Configured notifications reach the phone |
| Remote access | Supported access works from another internet connection |
Final Thoughts
Log in first, prepare the phone for the supported discovery method and let the app guide the camera onto a compatible home Wi-Fi network. For Bluetooth-assisted models, Bluetooth helps onboarding; the camera's normal network connection is a separate requirement.
Check 2.4GHz and 5GHz support by model and test the actual outdoor location before mounting. A confirmed recording, useful notification and successful remote check provide a more complete result than an online indicator alone.
About SolarEasy
SolarEasy provides practical information about solar powered products for Australian homes, gardens and outdoor properties.
This Information Hub helps readers understand camera setup and operation, with model-specific instructions supplied by the relevant manufacturer.