
Solar Powered Security Camera Information Hub | Section 5: Installation & Setup Guides
The most useful camera position is not always the highest corner of the house or the spot with the widest view. A successful location captures the activity you care about, supports reliable detection and remains practical for power, connectivity and maintenance.
For Australian homes, common priorities include the front entrance, driveway, garage, backyard gate and side access. The right arrangement depends on the property's layout rather than a fixed number of cameras.
This guide explains how to assess those locations. I01 covers the mounting process, while I02 and I07 address panel direction, tilt and sunlight exposure in more detail.
1. Map the Entrances Before Choosing Mounting Points
Sketch the house, paths, gates, driveway and detached buildings. Mark where people approach and where an incident would be most useful to record.
Start with access points rather than trying to watch every square metre. An overview of the garden may show general movement but provide little detail at an important doorway.
Decide whether you need to observe activity or identify a person. The second task usually requires a more deliberate view of the expected approach.
Also mark obstructions that change during normal use: open gates, parked vehicles, garage shutters and growing vegetation. Assess the scene as it will actually be used.
2. Position a Front-Entrance Camera for Approaching Visitors
Choose a view that captures the approach and the place where a visitor normally stops. Check whether a porch post, screen door or open front door will obscure the scene.
Avoid an excessively steep downward view if facial detail is important. Seeing the top of someone's head is different from obtaining a useful image of their face.
If deliveries are a priority, confirm that the expected parcel location remains visible after the person leaves. A camera can show the walkway while missing the area immediately beneath it.
For two-way audio, consider the distance between the camera and the visitor. A position selected only for a wide overview may be inconvenient for conversation.
Check nearby lights at night. A bright porch lamp immediately beside the lens can create glare even when it helps illuminate the entrance.
3. Cover the Driveway Without Losing the Important Detail
Identify whether the priority is the boundary entrance, parked vehicles or the garage doors. A long driveway may not allow one camera to show all three with useful detail.
For a double garage, test whether both approaches remain visible when vehicles are parked. A large vehicle can block a low camera or hide the path to a side door.
Minimise unnecessary public-road activity where the equipment allows it. Detection zones can help manage alerts on supported models, but they do not change an obstructed view.
Do not assume that a high-resolution overview will capture readable number plates. Distance, angle, movement and night-time reflections matter. Test footage from the proposed position rather than relying on the megapixel label.
4. Treat Detached Garages and Sheds as Separate Locations
A detached building may need its own view of the entrance or access path. Watching it from the house can leave subjects too far away to provide the detail you need.
Test network reception at the actual camera position with doors and shutters in their usual condition. Metal structures and distance can affect Wi-Fi, even when the household broadband service works well indoors.
If a different connection is needed, resolve it before permanent mounting. Solar charging and network access are independent requirements.
Check how the camera and panel will be inspected without difficult access. Victoria Police's shed and garage guidance places surveillance within wider property security; secure doors and storage remain relevant alongside camera coverage.
5. Focus Backyard and Side-Access Views on Useful Routes
For a backyard, consider gates, side passages and doors connecting to detached structures. A clear view of these routes can be more useful than a distant panorama of lawn and landscaping.
In narrow side passages, nearby walls can dominate the image or reflect infrared illumination. Keep the intended approach visible and assess the night view before finalising the angle.
Consider routine activity from pets, family members and moving vegetation. Where supported, configure relevant detection zones and notification schedules without excluding the access point you need to monitor.
Avoid aiming visible lighting into neighbouring windows. Keep coverage focused on the property's monitoring needs and check applicable permissions and recording requirements, especially for shared access or audio. AU03 covers those Australian considerations separately.
6. Match Height and Angle to the Actual Camera
There is no universal mounting height for every solar camera. Use the specified height and detection geometry for the model, then test whether the proposed view provides useful recordings.
An older Reolink battery-camera manual suggests approximately two to three metres for certain models. Treat that as model-specific guidance, not a rule for every product.
For some PIR-equipped cameras, movement crossing the detection zones can be easier to trigger than movement directly towards the sensor. Check the manufacturer's diagrams and test the actual approach from several directions.
Do not choose height solely to make the camera harder to reach. Excessive height can reduce useful subject detail, complicate servicing and change detection performance.
7. Separate Camera Coverage from Panel Exposure
In Australia, a panel generally starts with a true-north orientation, subject to seasonal and site conditions. The camera itself should face the monitoring area, which may be in another direction.
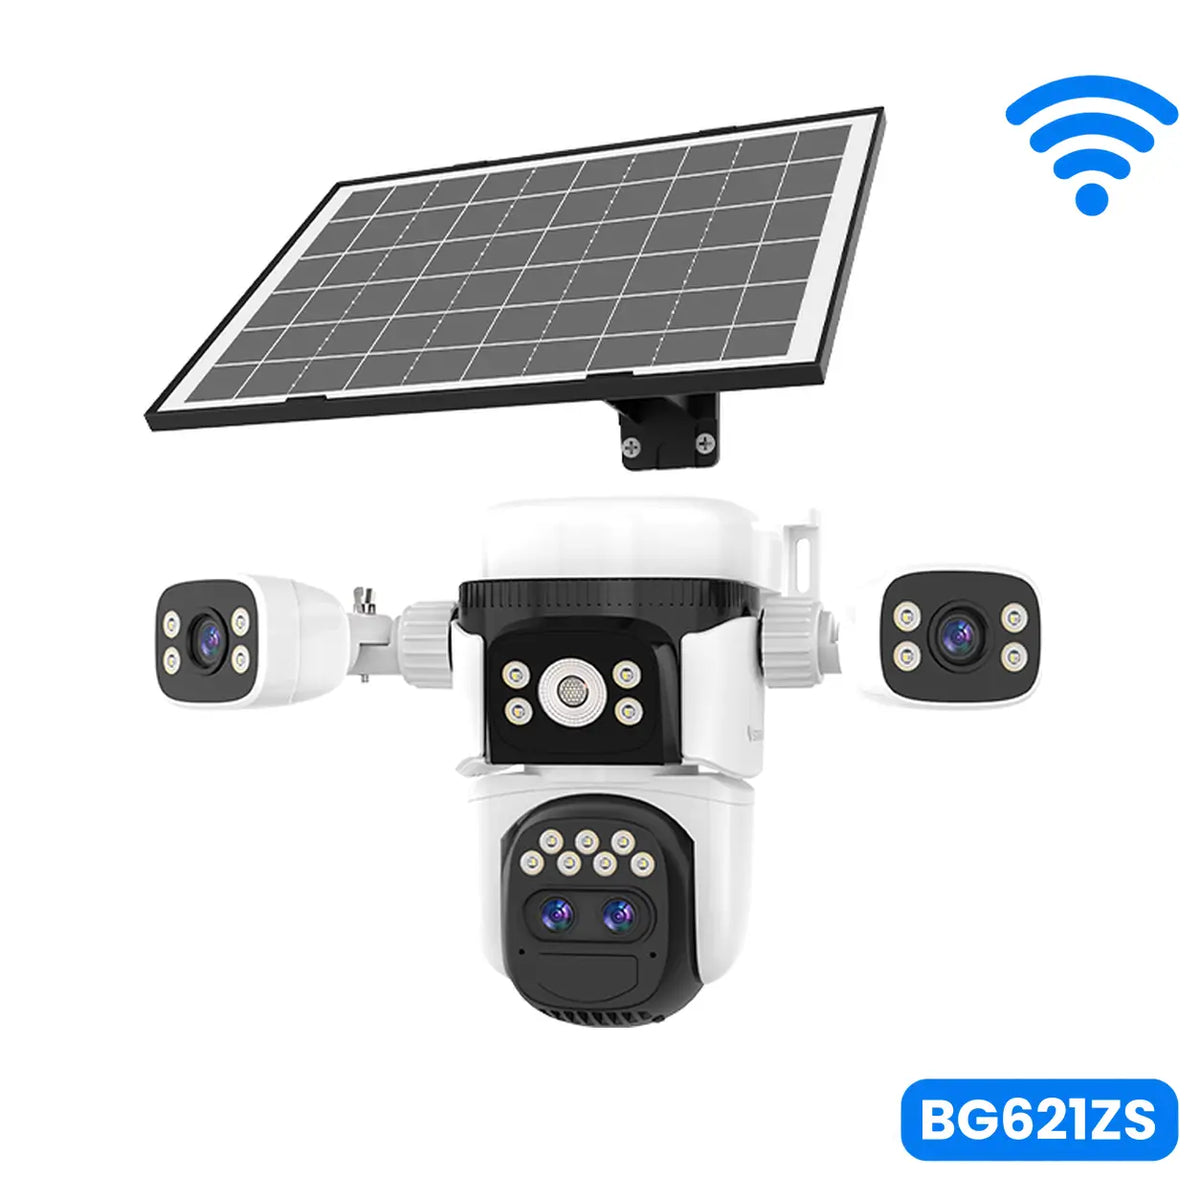
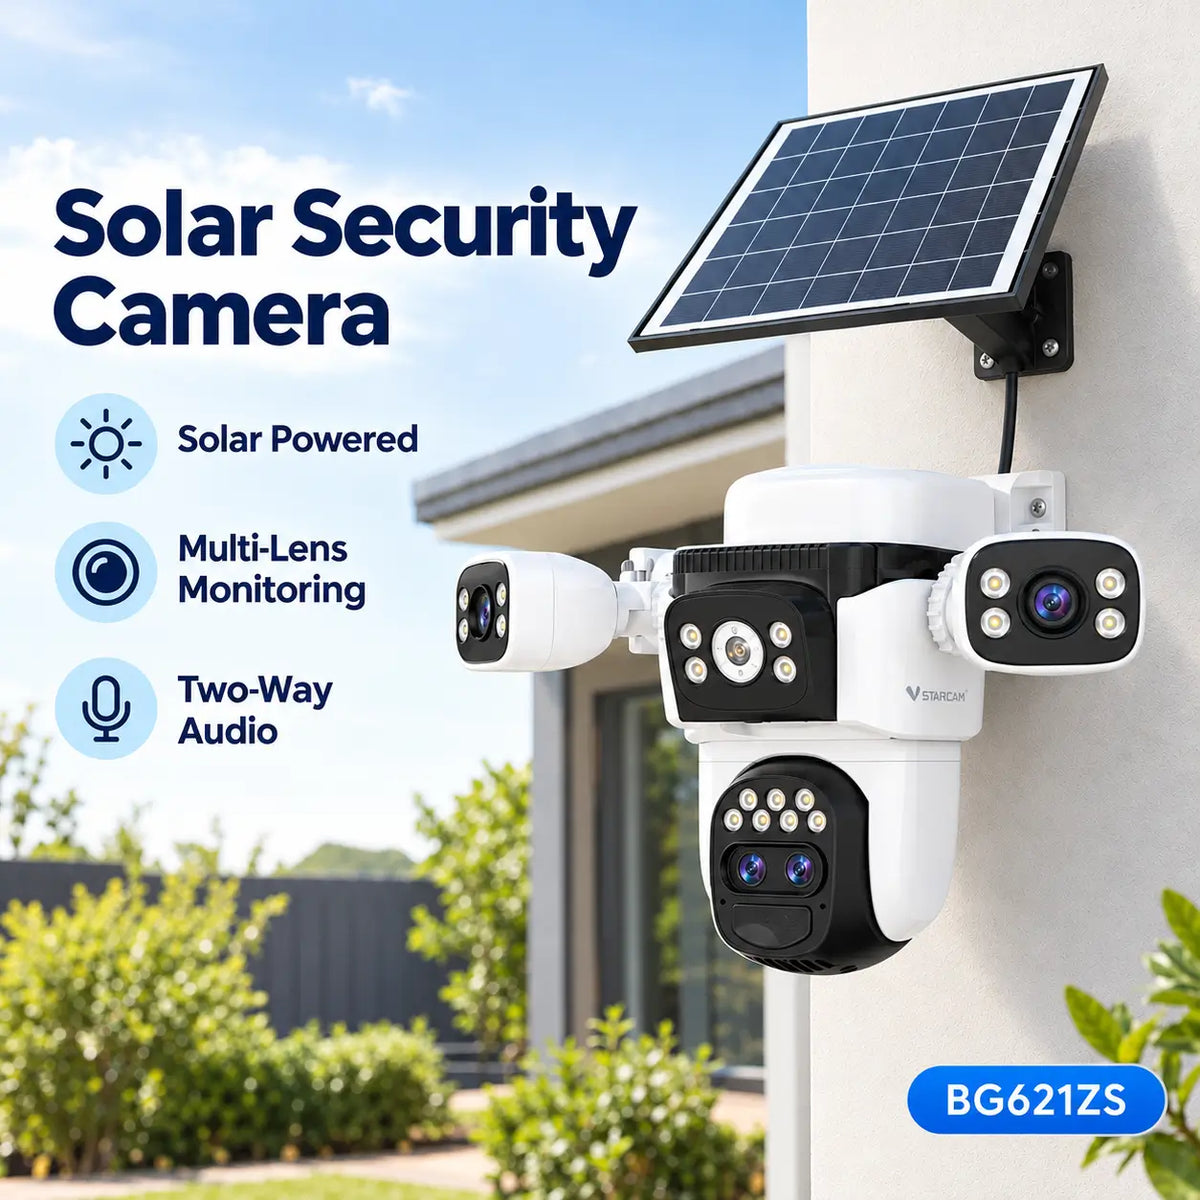
A separate compatible panel can provide that flexibility if an approved cable reaches a useful position. With an integrated panel, the camera location must also provide suitable charging exposure.
Do not compromise the essential view simply to place the whole assembly in sun. Equally, do not install a panel in permanent shade because the camera view is convenient. Reconsider the arrangement when those requirements conflict.
Use I02 for direction and tilt, and I07 for the detailed shade assessment.
8. Account for PTZ Movement and Multiple Views
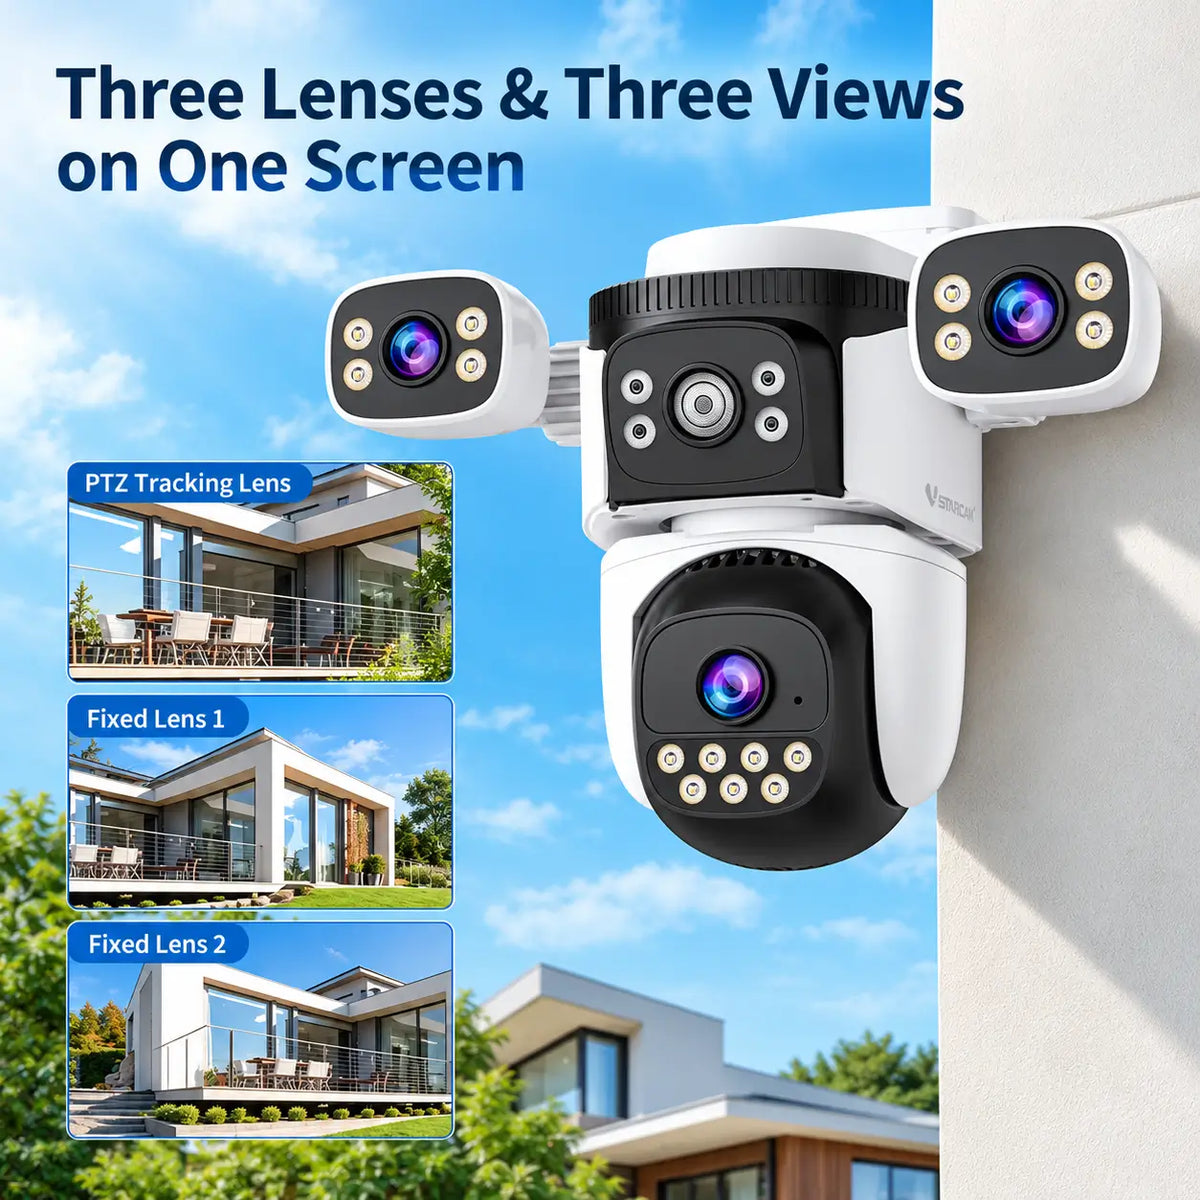
A PTZ lens can inspect different directions, but it may look away from an entrance when another event occurs. Check whether tracking returns to a useful position and whether important areas need an independent fixed view.
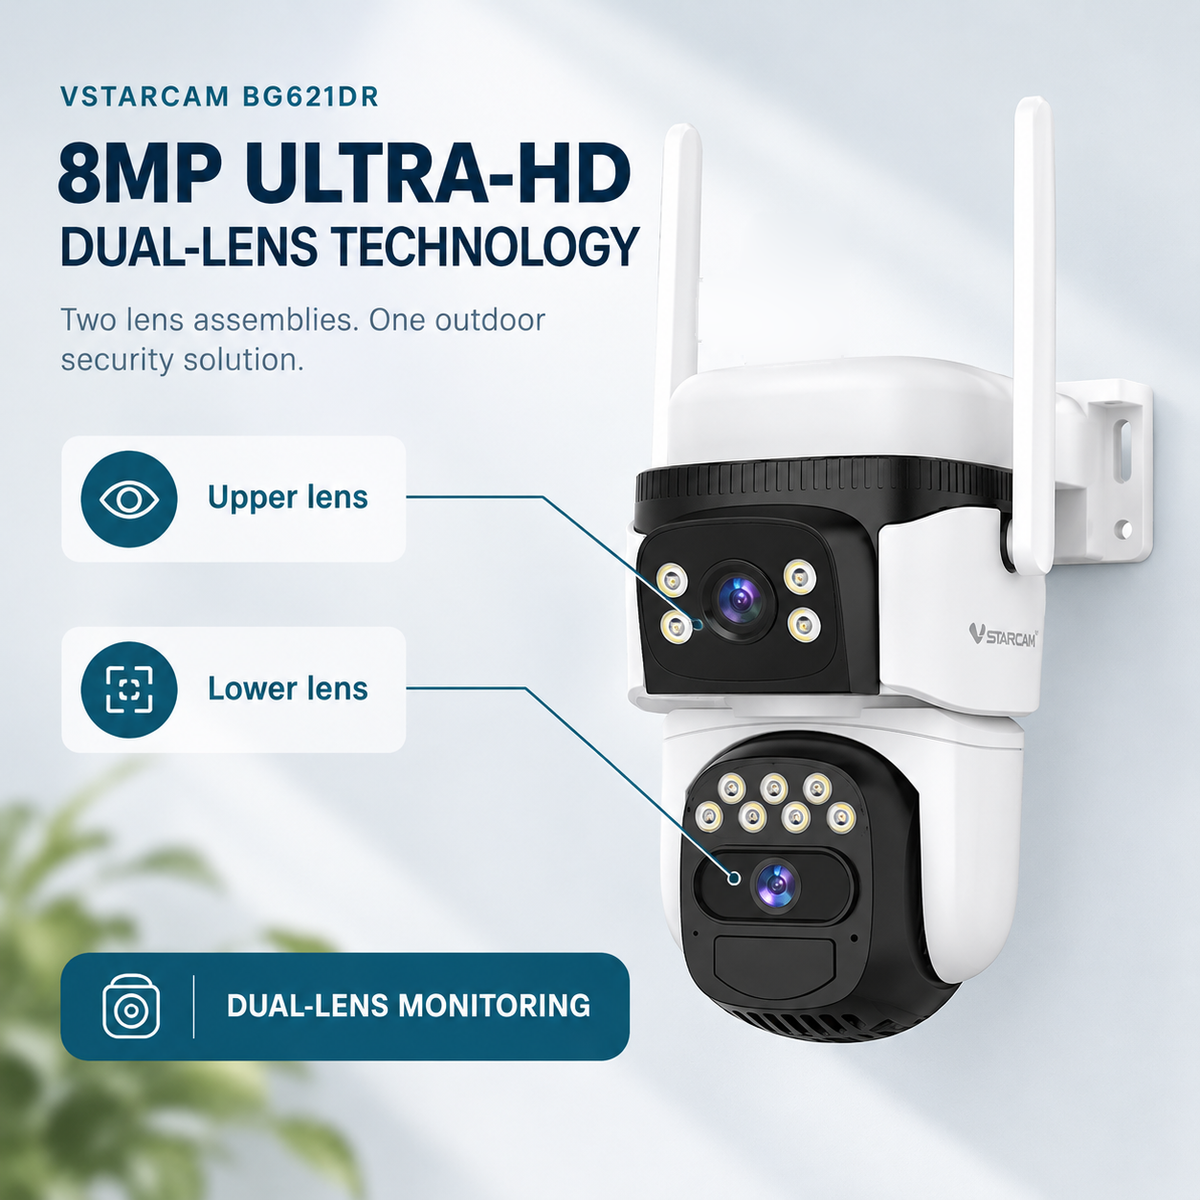
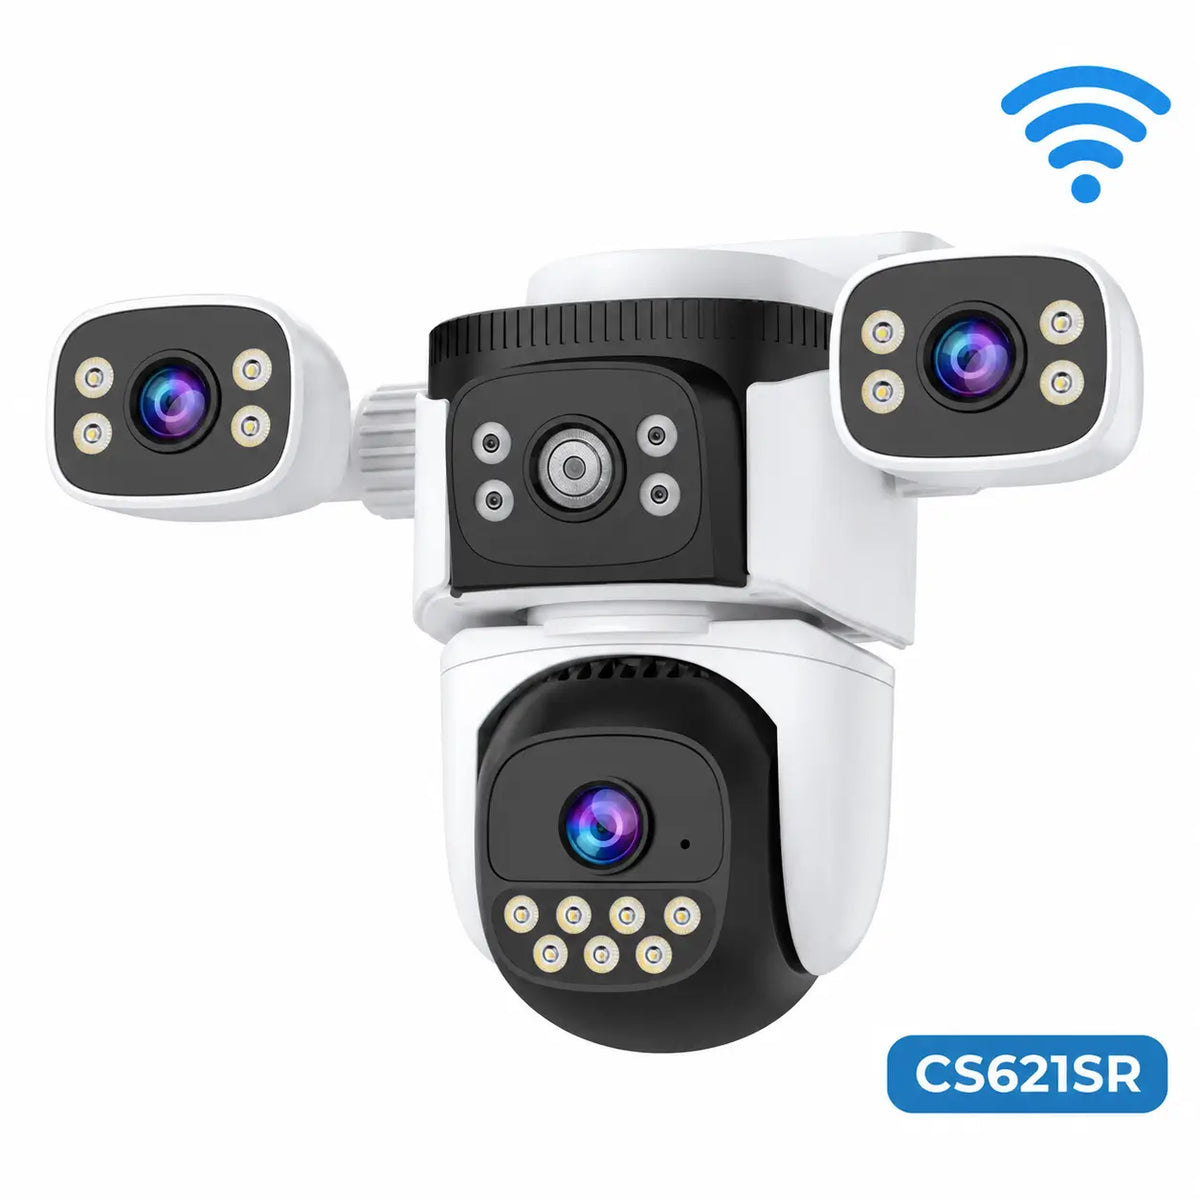
For multi-view cameras, position each manually adjustable lens deliberately. Confirm what is recorded rather than assuming every displayed view has the same recording capability.
Buildings and fences still create blind spots. Several views from one mounting point cannot see around an obstruction; a separate camera may be necessary.
9. Test Each Proposed Position by Day and Night
Before completing the installation, walk the normal approach routes and check detection, recorded clips and relevant notifications separately. Include the near area beneath the camera and the far edge of the intended coverage.
Repeat after dark to check illumination, motion detail and glare from walls, windows, vehicle surfaces or lights. A clear daytime view does not prove useful night footage.
Test remote access at the final location and review charging behaviour over representative days. Adjust one issue at a time so you can identify whether the limitation is the view, network, settings or power arrangement.
| Location | Priority view | Important test |
|---|---|---|
| Front entrance | Visitor approach and stopping point | Faces, screen-door obstruction and parcel area |
| Driveway | Required entrance or vehicle area | Parked-vehicle blind spots and moving subjects |
| Detached garage | Doorway and access route | Network reception with doors closed |
| Backyard | Gates and useful movement routes | Routine activity and changing vegetation |
| Side passage | Defined approach | Detection direction and night reflections |
Final Thoughts
Start with entrances and expected movement, then choose a position that provides useful detail rather than the broadest possible scene. Check the model's detection requirements, reliable connectivity and service access before fixing the camera permanently.
Keep panel exposure and camera direction separate where the equipment allows it. Finish by testing actual recordings during daylight and darkness, with the property in normal use.
For current equipment and panel arrangements, explore SolarEasy's solar security camera range.
About SolarEasy
SolarEasy is an Australian-owned online retailer specialising in solar powered products for homes, gardens and outdoor applications.
Our Solar Powered Security Camera Information Hub provides practical information to help Australian customers select, position and maintain suitable camera systems.