
Solar Powered Security Camera Information Hub | Section 5: Installation & Setup Guides
A successful solar security camera installation needs three things to work together: a useful camera view, a reliable connection where remote functions require one, and enough suitable sunlight for charging.
The best order is to prepare and test the camera before making permanent holes. That helps avoid mounting a working camera in a position where its network or charging arrangement is unsuitable.
This guide outlines the process for a standalone rechargeable solar camera at an Australian home or similar property. Use the instructions supplied with your exact camera, panel and mounting accessories for dimensions, connections and operating limits. Larger external-battery systems and fixed electrical work require their own installation arrangements.
Step 1. Check the Equipment and Installation Requirements
Unpack the camera and identify the correct panel, charging cable, bracket and mounting hardware. Check whether a memory card, SIM card or additional accessory is required but not supplied.
Read the camera and panel instructions before starting. Confirm supported charging equipment, compatible networks, weather-protection requirements and any mounting restrictions.
Assess the work location. If safe mounting requires difficult access, uncertain drilling surfaces or work near electrical services, arrange suitable professional assistance. Do not drill into unknown concealed services or suspected asbestos-containing materials.
A standalone camera's low-voltage charging cable is not an instruction to alter household wiring. New fixed mains electrical work needs an appropriately licensed electrician; communications cabling work may require a registered cabler. See ACMA's home cabling guidance when network alterations are involved.
Step 2. Charge and Set Up the Camera at Ground Level
Prepare the battery using the manufacturer's approved charging method and specified temperature conditions. A compatible solar panel should not be assumed to provide a quick initial full charge.
Complete basic setup while the camera is accessible. Install the legitimate manufacturer app, create the required account and add the camera using its documented pairing process.
Use a strong account password and enable additional account protection where available. Install official updates if recommended, with sufficient battery and a stable connection.
Confirm live view before mounting. Manufacturer instructions such as this Reolink quick-start guide illustrate the value of charging before installation; follow the requirements for your own model.
Step 3. Test the Intended Network Connection
For a Wi-Fi camera, use the supported band and pairing method. Take the configured camera to the proposed location and test the actual device rather than relying only on your phone's signal indicator.
For a 4G camera, activate a compatible SIM and data service as required, following the camera's instructions. Verify reception and live access at the intended position.
Test with doors or garage shutters in their normal closed position where these may affect reception. A camera that connects beside the router may struggle outdoors through building materials.
If the connection is unreliable, resolve it before permanent mounting. I04 and I05 provide the detailed Wi-Fi and cellular setup guides.
Step 4. Choose and Check the Camera View
Temporarily assess the view from the intended position without leaving equipment unsecured. Identify the entrance, driveway or access point that needs attention.
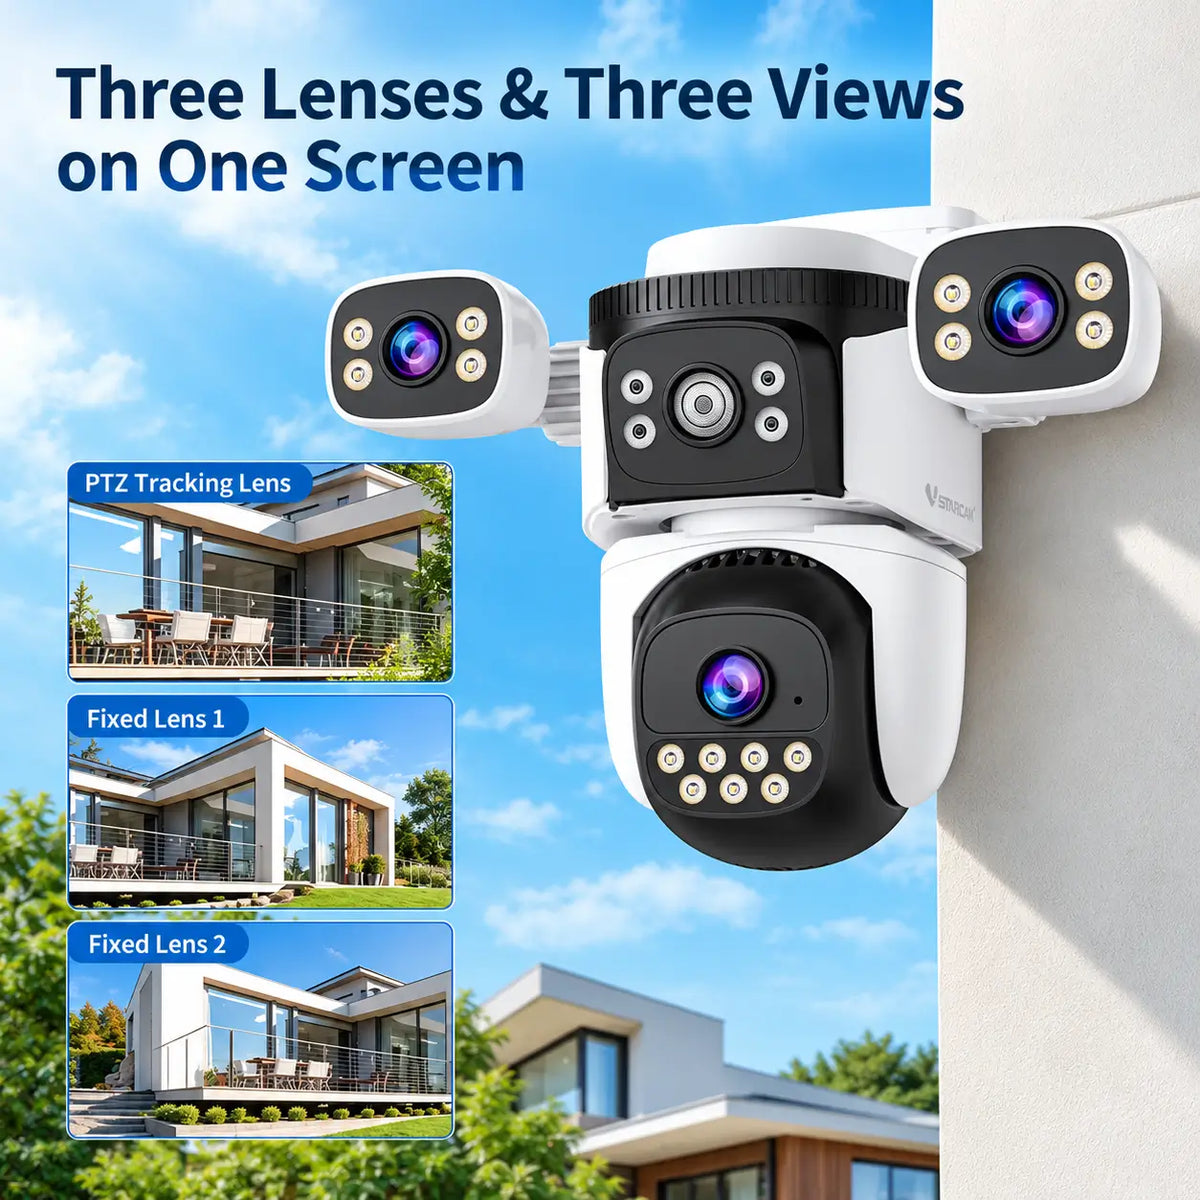
Check whether nearby walls, vegetation, parked vehicles or open doors can obstruct important activity. For multi-view cameras, assess every view; for a PTZ model, check movement clearance and what remains visible when it turns.
Follow model-specific height, angle and detection-distance recommendations. There is no single mounting height that delivers the best detection and facial detail for every camera.
Aim at the required area and minimise unnecessary capture of neighbouring private spaces. Review any permissions and recording requirements that apply to the property before enabling audio or other monitoring features. AU03 addresses Australian privacy and recording considerations separately.
Step 5. Confirm a Practical Solar Panel Position
Check sunlight at the panel location, including likely shade from eaves, trees and nearby buildings. Consider seasonal changes rather than assessing only one sunny afternoon.
For an integrated panel, camera placement also determines much of the charging exposure. For an external panel, check that an approved cable arrangement reaches a suitable position without stretching connections.
Set the panel's direction and tilt according to the manufacturer and site conditions. I02 explains Australian orientation and angle choices; I07 focuses on shade and charging exposure.
Plan access for cleaning and inspection. A good camera view does not make a permanently shaded panel suitable for charging.
Step 6. Fix the Brackets to a Suitable Surface
Use the manufacturer's mounting method and fasteners appropriate to the actual surface. Hardware supplied for one material may not suit another.
Check the drilling position and surface condition before making holes. Avoid assuming that thin cladding or a decorative trim can support the equipment securely.
If working above ground level, use a suitable access method. Do not overreach or improvise a platform. WorkSafe Queensland's falls guidance explains safe ladder-use principles; obtain assistance when the task cannot be completed safely from an appropriate position.
Secure the brackets, then attach the camera and panel as instructed. Check locking screws and fittings without exceeding the manufacturer's tightening requirements.
Step 7. Connect and Protect the Solar Cable
Connect only the approved panel and cable arrangement. Make sure the specified seals, covers and connector fittings are installed correctly.
Route the cable so it is supported, avoids sharp edges and does not interfere with doors, gates or camera movement. Leave sufficient allowance for the approved adjustment range without creating snagging loops.
Do not force connectors, modify polarity or assume that any physically matching plug is compatible. Avoid unapproved extensions and improvised waterproofing that may compromise the supplied seal.
Check that the completed arrangement follows the manufacturer's weather-protection instructions. An enclosure's IP rating does not compensate for a poorly fitted charging connection.
Step 8. Configure Recording, Storage and Alerts
Install and prepare supported storage as instructed. Formatting may erase existing data, so check the card's contents before proceeding.
Enable the required recording mode, schedule and notification permissions. Confirm the time zone and displayed date and time; correct timestamps make later review easier.
Set detection zones and sensitivity around the intended approach. Where supported, exclude irrelevant movement without masking important entrances.
Configure lighting, audio and siren behaviour deliberately. Do not assume automatic responses are enabled out of the box. I06 covers these settings in detail.
Step 9. Test the Completed Installation
Walk through the intended detection area and confirm that an event is actually recorded. Check notifications separately, then open playback and download a sample clip if supported.
Repeat checks after dark to assess illumination, glare, reflections and image detail. Test two-way audio or movement controls only where they are relevant to the installation.
Check remote access using a different internet connection on your phone if available. A successful local test does not establish every remote function.
Look for charging status under suitable sunlight, following the app's documented indicators. A momentary charging symbol does not establish that daily generation will cover consumption. Monitor the battery trend over subsequent days.
Installation Completion Checklist
| Check | What to verify |
|---|---|
| Camera view | Priority areas remain visible in normal use |
| Mounting | Camera, panel and fittings are secure |
| Connection | Required remote functions work at the final location |
| Solar arrangement | Panel exposure and cable route are suitable |
| Recording | A test event can be found and played back |
| Alerts | Relevant notifications arrive as configured |
| Night performance | Footage is useful without excessive glare |
| Maintenance | Cleaning, inspection and manual charging remain practical |
Keep the product details, manuals and installation notes somewhere accessible. Review the system after significant weather, site changes or vegetation growth, following the manufacturer's inspection recommendations.
Final Thoughts
Set up and test the camera first, then confirm the view, network and sunlight before permanent mounting. Secure fittings and protected connections matter as much as the app setup.
Complete the job by checking actual recordings and night-time footage, then monitor charging over several days. A camera appearing online is only one part of a successful installation.
For compatible equipment and current specifications, explore SolarEasy's solar security camera range.
About SolarEasy
SolarEasy is an Australian-owned online retailer specialising in solar powered products for homes, gardens and outdoor applications.
Our Solar Powered Security Camera Information Hub helps Australian customers select, install and maintain equipment suited to their properties.