
Solar Powered Security Camera Information Hub
The rear of an Australian home often contains several spaces with different uses: a patio for entertaining, a lawn where children play, a garden shed and a narrow side passage connecting the backyard to the street. These areas can be difficult to check from inside the house, particularly after dark or while the household is away.
Solar security cameras can help you review activity and check access routes without running a power cable to every camera. A useful arrangement starts with the layout and daily routines of the property, rather than an attempt to fit the entire garden into one picture.
This article focuses on practical use. Installation procedures and detailed detection settings are covered in the installation and troubleshooting sections.
1. Start with Access Routes and Important Areas
Walk from the side gate towards the rear door and any detached buildings. Identify where you want to see someone approach, where their route becomes obscured and what you would need to understand from a recording.
| Area | Useful monitoring purpose | Common obstacle |
|---|---|---|
| Side gate | Review people entering or leaving the passage | An open gate blocks the view |
| Narrow side path | Follow movement towards the rear of the house | Bins, fences and air-conditioning equipment restrict sightlines |
| Rear door or patio | Check the approach to the home | Deep shade and bright background light |
| Garden and lawn | Understand movement between access points | Distance, foliage and regular household activity |
| Shed approach | Review access to tools or stored equipment | Vegetation and poor network coverage |
A broad garden view may help establish context. A closer view of an important gate or doorway may provide more useful detail. Decide what each camera should contribute before adding another device.
2. Treat the Side Gate as a Moving Part
A camera view that works with the gate closed may fail when someone opens it. Test the full gate movement and check whether the gate leaf hides the person entering.
Consider the normal route as well as the gate itself. A camera aimed directly at the latch might show the gate opening but miss the person walking along the passage. Follow the manufacturer's placement guidance and test someone using the route naturally.
Keep physical access secure too. NSW Police residential security guidance recommends maintaining fences, securing gates and managing vegetation that conceals access. Camera coverage is one part of that wider arrangement.
Check whether wheelie bins, bicycles or a garden trolley are likely to be left in front of the camera. A reliable plan should work with everyday storage habits, not only on installation day.
3. Give Narrow Side Passages a Focused View
Side passages can be difficult spaces for cameras. A nearby fence may fill much of the image, while a downpipe or external unit creates a blind spot. A wide lens does not automatically solve those obstructions.
Aim to show the usable walking route and its important transitions. Check whether someone remains visible as they pass the camera and approach the rear yard. Avoid assuming that mounting higher always improves the result; an excessively steep view may reveal the top of a head while losing useful facial detail.
After dark, nearby walls and pale fence panels can reflect the camera's illumination. Review a saved recording to see whether the person is properly exposed or the foreground dominates the picture. Adjust the position within the model's mounting guidance and repeat the test.
4. Separate Patio Activity from Access Monitoring
A rear patio is often busy for completely ordinary reasons. Family members, visitors and pets may move through it throughout the day. Decide whether you need alerts for every event or mainly want recordings available for later review.
Where supported, use appropriate schedules or object filters to make notifications manageable. Recording and notification controls may be separate. Confirm what remains recorded when an alert is disabled rather than relying on the setting's name.
A camera can also help you check an outdoor area remotely, but it should not replace direct supervision of children, pets or anyone needing assistance. Delayed notifications, missed events and interrupted connections are possible.
Keep the view aligned with the household's purpose. Avoid collecting unnecessary views into neighbouring windows or private outdoor spaces. The Australian privacy article addresses legal considerations separately, including differences between locations and recording circumstances.
5. Work Around Garden Movement and Seasonal Growth
Branches, climbing plants and hanging baskets can move into the image or cover the lens as they grow. Wind, changing light and insects can also affect detection or image quality, depending on the technology involved.
Do not assume all unwanted alerts have the same cause. A PIR sensor and image-based detection respond differently. Reolink's guidance on reducing motion-detection false alarms distinguishes detection mechanisms and environmental causes in its products. Use the instructions for your own camera when adjusting settings.
First identify what appears in unwanted recordings. Then consider a small change in framing, safe vegetation maintenance or a supported detection setting. Preserve coverage of the access route and retest it after each adjustment.
Do not simply reduce sensitivity until notifications stop. That may also remove useful detection. A quieter phone is only helpful if important activity is still recorded.
6. Plan Sunlight Independently from the View
The best position for watching a rear door may be under a shaded eave. The best position for charging may be elsewhere. A compatible separate solar panel can sometimes accommodate those competing needs, subject to cable length and mounting requirements.
In Australia, assess a clear view towards true north as a starting point for panel orientation, then consider the actual property, season and manufacturer instructions. A north-facing position under dense foliage may still receive insufficient sunlight.
Look at winter shade from fences, neighbouring buildings and established trees. Also consider garden structures such as pergolas, shade sails and outdoor umbrellas. Their effect can change when opened, extended or covered by plants.
Route cables clear of gate hinges, tools and gardening activity. Do not position equipment where normal watering is directed into ports or where routine access requires unsafe reaching. Detailed orientation and shade guidance is covered in I02 and I07.
7. Test Connectivity at the Far End of the Garden
Working Wi-Fi in the kitchen does not confirm a dependable connection beside the back fence or shed. Test the camera where it will actually operate, with doors closed and the usual equipment in place.
Check live viewing, recorded playback and enabled notifications. Then test remote viewing using mobile data on the phone. If performance is unreliable, investigate coverage before making the installation permanent.
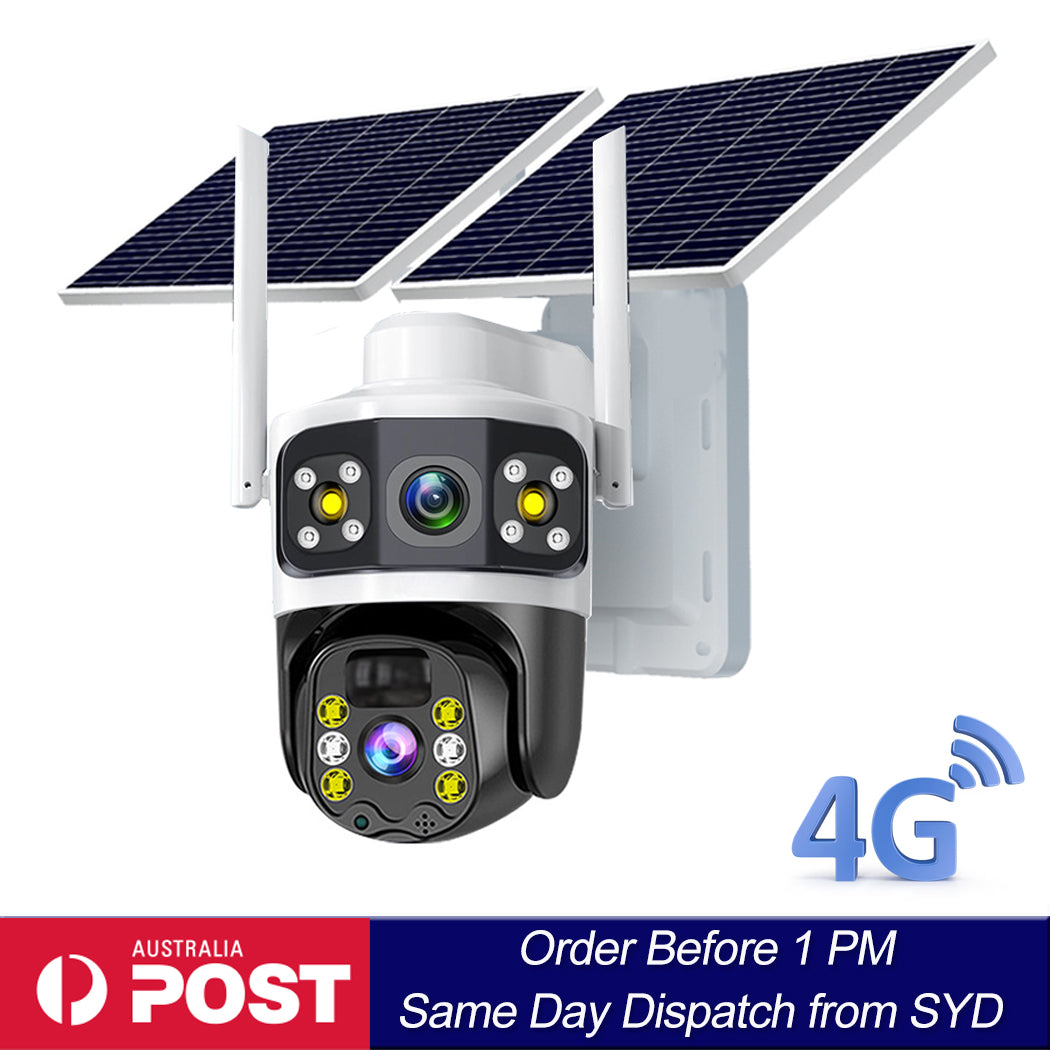
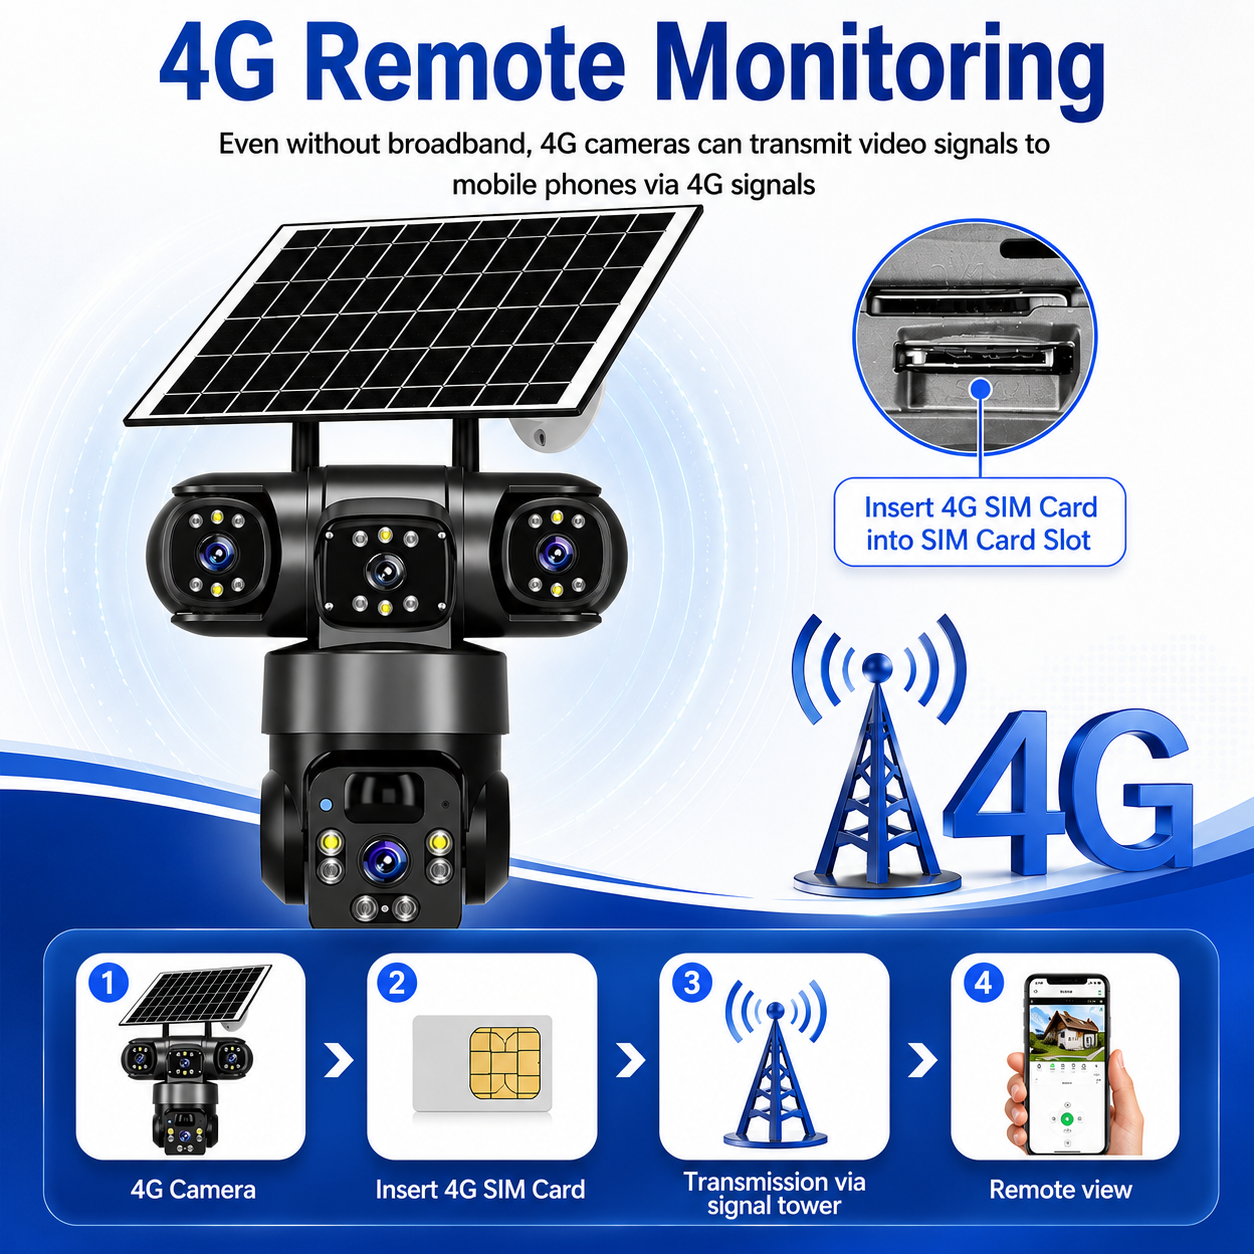
A compatible 4G camera may be an option where household Wi-Fi is unsuitable, but it still needs usable mobile coverage, an active service and adequate energy. Solar charging does not remove network requirements.
For a larger garden, consider whether different areas need separate views. One camera near the house may not provide useful detail at a distant shed, even if both locations appear in the same image.
8. Example: A Side Gate, Patio and Rear Shed
Consider an illustrative home with a side gate leading past the kitchen to a patio, with a shed at the back of the garden. The household mainly wants to review unexpected access and activity at the shed.
One focused view could show the side-gate route. Another could cover the shed approach if the first view does not show it clearly. The patio may already be visible enough for context without sending a notification whenever the family eats outside.
Before finalising that arrangement, test the open gate, parked bins, patio umbrella and normal shed access. Check the panel's sunlight and connection at each position. The result may be two useful cameras, a revised mounting point or a different arrangement entirely; the layout determines the solution.
9. Keep the Arrangement Useful Over Time
Review saved recordings during daylight and after dark. Confirm that the important route is visible, recording begins in time and clips can be retrieved. Many battery-powered cameras use event recording, so verify their recording behaviour rather than assuming uninterrupted coverage.
Repeat relevant tests after landscaping, fence repairs or moving outdoor furniture. Keep lenses and panels clean using approved methods and check accessible mounts and cables.
Maintain locks and store tools securely. Queensland Police home security guidance includes vegetation management and securing items such as bicycles and garden equipment. Footage can help explain an event, while physical security helps protect the area itself.
Final Thoughts
Backyard and side-entry monitoring works best when each camera has a clear purpose. Focus on meaningful access routes, account for gates and vegetation, and test the view under ordinary household conditions.
With suitable sunlight, connectivity and maintenance, solar cameras can make these areas easier to check. Useful saved recordings and manageable alerts matter more than a wide image that leaves important details unclear.
About SolarEasy
SolarEasy provides educational information to help Australian readers understand solar-powered security cameras and plan their use around everyday property needs.