
Solar Powered Security Camera Information Hub
An Australian backyard shed can hold bicycles, gardening equipment and tools. A larger workshop may contain machinery, spare parts and materials, while a detached garage may serve as both parking and storage. These buildings are not always visible from the house and may lack a convenient power point for a camera.
Solar security cameras can help review approaches and access activity. Their usefulness depends on choosing a clear view, maintaining a reliable connection and placing the solar panel where it can charge effectively. Metal walls, open doors and changing storage arrangements deserve particular attention.
1. Decide Whether You Need an Entrance View or an Interior View
An exterior camera can show someone approaching a building and using its door. It generally cannot explain everything that happens inside. An interior camera may show activity around a workbench but lose sight of the approach outside.
| Monitoring area | Useful purpose | Common limitation |
|---|---|---|
| Main shed entrance | Review arrivals and access | An open door may block the person entering |
| Roller-door approach | Review vehicle and equipment movements | A parked vehicle can conceal activity |
| Side access door | Check a less visible entry route | Narrow spaces and nearby walls restrict the view |
| Internal storage aisle | Review movement near selected equipment | Shelving and stacked materials create blind spots |
| External equipment area | Review approach to stored items | Weather, distance and changing positions affect detail |
Start with the event you want to understand. One useful entrance view may serve the purpose better than a wide internal image dominated by shelving.
2. Test Doors and Everyday Storage Positions
Open the doors fully before deciding on the camera position. A hinged shed door can swing across the lens or conceal someone standing beside it. A roller door can change the lighting and the route people use.
Test with the building in its normal working condition. Include the ute parked nearby, the trailer beside the wall and the materials usually stacked near the entrance. A tidy, empty space on installation day may not represent everyday coverage.
If an important route disappears behind stored items, consider a revised view or storage arrangement. Add another camera only when it has a distinct purpose. A second device facing the same obstruction may provide little extra information.
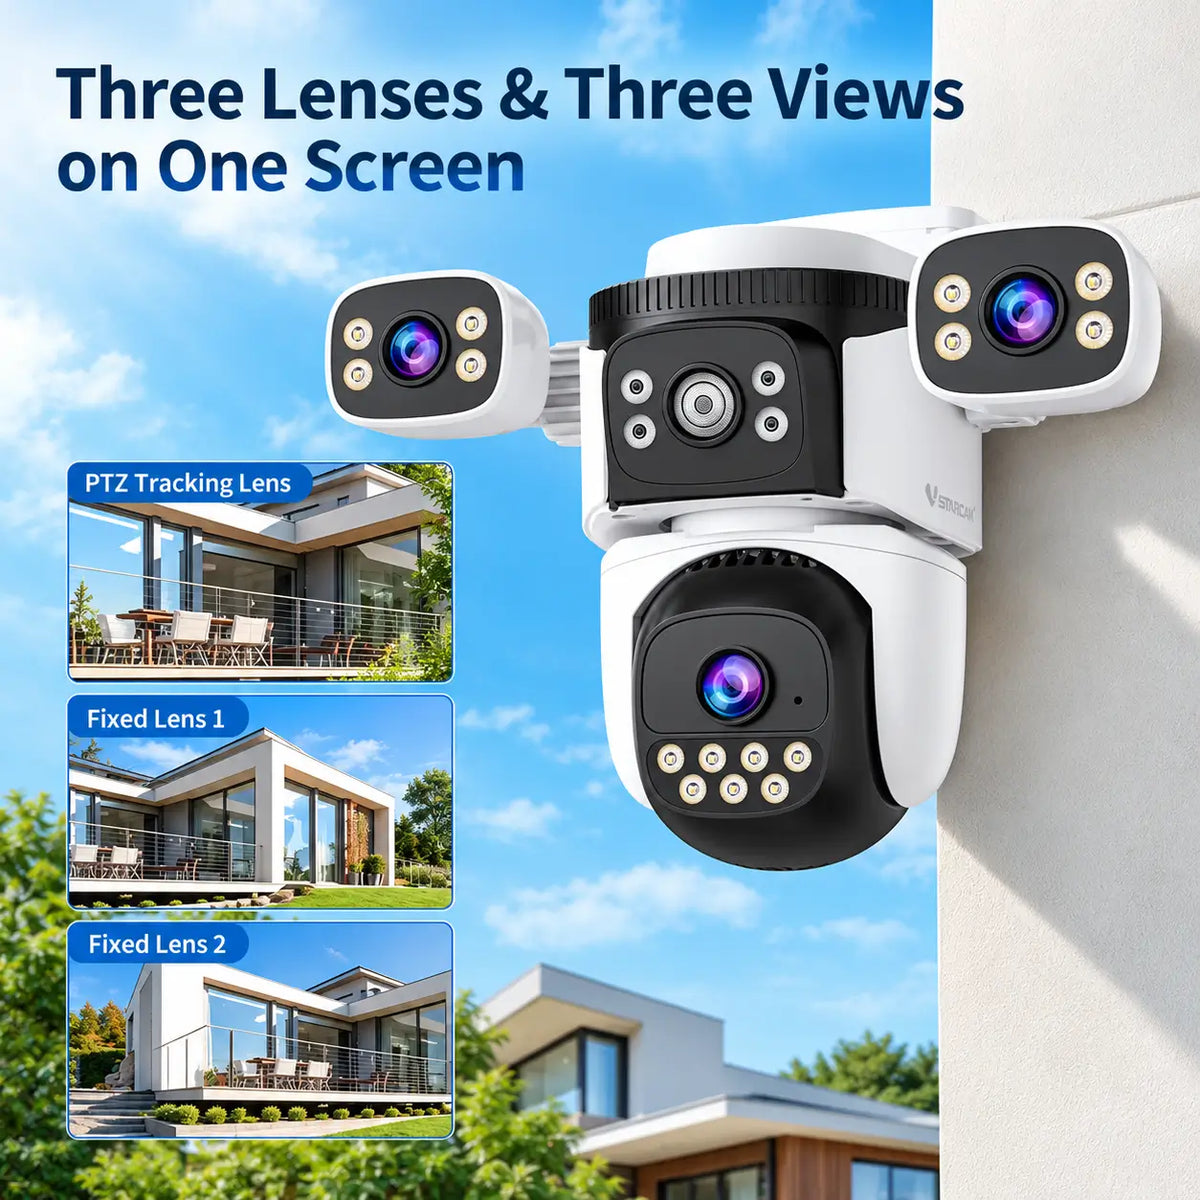
Avoid assuming a remotely controlled camera observes every direction simultaneously. Check what it records when facing away from the entrance and whether any return-to-position function behaves as expected.
3. Check the Connection with Metal Doors Closed
Metal sheds and garages can make wireless connectivity difficult. Distance from the house is only one factor; the materials between the camera and network equipment matter too.
nbn's home internet guidance explains that objects and building materials, including metal doors, can absorb or reflect Wi-Fi signals. A connection tested outside an open shed does not establish reliable performance inside with the doors shut.
Test the actual camera at the intended mounting point. Close doors, leave normal storage in place and check live viewing, recorded playback and enabled notifications. Then use the phone's mobile data to confirm remote access.
If household Wi-Fi is inadequate, assess an appropriate network extension or a compatible 4G camera. A 4G model still requires usable mobile coverage at its position; being inside a metal building can also affect that connection. Do not assume a phone working outside proves the camera will work inside.
4. Put the Panel in Sunlight, Not Merely Near the Camera
A camera inside a workshop cannot be assumed to charge from ordinary indoor lighting. Even an exterior camera under a deep eave may have insufficient sunlight at its integrated panel.
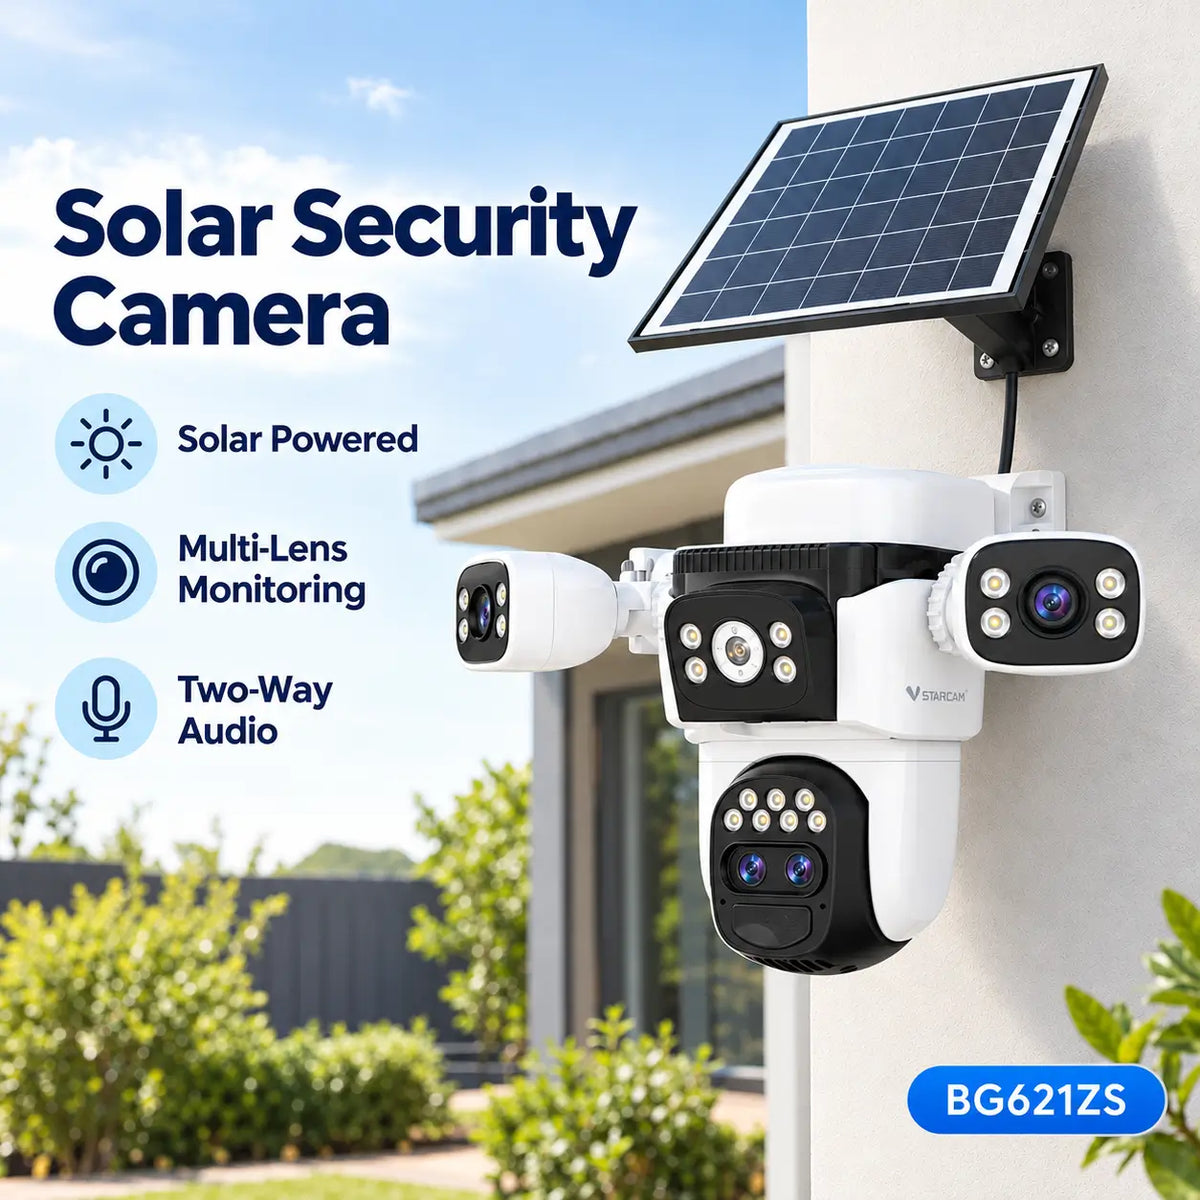
A model supporting a separate compatible solar panel may allow the camera and panel to occupy different positions. Confirm approved accessories, cable length and routing before choosing this arrangement. Do not extend or alter charging equipment without manufacturer approval.
In Australia, assess a clear view towards true north as a starting point, then consider shading, season and the manufacturer's instructions. Nearby trees, a taller shed or a roof edge may shade the panel at important times.
Keep cables clear of roller-door tracks, hinges, vehicle routes and tools. Check that normal building use will not crush, snag or repeatedly flex them. Installation guidance is covered in I01 and I07.
5. Test Bright Doorways and Dark Interiors
A camera facing from a dim shed towards a bright open doorway may show an unclear person against the light. An exterior camera looking into the same building may record the approach well while showing little inside.
Test the exact scene during ordinary daylight conditions and after dark. Review saved footage rather than judging only the live preview. Check the person approaching, opening the door and moving through the area that matters.
At night, close walls, pale surfaces and reflective objects can affect the camera's illumination. Positioning and lighting adjustments may improve the view, but follow the model's instructions and repeat the practical test.
Do not assume that a higher resolution alone resolves lighting or obstruction problems. A useful image needs appropriate framing and conditions as well as sufficient detail.
6. Make Recording Suit the Working Routine
A workshop can generate frequent legitimate movement during use. Decide whether you mainly need after-hours alerts, a record of access throughout the day or occasional remote checks.
Where supported, configure schedules and detection settings carefully. Notification controls may differ from recording controls. Confirm that changing one does not remove the footage you expect to retain.
Many battery-powered cameras record events rather than uninterrupted video. Test the start of a clip, the time between events and the recording of someone leaving after entering. If continuous footage is essential, verify the camera's capability and power requirements explicitly.
Frequent recordings, live viewing and illumination can increase energy demand. Observe charge trends under realistic workshop activity instead of relying only on a quiet-weekend test.
7. Combine Footage with Secure Storage and Asset Records
A camera does not secure a door, toolbox or machine. Keep locks, storage practices and equipment records in the same plan.
Victoria Police tool-security guidance recommends recording model and serial numbers and photographing tools. Keep that inventory separately so it remains available if equipment or the camera is stolen.
For shared workshops, agree who can view recordings and who maintains the system. Use supported access-sharing features rather than routinely sharing one password. Review access when users change.
If the workshop is a workplace or is used by other people, check the applicable recording and privacy requirements before deployment. This article focuses on monitoring layouts; Australian legal considerations are addressed separately in AU03.
8. Example: A Detached Garage Used as a Workshop
Consider an illustrative detached metal garage with a roller door, a side door and shelving along the rear wall. The owner mainly wants to review approaches when away and activity at the side entrance after hours.
An exterior view could cover the approach without trying to see through the whole interior. If the side door is hidden, a separate focused view might be useful. Each mounting point would need its own connection and sunlight assessment.
If interior footage is also required, the owner would test the camera with both doors shut and confirm whether an approved external panel arrangement is possible. The final plan might combine an exterior solar camera with another suitable power arrangement inside, rather than force one device to perform incompatible tasks.
9. Recheck Coverage as the Space Changes
Workshops and storage areas change frequently. New shelving, larger machinery or a different parking position can obstruct a previously useful view. Repeat a walk-through test after significant changes.
Check accessible brackets, cables and port covers. Clean the lens cover and panel using approved methods, taking account of dust and nearby work. Weather resistance does not automatically make a camera suitable for chemical exposure, high-pressure washing or a hazardous atmosphere.
Verify timestamps, playback and export periodically. Preserve important footage before overwrite and understand the limitation of storing the only copy inside the monitored building or camera.
Final Thoughts
Solar cameras can make detached sheds, workshops and storage areas easier to check when mains power is inconvenient. The strongest arrangement gives each camera a clear purpose and works with doors, stored equipment and normal daily activity.
Test connectivity with the building closed, place the panel for adequate sunlight and review actual saved recordings. Combine those checks with secure storage and equipment records for a more useful overall approach.
About SolarEasy
SolarEasy provides educational information to help Australian readers understand solar-powered security cameras and plan practical monitoring around their properties.