
Solar Powered Security Camera Information Hub | Section 6: Troubleshooting & Maintenance
If an expected event is missing, first determine whether the camera failed to detect it, detected it without saving a clip, or saved footage that is not appearing in the current playback view.
Those failures can look similar in an app but need different checks. A live picture or phone notification does not prove that a usable video has been recorded.
This guide provides a structured workflow for Australian homes, rural properties and small building sites. Follow the manufacturer's instructions for the exact camera and storage system. M07 covers missing notifications separately; this article focuses on recorded evidence.
1. Preserve Existing Footage and Record the Symptom
Before resetting or formatting anything, download important accessible clips and note the missing event's approximate date, time and camera location.
Check whether the camera was expected to record at that moment. Event-only systems do not provide footage of every second, and some have model-specific recording intervals or wake-up behaviour.
Record any recent changes to schedules, detection areas, storage, subscriptions or power settings. Establish whether all recordings are missing or only certain events.
Avoid repeated test events while investigating old footage if storage is close to full and overwriting might remove material you need.
2. Identify Which Part of the Process Failed
| Observation | Likely area to investigate | Useful first check |
|---|---|---|
| No sign of an expected event | Detection, coverage or active mode | Walk the intended approach under controlled conditions |
| Event alert arrives but no clip appears | Recording rules or storage | Recording enabled and destination available |
| Only some event types are missing | Classification or recording filters | Selected people, vehicle or other categories |
| Old events disappeared | Retention, overwrite or playback selection | Storage destination and retention conditions |
| Clip begins after the subject enters | Trigger timing or recording limits | Detection position and supported pre-event capability |
| Local playback works but cloud does not | Upload or cloud service | Connectivity, subscription and retention |
Treat these as starting points, not proof of a faulty sensor or memory card.
3. Check Power, Current Status and Time
Confirm that the camera was powered during the event. A depleted battery or power-saving state may change operation on some models.
If the device is offline now, that does not establish whether it was offline then or whether supported local recording continued. Use M08 to identify the broader fault when necessary.
Check the camera's date, time zone and any relevant daylight-saving setting. Australia does not have one uniform daylight-saving arrangement. Incorrect time can make footage appear under an unexpected hour or date.
If charging or rapid drain is involved, use M01 or M02 rather than assuming a recording setting is responsible.
4. Verify Detection, Active Mode and Coverage
Confirm that the documented detection function is enabled. Check whether an armed, privacy, sleep or home/away mode changes recording for that camera.
Review the view and intended movement route. A person outside the detection area, behind an obstruction or beneath an unsuitable mounting angle may not trigger the expected response.
For PIR-equipped models, follow the specified sensor geometry and test different approach directions. Video visibility and sensor coverage are not necessarily identical.
If smart classifications are enabled, check the selected categories. A people-only setting may intentionally exclude a vehicle, while classification errors can also occur. Do not assume AI identifies every event correctly.
F03 explains detection technologies; I03 covers camera position.
5. Review Zones and Sensitivity Without Losing Important Coverage
Check whether the relevant entrance was accidentally excluded from a detection zone. Confirm what that zone affects: triggering, notifications and recorded images may have separate controls.
Increase or decrease sensitivity gradually using the manufacturer's guidance, then test the actual route. One setting copied from another camera is not a universal solution.
If a size filter or other advanced rule is available, assess whether it excludes distant subjects. Do not enable every filter simply to reduce nuisance events.
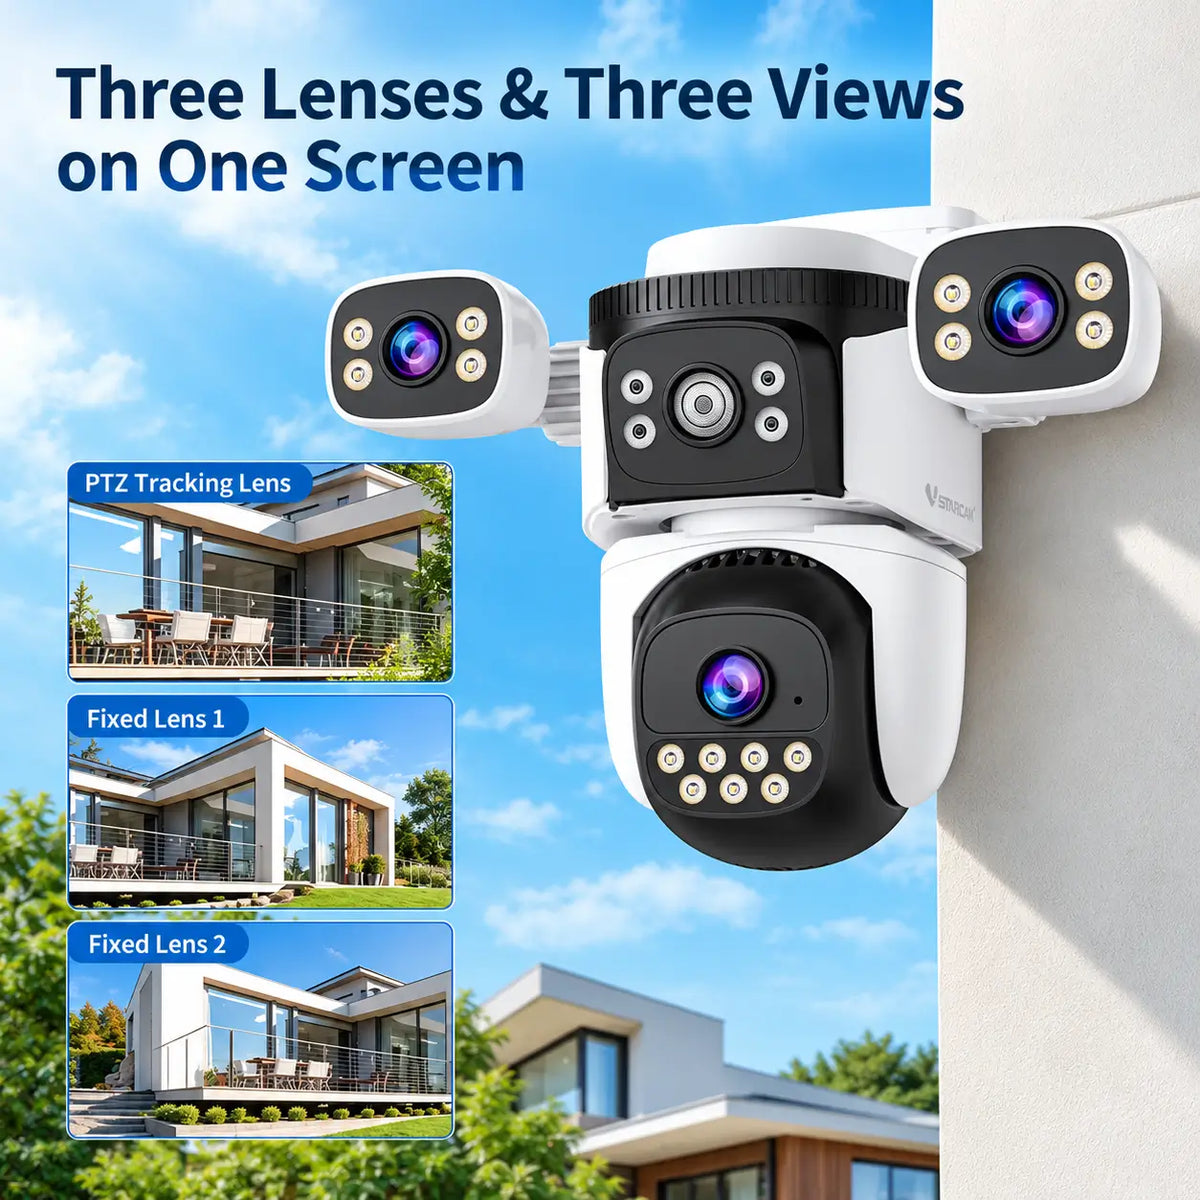
For a PTZ camera, check its viewing direction at the relevant moment. A moving lens cannot record activity outside its current view merely because it could rotate there later.
6. Confirm Recording Rules and Schedules
Enable recording for the intended storage destination. Check selected event categories and the recording timetable separately from the push-notification schedule.
An all-day motion schedule normally means qualifying events can trigger recordings during that period; it does not establish continuous recording. Confirm what the model supports.
Review intervals crossing midnight and the correct weekday. Temporary holiday or site-working schedules may remain active after circumstances change.
Manufacturer motion-recording guidance illustrates how configuration and playback options depend on the camera and storage arrangement. Use the supported method for your exact system.
7. Check the Recording Destination
Local Storage
Confirm that the supported card, internal storage or hub is recognised and available. Check reported errors, free capacity and the configured overwrite behaviour.
A full card may overwrite old footage or stop accepting recordings, depending on the system. A card that physically fits may still have unsupported specifications or a fault.
Do not remove a card while the camera is writing to it. Follow the documented power-down and access procedure if inspection or replacement is necessary.
Formatting can erase recordings. Preserve what is needed first and format only as part of the manufacturer's supported procedure. Do not assume formatting will repair every storage fault.
Cloud Storage
Confirm the selected camera is covered by an active supported service. Check retention, available storage and any relevant event restrictions.
A mobile data plan or Wi-Fi connection does not automatically include cloud video storage. Likewise, clips saved locally may not upload automatically after an outage unless the camera supports that behaviour.
Use T05 for the storage comparison.
8. Check Playback Before Concluding the Clip Was Never Saved
Select the correct camera, date and storage source. Remove unnecessary event filters and inspect the available timeline or event list.
Local, hub and cloud recordings may be accessed through different sections of an app. Shared accounts may also have different playback permissions.
If the camera records but remote playback fails, investigate connectivity and access separately. Do not erase storage to resolve an app-display problem without establishing that the recordings themselves are affected.
If an older clip is outside the retention period or has been overwritten, changing current settings does not restore it. Contact support where appropriate, but do not promise recovery of missing footage.
9. Investigate Late or Incomplete Clips
A battery camera may need to wake after a qualifying trigger. Recording duration, re-trigger intervals and supported processing rules can also affect what appears in a clip.
Check the manufacturer's documented behaviour and test the intended approach. Where supported, adjust position or relevant event settings before simply increasing every sensitivity control.
Pre-event recording is a separate capability and may increase power demand. Do not assume every model can save footage from before it was triggered.
If an uninterrupted history is essential but the camera only supports event recording, the limitation may require a different system rather than a troubleshooting change.
10. Test, Prevent Recurrence and Seek Support
Make one justified change at a time. Create a controlled event, confirm detection and locate the saved clip. Repeat at night where lighting or classification may differ.
Verify that useful detail and the required duration are present. A notification alone is not a successful recording test.
Review storage health and schedules periodically, particularly after updates, account changes or installation adjustments. Keep a record of settings that work and export important clips before their retention expires.
Contact the supplier when supported checks fail. Provide the model, software version, storage arrangement, exact symptom and test results through a verified channel. Keep passwords and device-access labels out of public posts.
Final Thoughts
Work through detection, recording rules, storage and playback in order. The most useful first question is not whether the camera is online, but where the event-to-recording process stopped.
Preserve existing footage, avoid unnecessary formatting and confirm the result with a saved test clip. If the required history exceeds the model's recording capabilities, recognise that limitation rather than relying on settings the camera does not support.
About SolarEasy
SolarEasy provides practical information about solar powered products for Australian homes, gardens and outdoor properties.
This Information Hub helps readers assess camera operation and maintenance using the relevant manufacturer's instructions.