
Solar Powered Security Camera Information Hub | Section 4: Buying Guides & Comparisons
The best solar powered security camera is the one that can monitor the right area, connect reliably and maintain enough energy for the way you intend to use it. Choosing the highest resolution or the largest battery first can leave more important questions unanswered.
For Australian homeowners, builders and rural property owners, a useful starting point is the installation location. A suburban front entrance, a distant farm gate and a temporary building site have different requirements, even when all three receive good sunlight.
This guide brings the main buying decisions together. Use it to create a shortlist, then follow the related guides for your property type or a more detailed comparison.
1. Define What You Need to Monitor
Write down the area you want to see and the information you need from the footage. Watching whether someone approaches a shed is different from identifying a face or reading a vehicle number plate.
Consider distance, obstacles and whether several access points need attention at the same time. A wide view may show more of the property while leaving distant subjects too small to identify.
Decide whether event recordings are sufficient or whether uninterrupted footage is essential. Many compact solar cameras record motion events; some systems support continuous recording, but this must be confirmed for the individual model. A solar panel does not add recording capabilities that the camera hardware lacks. Manufacturer recording compatibility guidance.
2. Check Connectivity Before Choosing Features
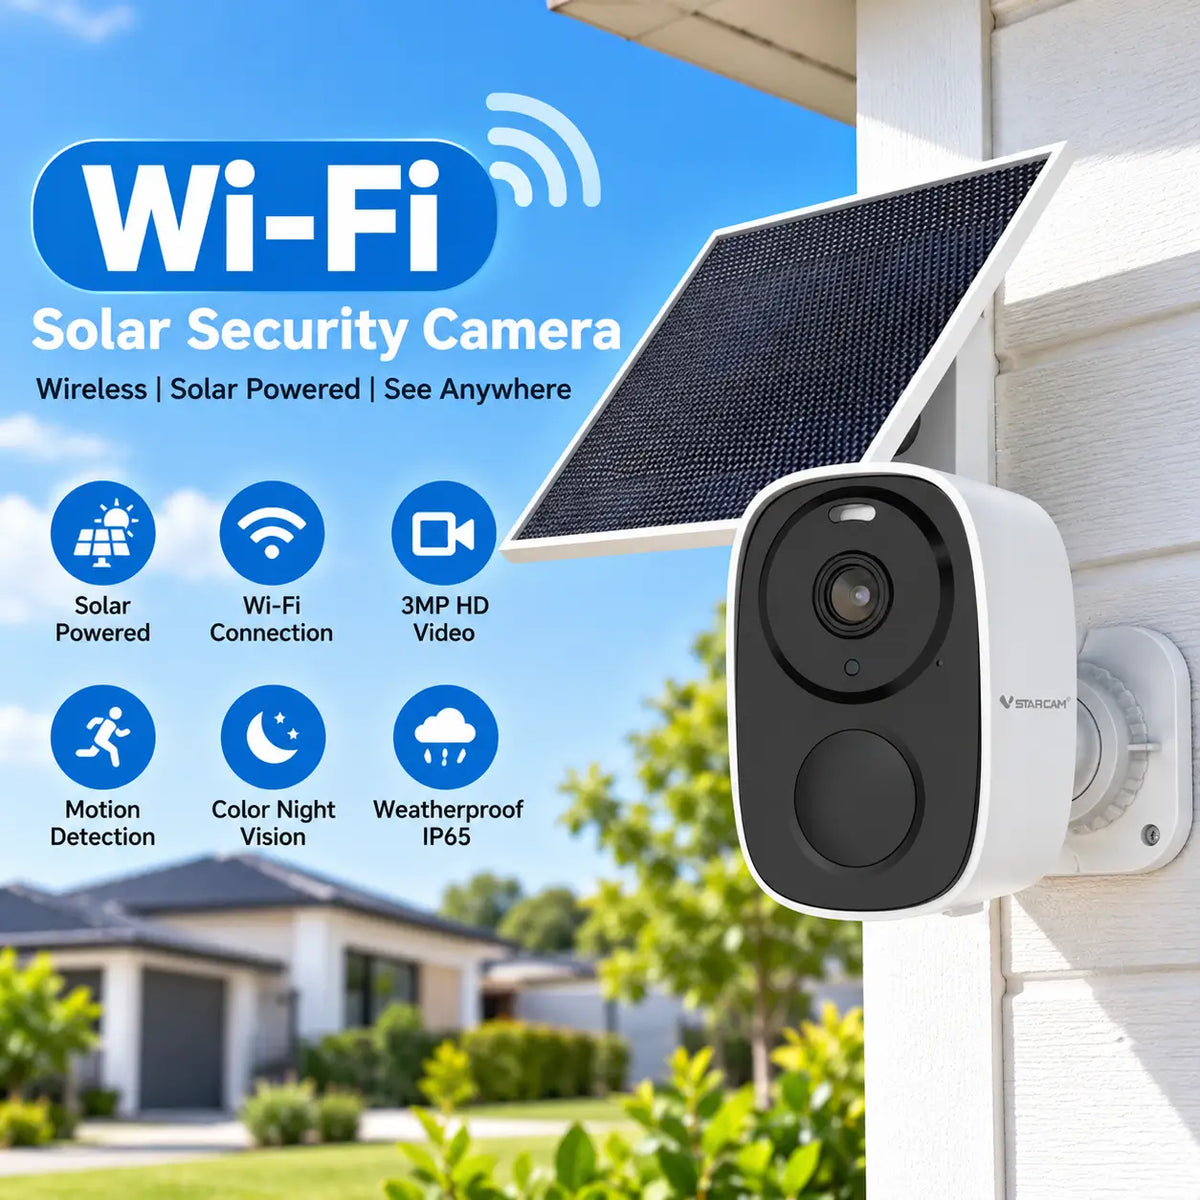
Choose Wi-Fi when a suitable wireless network reaches the proposed camera position. Strong internet performance inside the house does not establish reliable coverage at a detached garage or rear gate.
Consider 4G where extending Wi-Fi would be impractical. This may suit construction sites, rural entrances and the far end of a large residential property. Confirm the camera's Australian network compatibility, supported SIM arrangements and reception at the actual location.
A 4G camera usually introduces a mobile data cost. A Wi-Fi camera normally uses the existing broadband service, although network extensions may cost extra.
Neither option provides dependable remote access without a suitable connection. Read T02 for the technical comparison; here, the buying decision is which connection you can realistically provide.
3. Match the Viewing Arrangement to the Area
A fixed camera can suit a defined entrance because its viewing direction remains consistent. A PTZ camera offers remote movement, but a single movable view may look away from another important location.
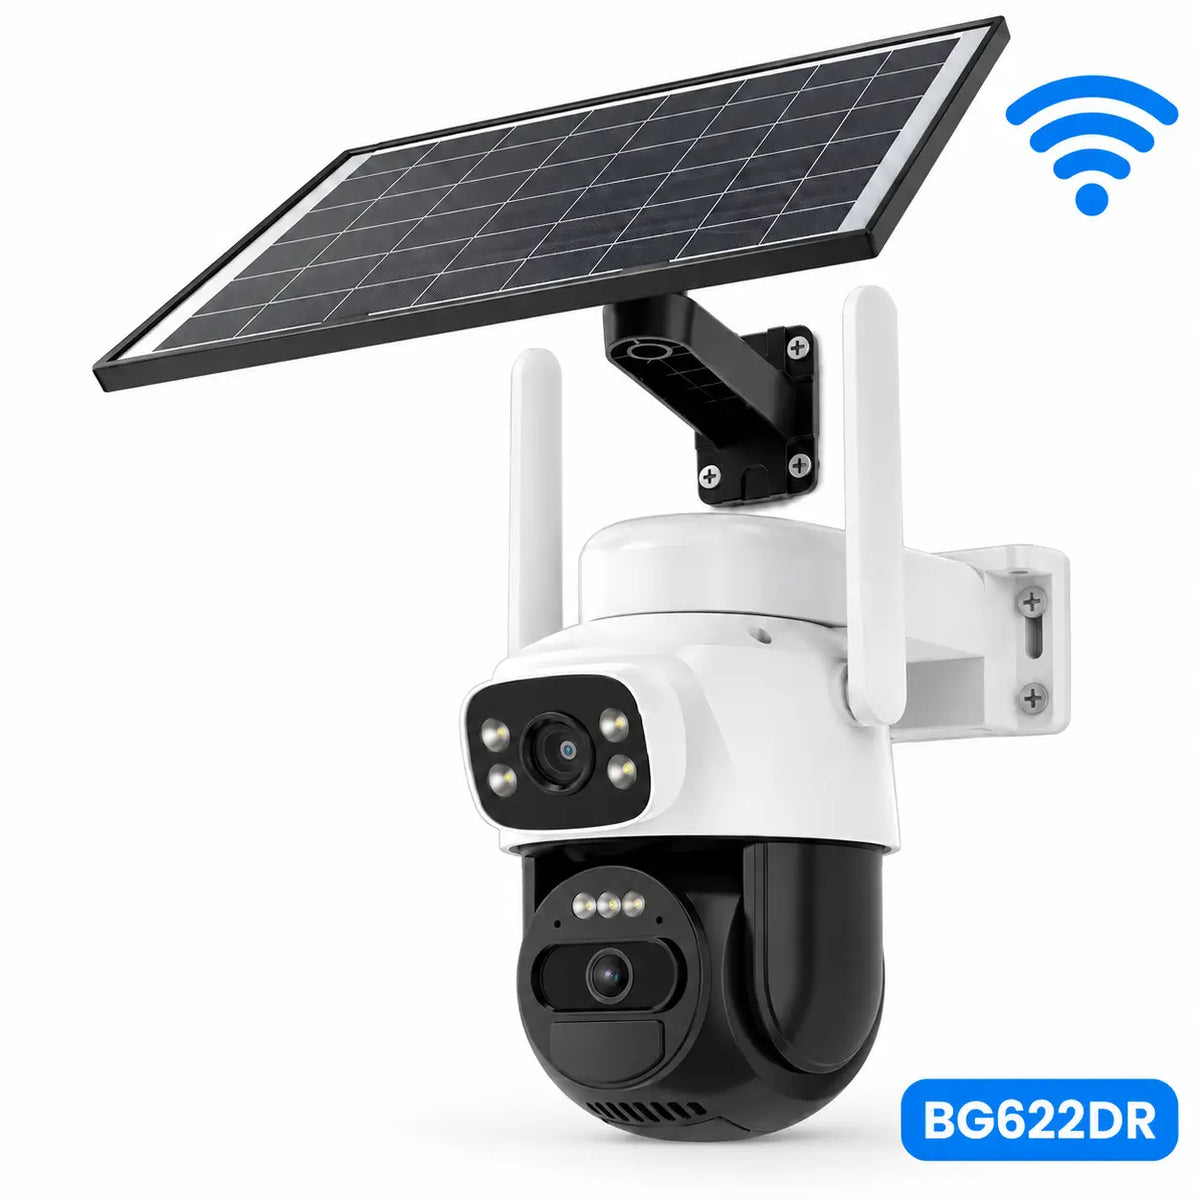
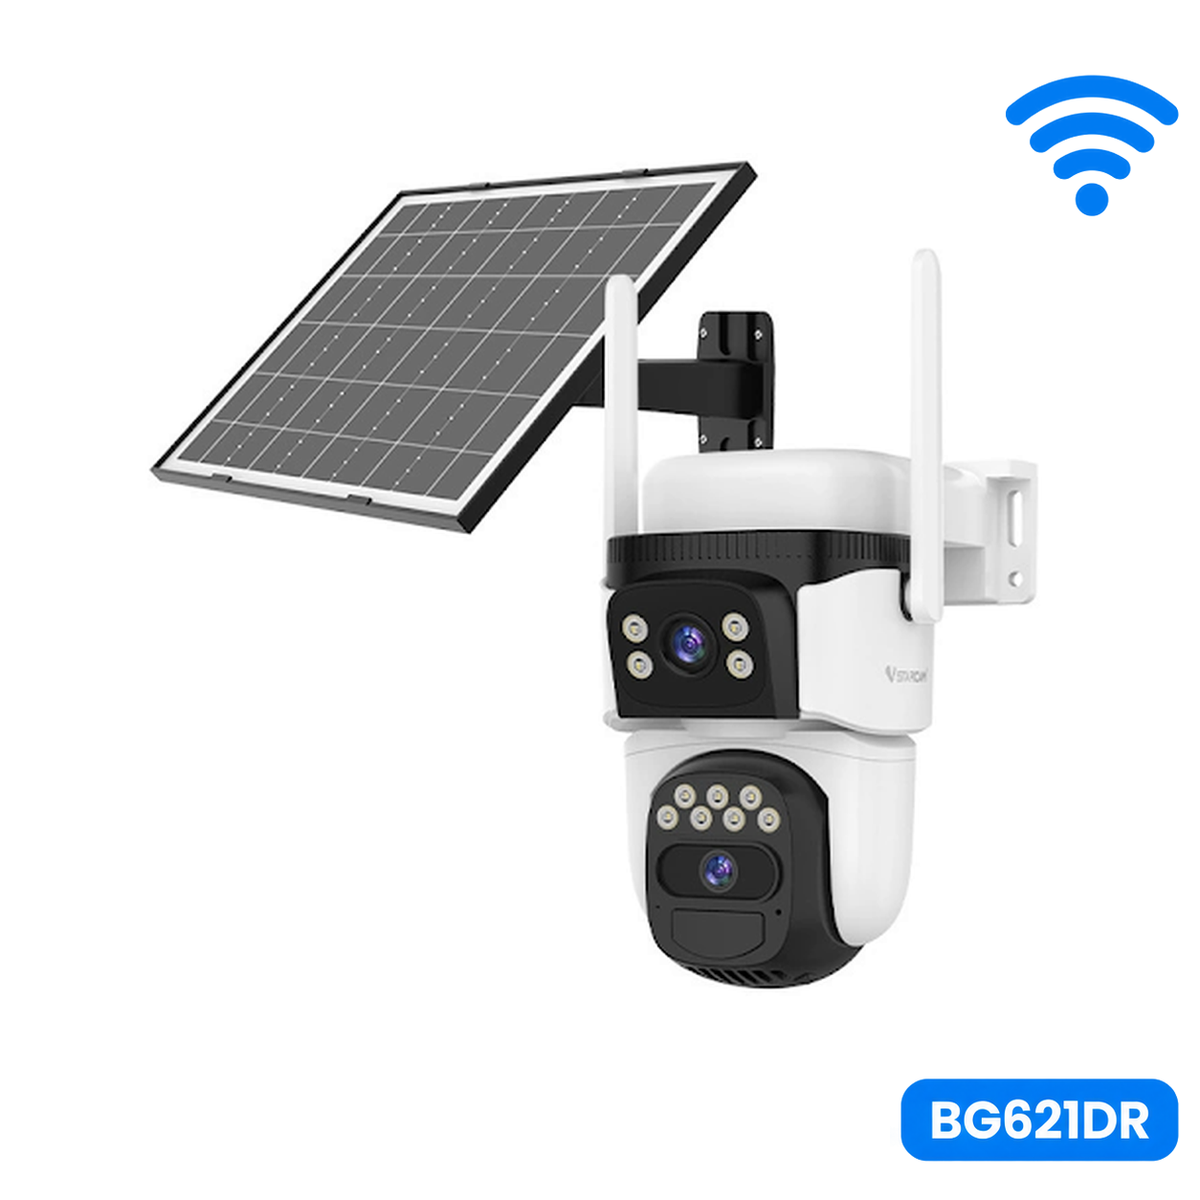
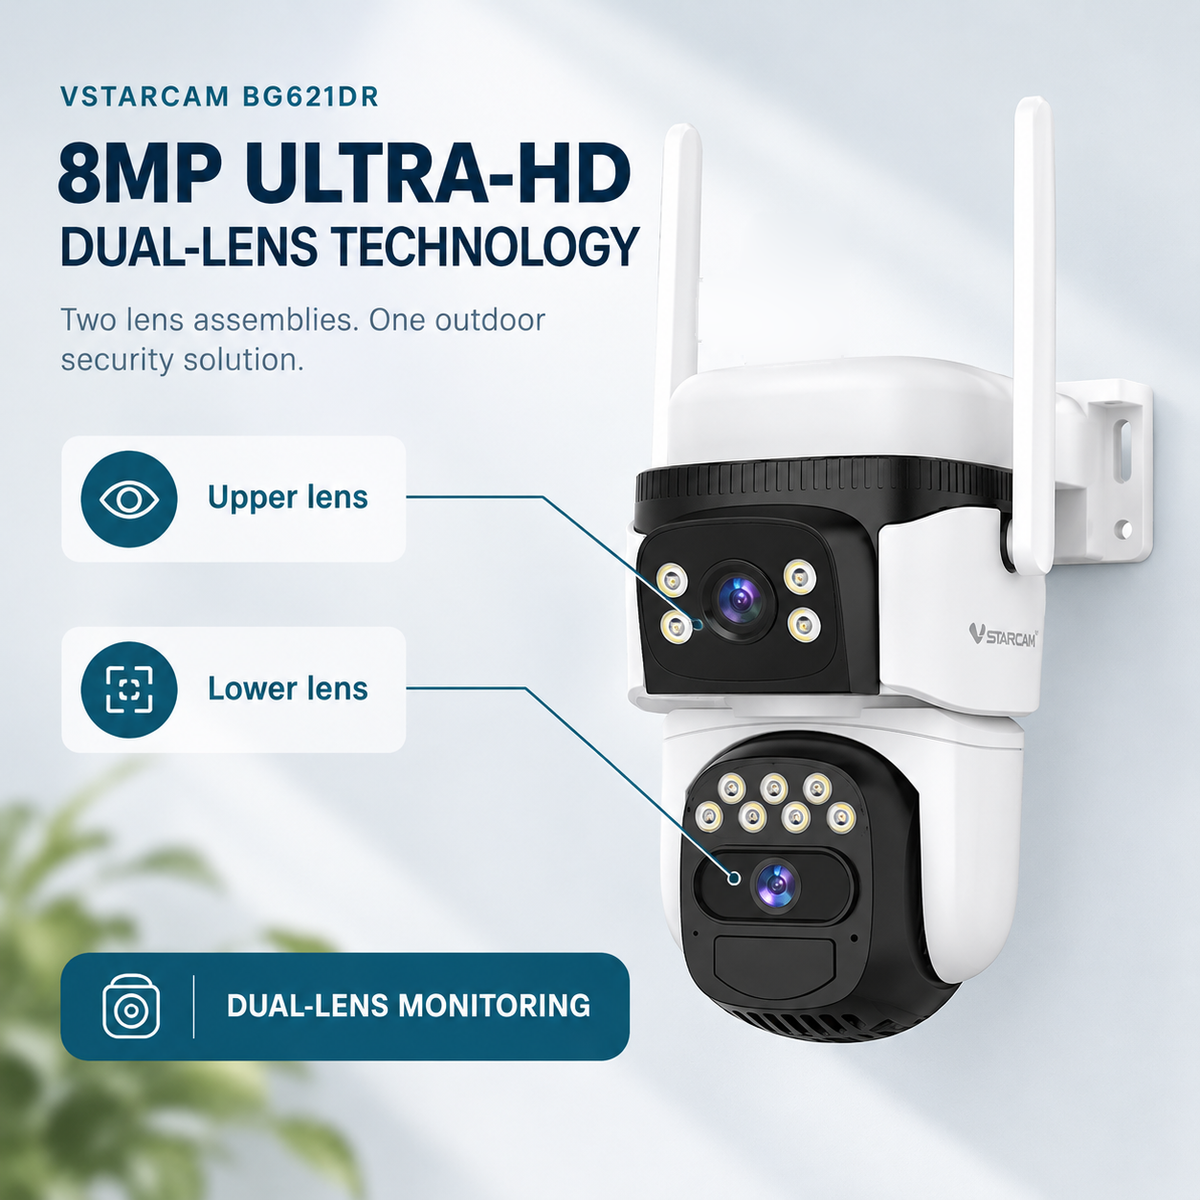
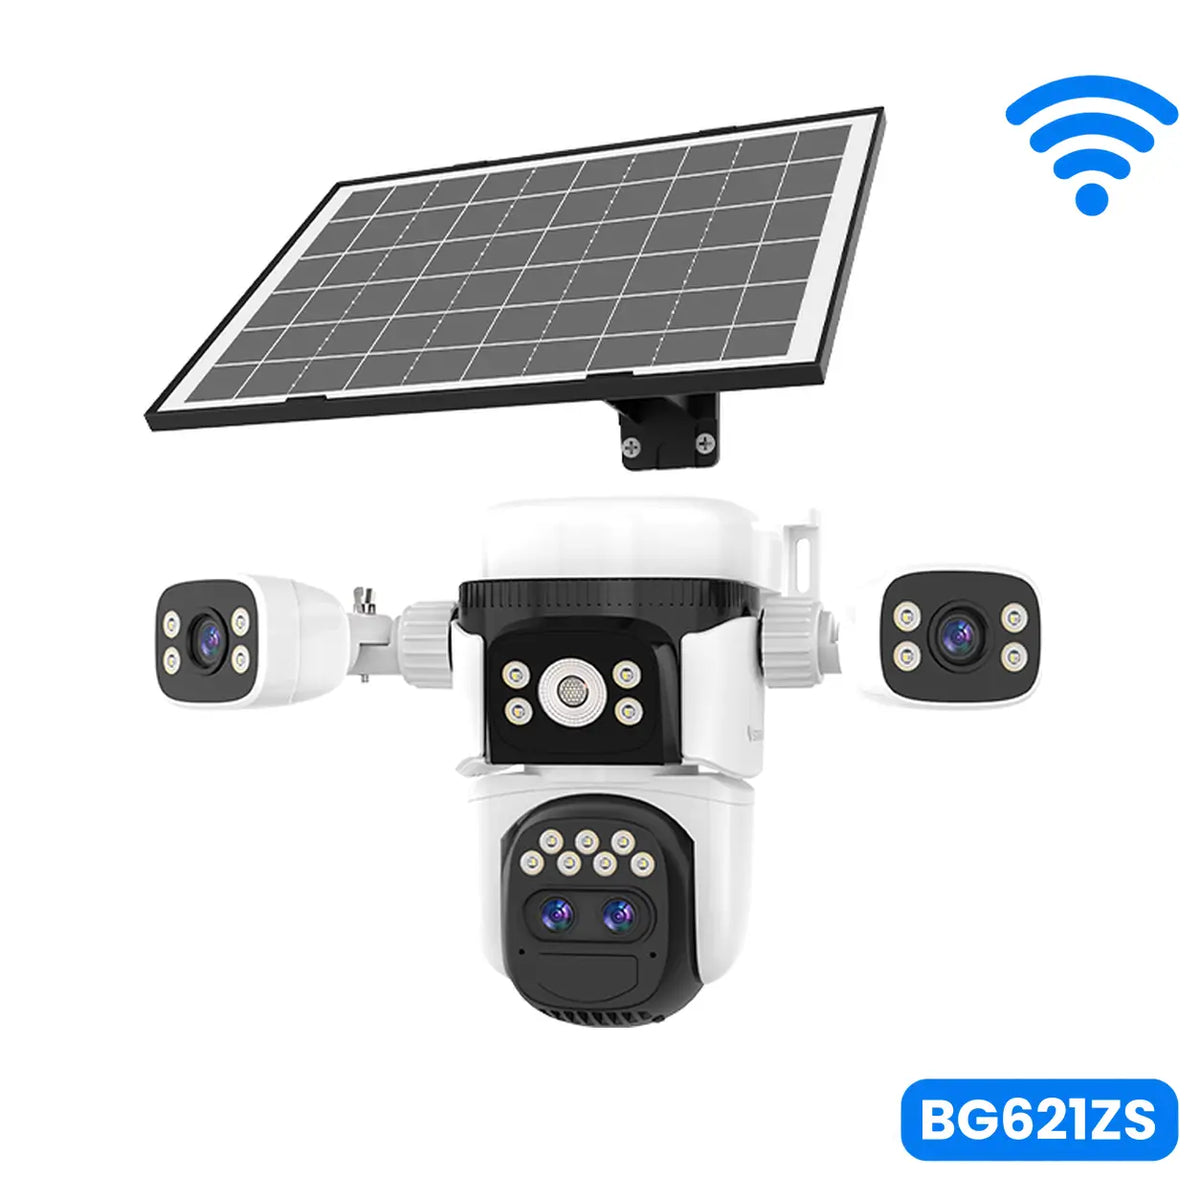
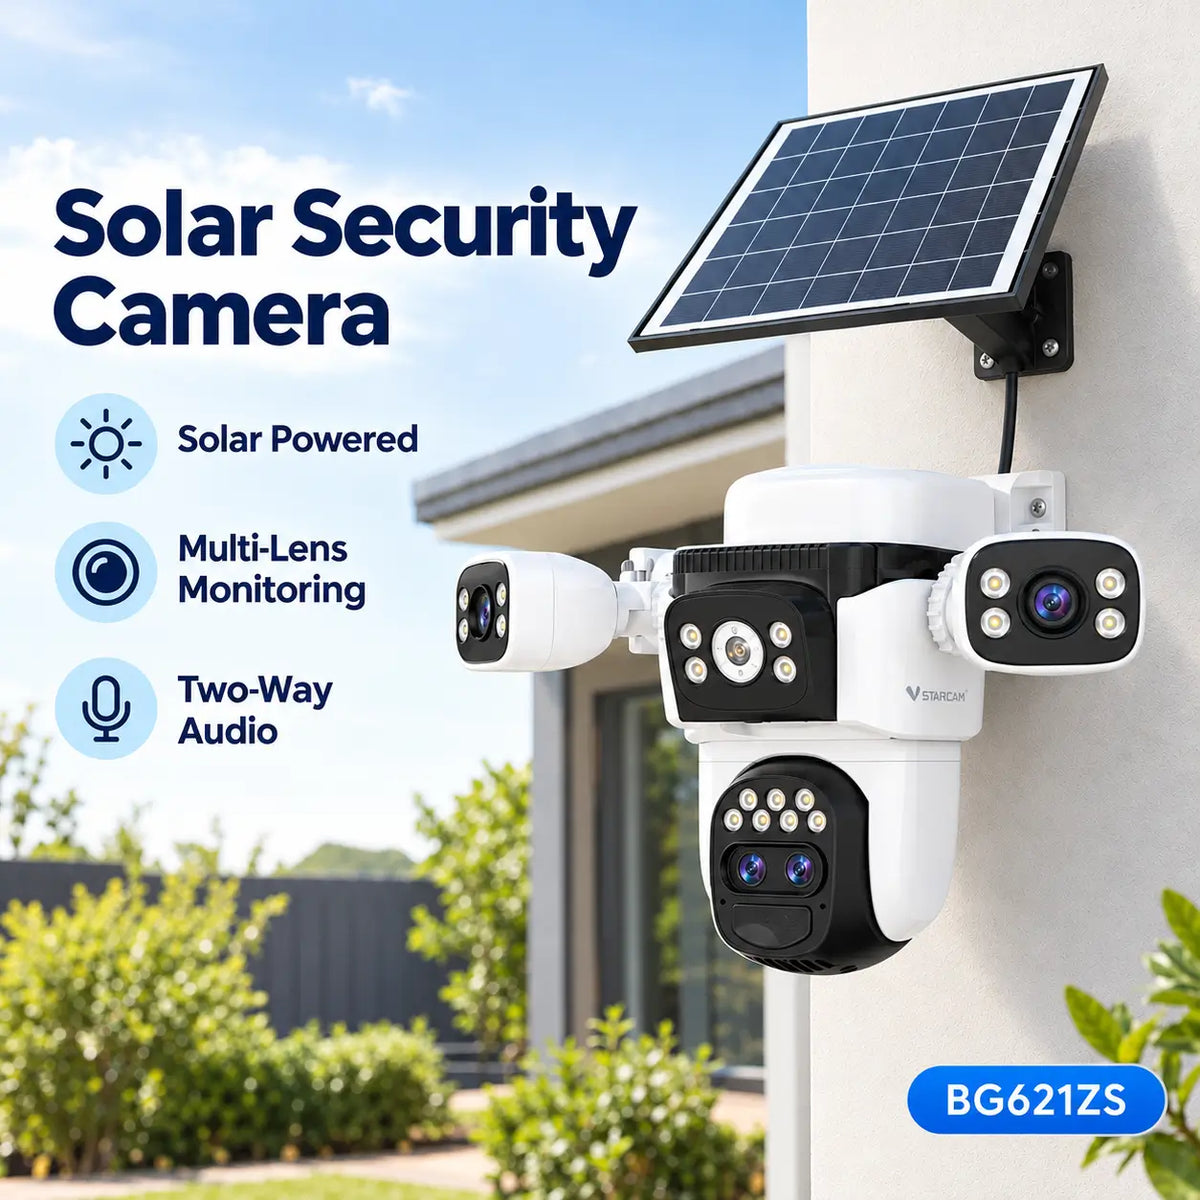
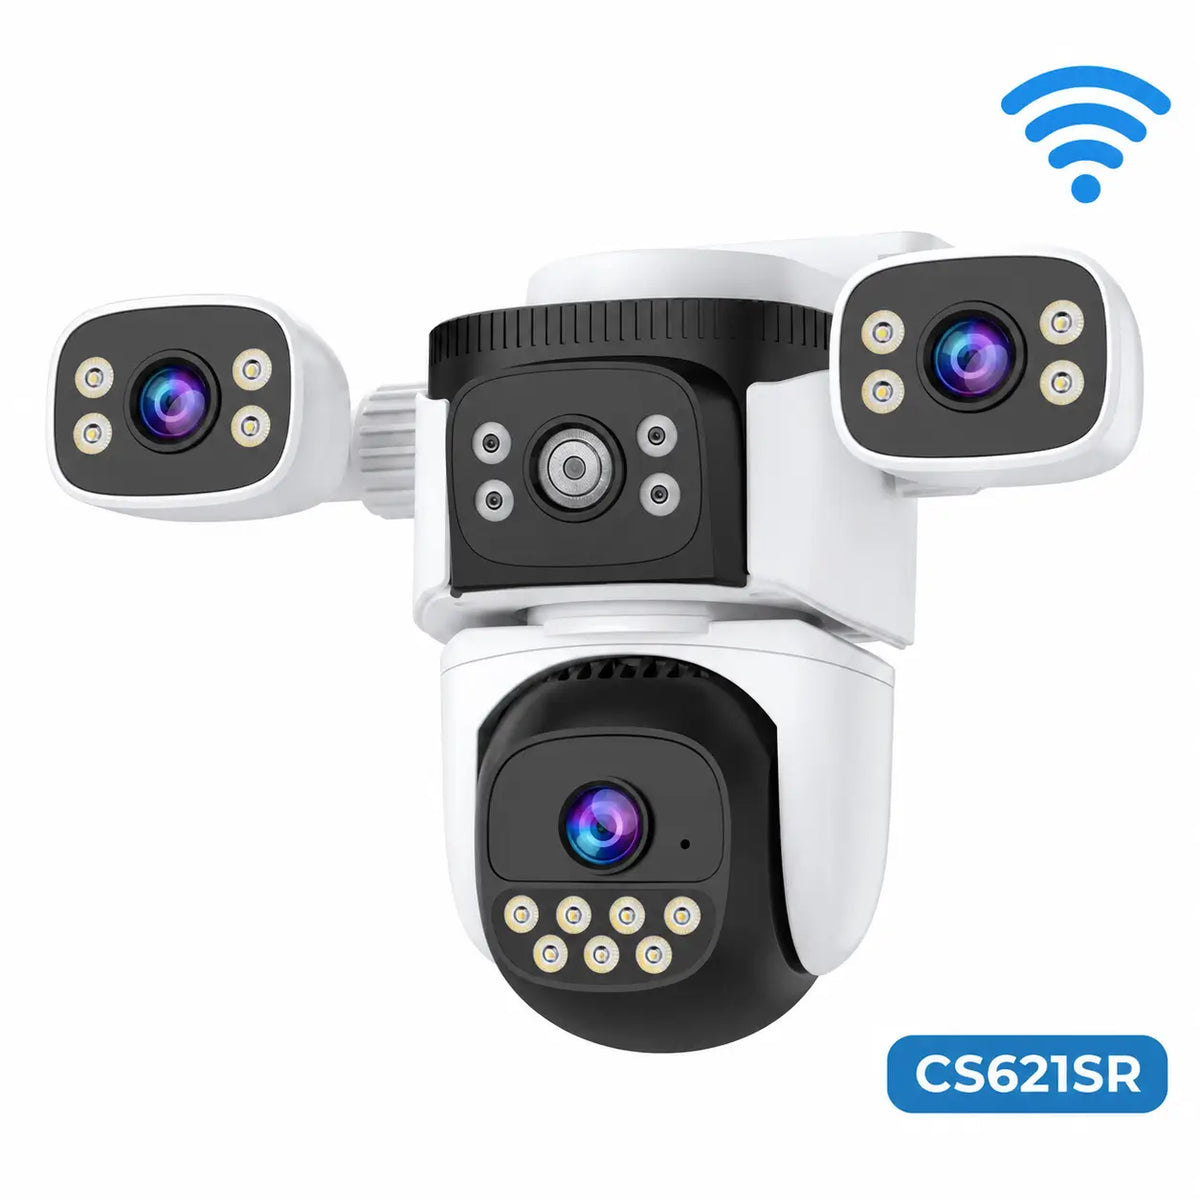
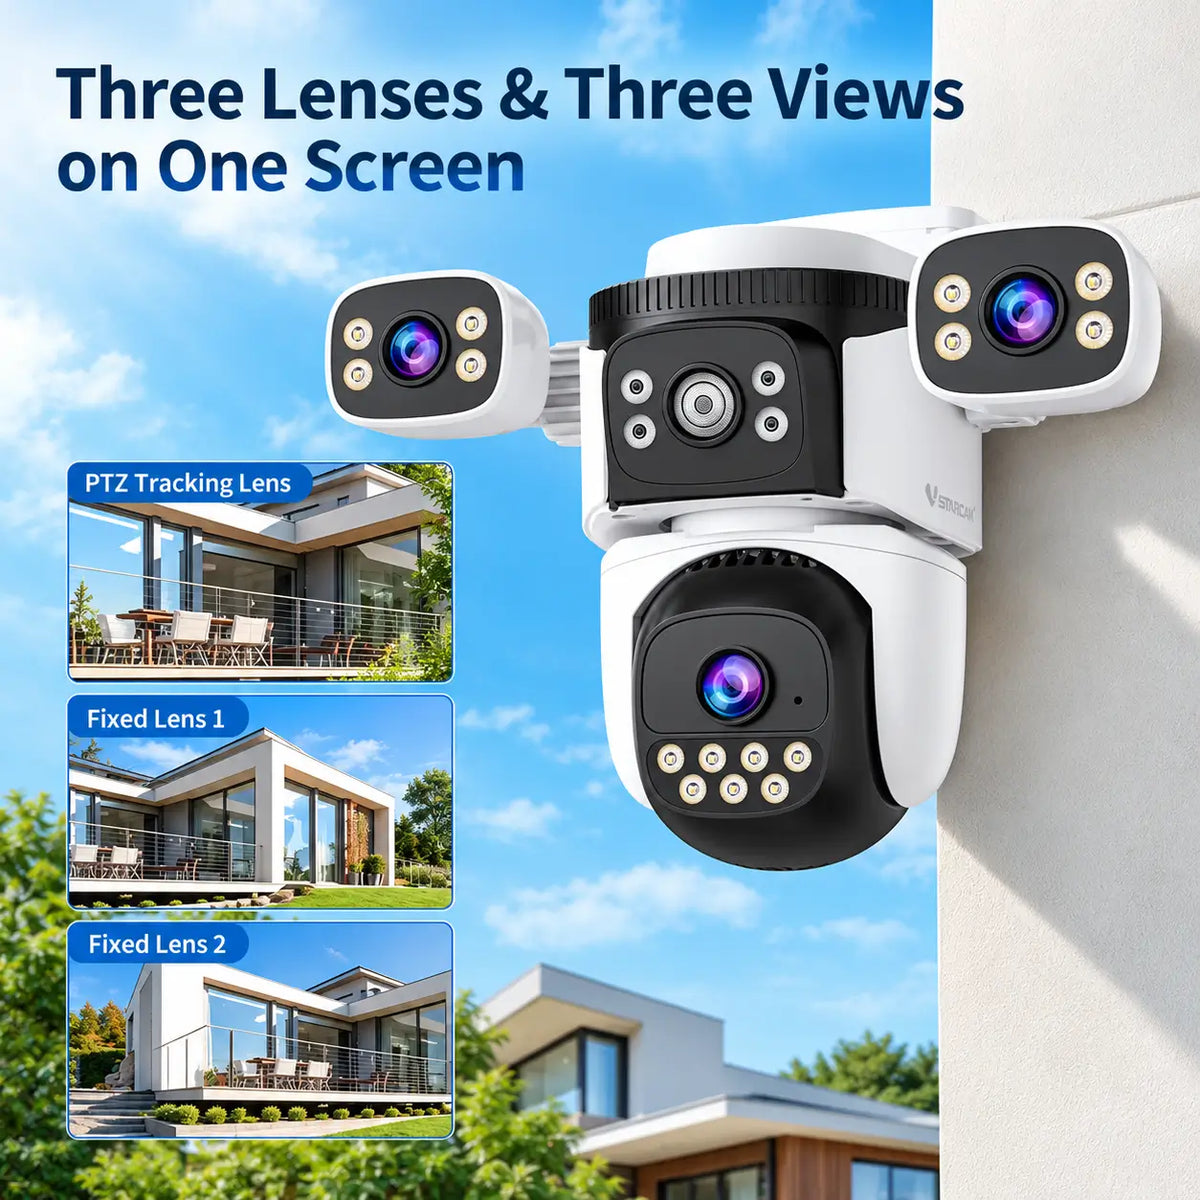
Multi-view designs can combine stationary perspectives with a movable view. However, lens count alone does not establish independent coverage. Check which lenses can be adjusted, which move remotely and whether each displayed view is also recorded.
| Monitoring requirement | Configuration to investigate | Detail to confirm |
|---|---|---|
| One doorway or narrow entrance | Fixed single-view camera | Useful detail at the expected distance |
| Driveway with surrounding activity | Suitable fixed, PTZ or dual-view design | Whether priority areas remain visible |
| Several nearby access points | Multi-view design or several cameras | Independent recording and blind spots |
| Areas separated by buildings | Separate cameras | Connectivity and sunlight at each position |
Use T03 and T04 to understand the designs before comparing particular products.
4. Judge Useful Footage Rather Than Resolution Alone
Check the actual recording dimensions and, for multi-lens models, the resolution of each view. A combined megapixel figure may not describe every individual image.
Look for sample footage showing a similar distance and lighting situation. Consider lens quality, motion blur and the field of view alongside pixel count. A high-resolution overview does not guarantee an identifiable face or number plate.
Night-time needs also matter. Infrared recording provides black-and-white footage using suitable illumination. Colour footage needs enough visible light, whether from the surroundings or the camera's lighting. Assess whether that lighting would disturb nearby windows or neighbours.
5. Assess the Complete Power System
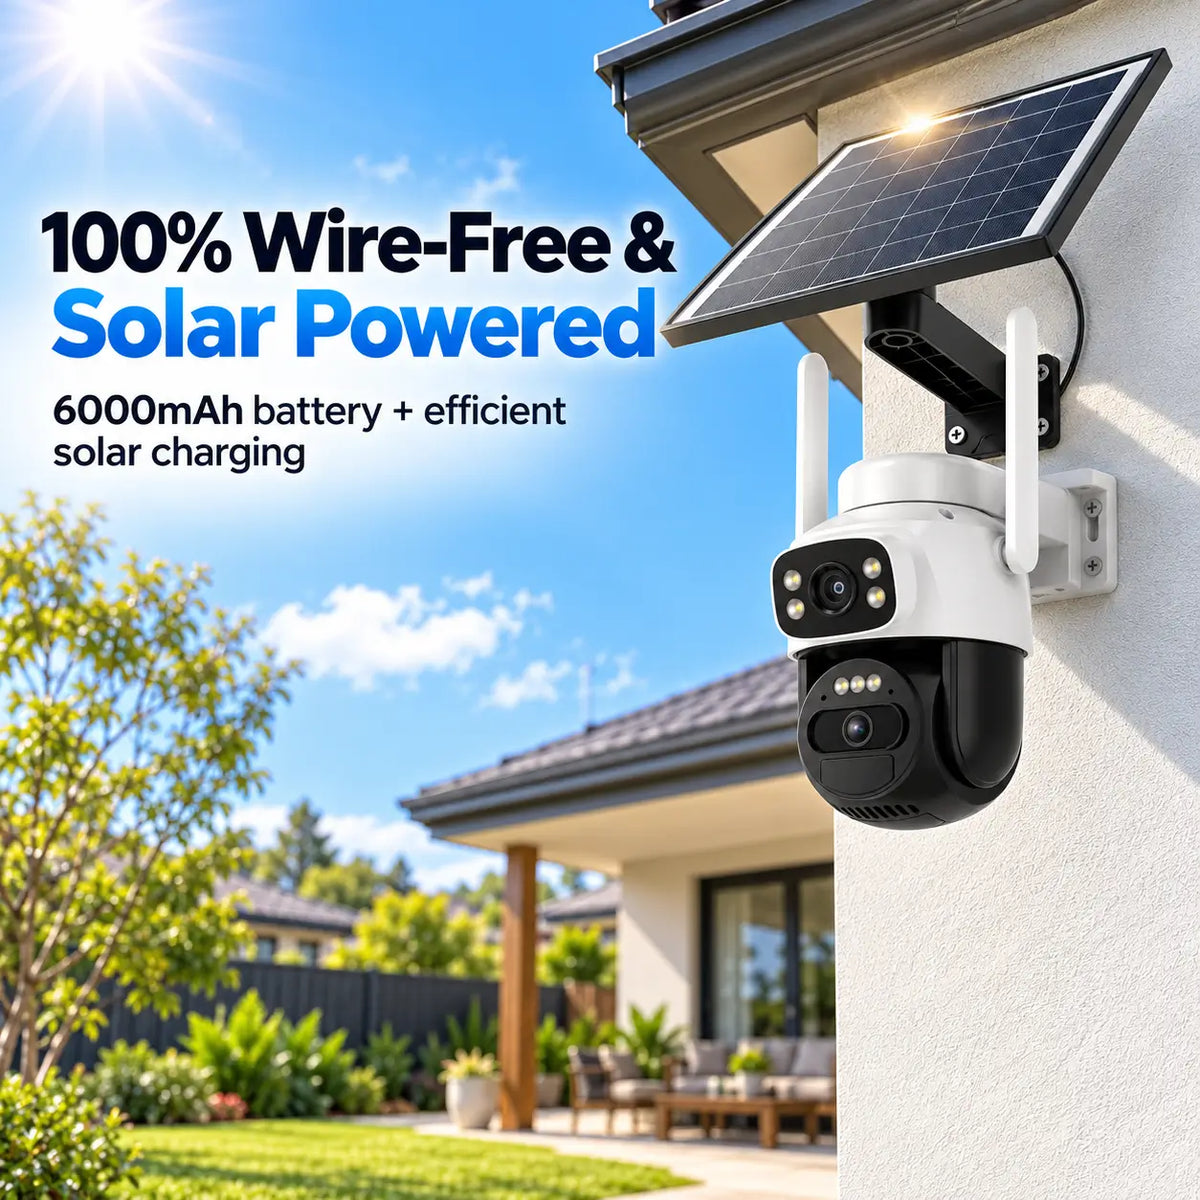
Battery capacity and solar charging should be compared together. Ask whether the supplied panel is intended to support your expected recording frequency, live viewing, lighting and motorised movement.
A quiet entrance may create fewer recording events than a busy driveway. More activity can increase energy consumption even when the camera and weather are unchanged.
Check whether the panel can be positioned separately from the camera, whether its cable reaches a useful sunny location and how manual charging would work if required. Compare battery energy in watt-hours where available; mAh figures need voltage context.
Avoid buying on an unspecified claim of months of battery life. Request the operating assumptions behind that estimate. F04 and F05 explain the energy specifications in more detail.
6. Decide How Recordings Will Be Preserved
Local storage can avoid a mandatory cloud storage subscription where supported, but footage held only inside a stolen camera may be lost. Cloud storage can preserve recordings successfully uploaded and retained by the service.
Check supported memory cards, remote playback, clip downloads and recording retention. Confirm which features need payment and what continues during an internet outage.
If important evidence must remain available after camera damage, assess the supported backup arrangements rather than assuming that every notification includes a saved video. See T05 for the storage comparison.
7. Check Outdoor Suitability and Software Support
Match the declared weather protection and temperature limits to the installation environment. An enclosure's IP rating does not establish salt-corrosion resistance or protect an incorrectly sealed charging connection.
Also assess the app. Confirm phone compatibility, notification controls, account sharing, available account protections and software support. Ask how footage is retrieved if a subscription ends or a remote service becomes unavailable.
Choose features you will use. Two-way audio, spotlights and sirens can be helpful, but their availability and activation settings should be checked for the selected camera.
8. Compare the Total Cost of Your Shortlist
Include the camera, approved solar panel, memory card, mounting accessories and any network improvements. Add mobile data and optional subscriptions over the same ownership period for every option.
Compare what the package actually includes. A cheaper listing may exclude components that another package supplies. Ask about support, warranty terms and the process for obtaining replacement accessories.
G05 covers budget and premium options; G06 compares solar and wired systems; G07 compares solar charging with ordinary rechargeable battery cameras. G08 provides the final buying checklist.
Final Thoughts
Start with the monitoring objective and available connection, then compare viewing arrangements, useful image detail, energy supply and recording access. Budget and extra features become easier to assess once those essentials are settled.
For a suitable property, solar charging can make outdoor monitoring practical without permanent mains wiring. Where sunlight, connectivity or recording requirements do not match the system, another camera arrangement may be more appropriate.
Explore SolarEasy's solar security camera range and compare each product's current specifications against your shortlist. Confirm any capability that is important to your decision before ordering.
About SolarEasy
SolarEasy is an Australian-owned online retailer specialising in solar powered products for homes, gardens and outdoor applications.
Our Solar Powered Security Camera Information Hub helps Australian customers understand the available options and choose products suited to their properties.